AD RMS: Template Creation Process
We will follow the below mentioned steps to create an ADRMS Template
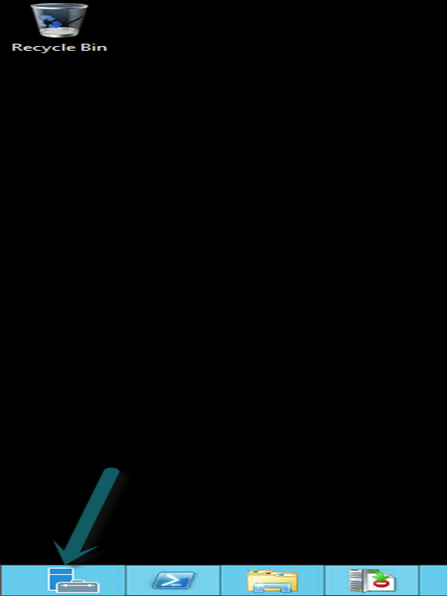
1. Login to any of the AD RMS Server
2. Now you will see the desktop so select any of the below apps

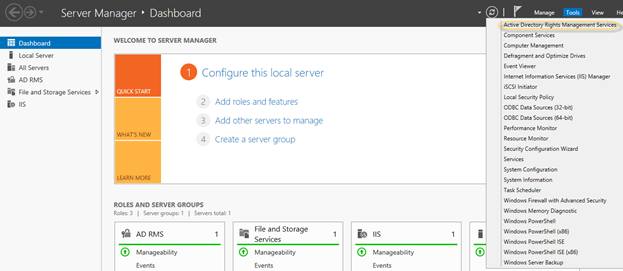
4. If you have opened Server Manager then Select Active Directory Right management Server
-
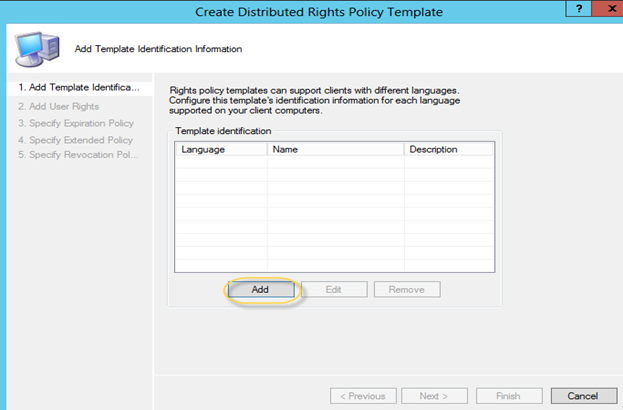
Once you have ADRMS Console open, select “Right Policy Templates”
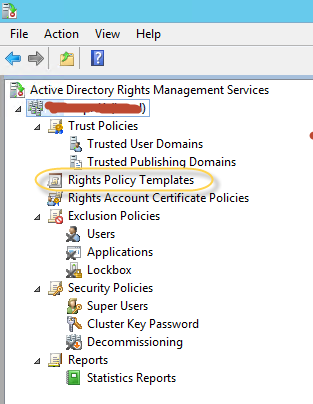
- You will see the below screen
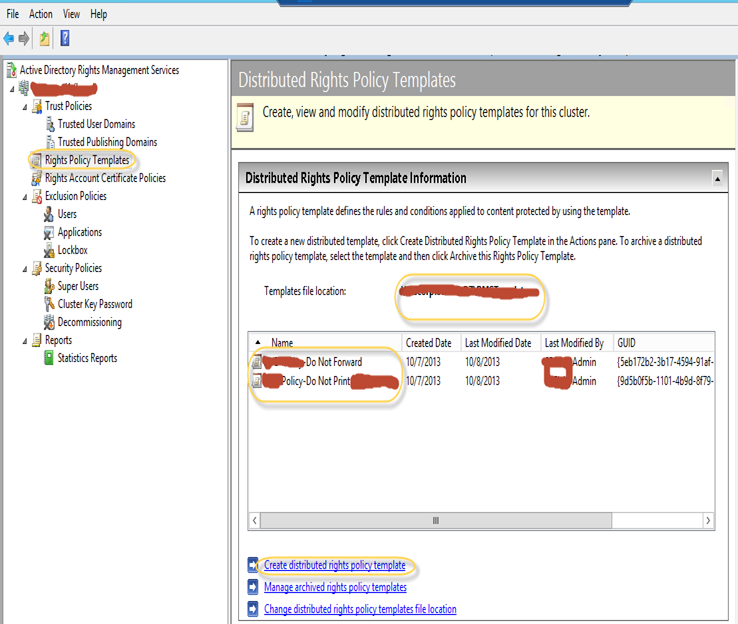
6. You will see the below screen, Click add here
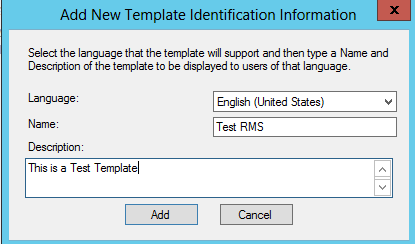
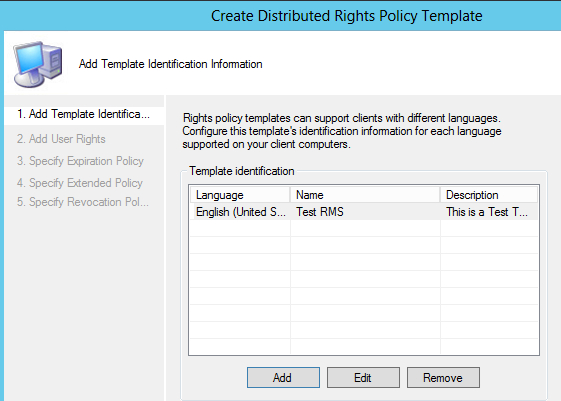
7. Give a Formal name and description as per company policy then click Add then next
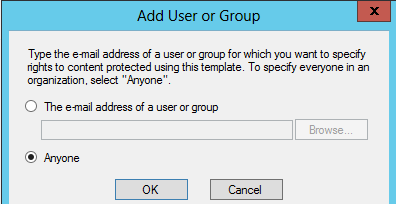
8. Click Add on Users and rights and a user or select anyone then click ok
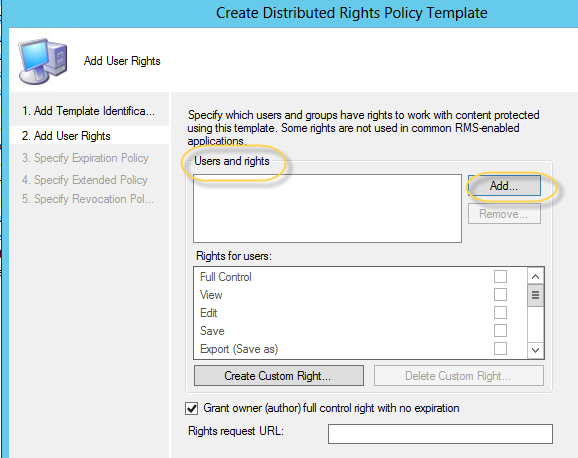
9. Now Add the rights in the below window
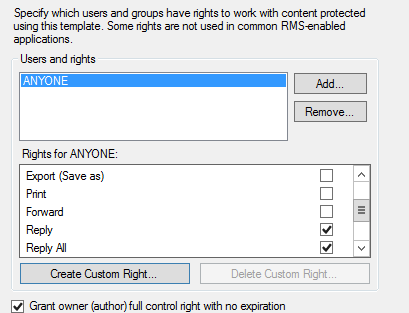
- Full Control – If granted, this right allows a user to exercise all rights in the license, whether or not the rights are specifically granted to that user.
- View – If this right is granted, the AD RMS client allows protected content to be decrypted. Typically, when this right is granted, the application will allow the user to view protected content.
- Edit – If this right is granted, the AD RMS client allows protected content to be decrypted and then re-encrypted by using the same content key. Typically, when this right is granted, the application will allow the user to change protected content and then save it to the same file. This right is effectively identical to the Save right.
- Save – If this right is granted, the AD RMS client allows protected content to be decrypted and then re-encrypted by using the same content key. Typically, when this right is granted, the application will allow the user to change protected content and then save it to the same file. This right is effectively identical to the Edit right.
- Export (Save As) – If this right is granted, the AD RMS client allows protected content to be decrypted and then optionally re-encrypted by using the same content key. Typically, when this right is granted, the application will allow the user to use the “Save As” feature to save protected content to a new file. Depending on the application, the content might be saved without protection.
- Print – Typically, when this right is granted, the application will allow the user to print protected content.
- Forward – Typically, when this right is granted, the application will allow an e-mail recipient to forward a protected message.
- Reply – Typically, when this right is granted, the application will allow an e-mail recipient to reply to a protected message and include a copy of the original message.
- Reply All – Typically, when this right is granted, the application will allow an e-mail recipient to reply to all recipients of a protected message and include a copy of the original message.
- Extract – Typically, when this right is granted, the application will allow the user to copy and paste information from protected content.
- Allow Macros – Typically, when this right is granted, the application will allow the user to run macros in the document or use an editor to modify macros in the document.
- View Rights – If this right is granted, the AD RMS client allows a user to create a new publishing license from the existing license, but the content key is not preserved.
- Edit Rights – If this right is granted, the AD RMS client allows a user to edit the user rights that are assigned by the license while keeping the same content key.
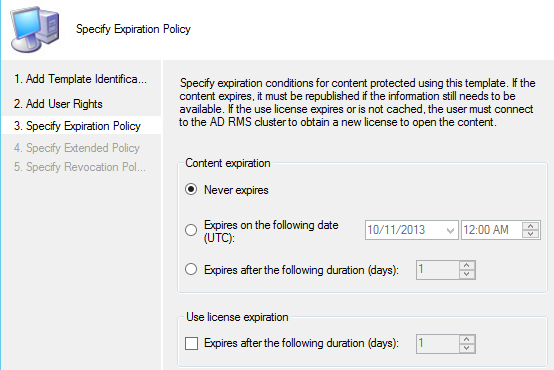
10. Click next here
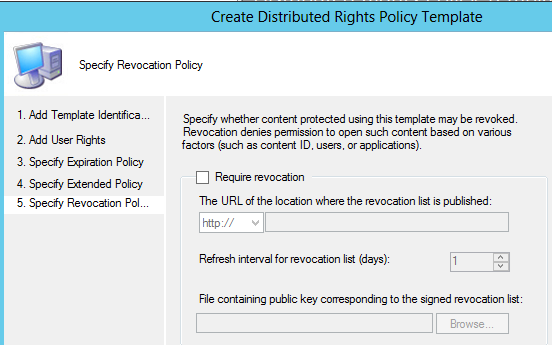
11. Click next here
12. Click finish here. This will create a new Template.
AD RMS is designed to deploy the template automatically if the client side has configured correctly.
13. Close the AD RMS console and log off from the server.
Prabhat Nigam
Microsoft MVP | Exchange Server
Team@MSExchangeGuru
")

