Exclaimer Email Alias Manager – MSExchange Product review
I have been wanting to do a review for Exclaimer email alias manager for Exchange for a while now. This is a robust product helping users who use more than one email address for their business.
For an exmple, one of my client uses 5 email addresses to send and receive emails from one mailbox. Similarly there can be few reason why you would need to use multiple email ids to work. I can think of atleast following reasons:
-
Multiple type of businesses so multiple email domains like services, product, consulting, therapy
-
Merge a new company and you need to continue talking to the old customer’s until they adapt new email domain.
-
You might need to manage yourself as a consultant and CEO of your company.
-
You org changed the name hence email domain change.
-Exclaimer email alias manager will allow you to send as when composing your email and automatically reply to incoming messages using the same address they were sent to.
-You can always check Sent Items to verify which email address you choose to reply or configure a rule to move to a sub folder under sent items.
-We need to install this tool on all servers of the ORG which has exchange 2010 hub transport and exchange 2013 mailbox server role.
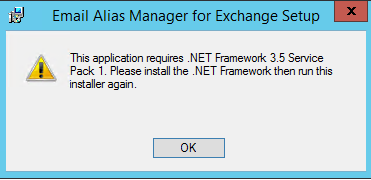
-As a prerequisite we need .net framework 3.5 with service pack 1 installed on the server. Windows 2012 comes with it so just add this as a feature.
Installation
So let us begin the installation. Download the software from here
After providing some info you can download and setup.exe will be in your desktop.
Run the setup.exe and click next

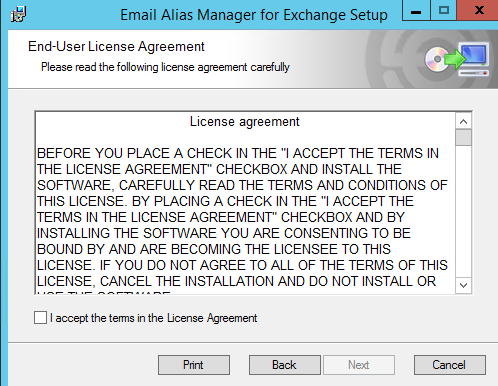
Accept the agreement and click next.
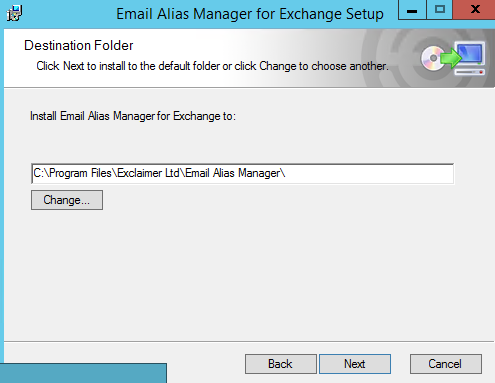
Verify or change the installation path and click next
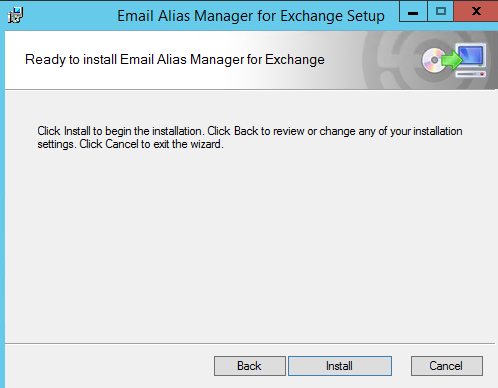
Click Install here. Take a 2 minutes break.
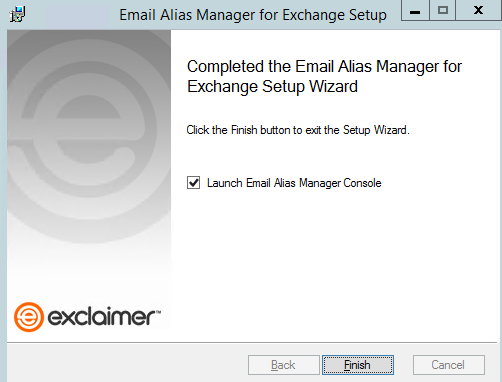
Click finish and launch.
Activation
The tool will launch
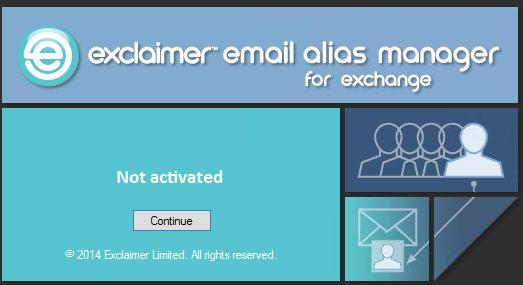
Click on continue then choose the right option. I am choosing trial as I would like to test it and write a review.
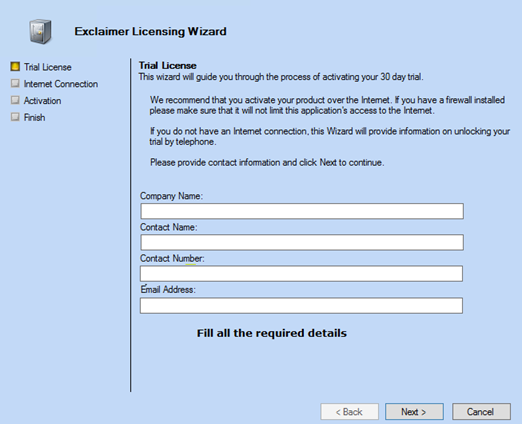
Give all the information then click next
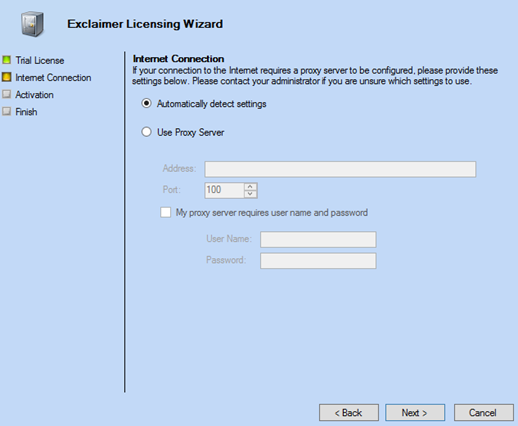
Give internet information and click next
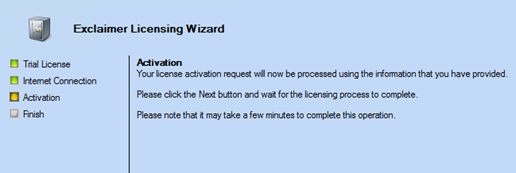
Click next here
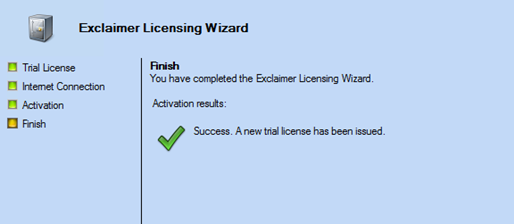
You will see the below trial activation window. Click finish.
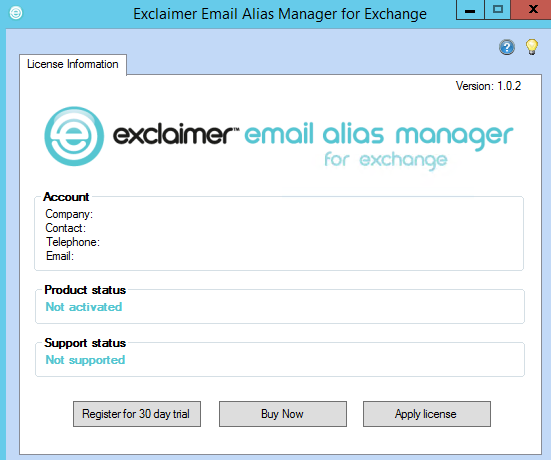
Now you will see the below screen.
Verification
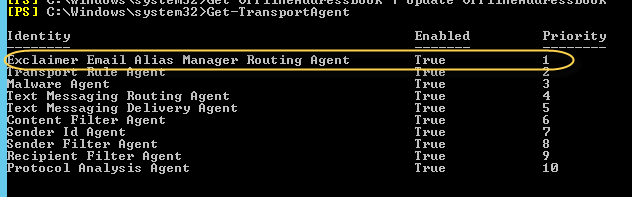
Now we can see “Email Alias Manager” in the transport agent
Client side testing
So we have 2 options to use this tool. Let us have a look of both the options below:
-
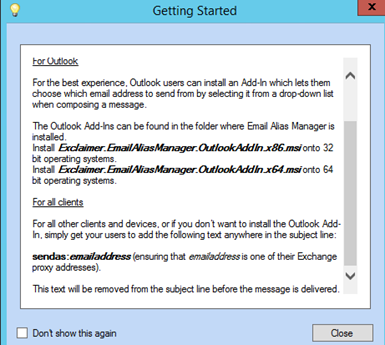
Install addin in your outlook.
Go to the location “C:\Program Files\Exclaimer Ltd\Email Alias Manager” on your server
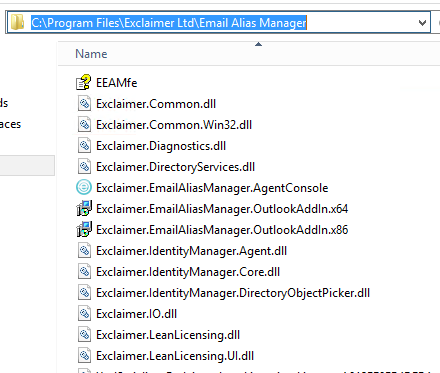
Copy the file to the client machine and run the setup or deploy using GPO
For 32 bit OS use Exclaimer.EmailAliasManager.OutlookAddIn.x86.msi
For 64 bit OS
use Exclaimer.EmailAliasManager.OutlookAddIn.x64.msi
Double click on the msi file it will install automatically.
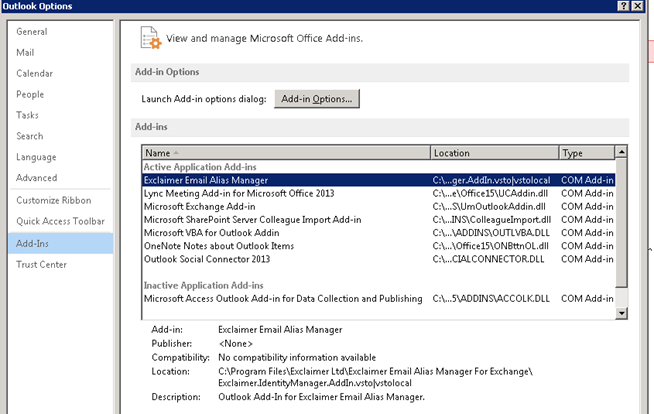
Reopen outlook and verify the addin
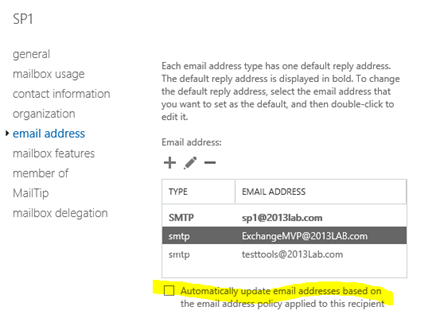
Now make sure you have email addresses added to the user property and also checkbox “Automatic update email addresses …” is unchecked (else next auto update will remove these addresses)
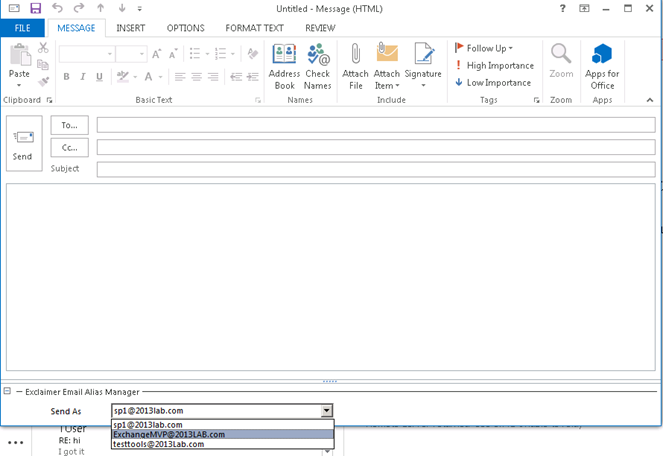
Now open outlook and compose new email. At the bottom you will see the drop down menu to select send as. Select one of the email address and send an email.
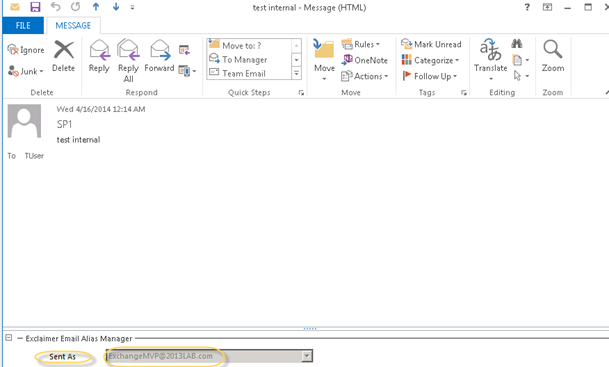
Here is the sent email. Look at the send as email.
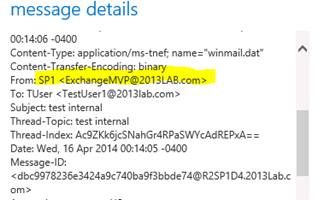
Let us have a look of the receiving side.
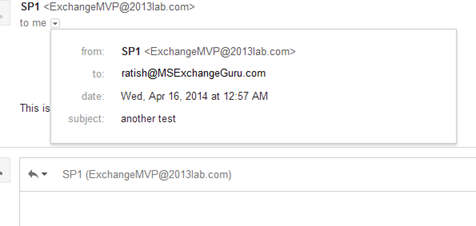
Let us send a reply and see. External email reply.
-
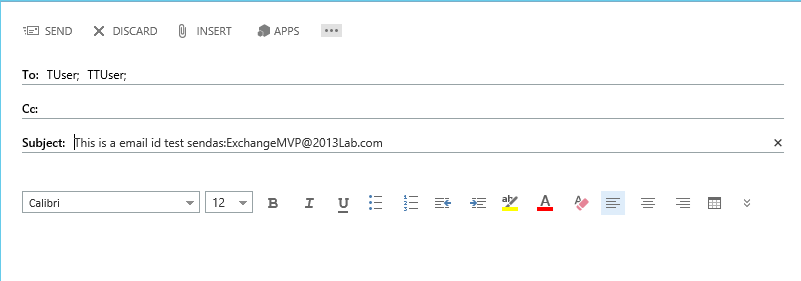
Add sendas:emailaddress (no space) in subject (This text gets remove) – Mostly this is an option for Owa and mobile devices.
Here is the draft screen.
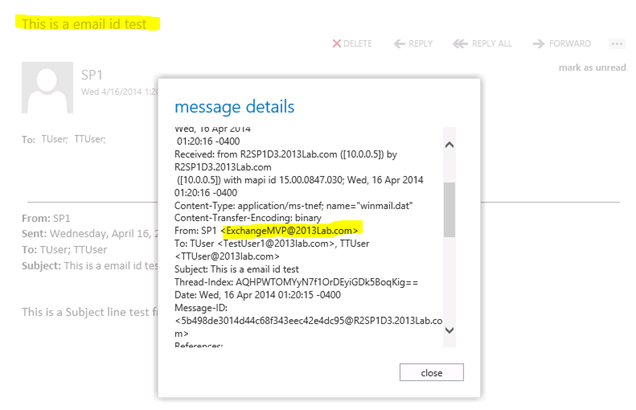
Now let us see receiving end. Look at the subject and email address. Email alias manager has removed the “sendas:emailaddress” from the subject and send an email to this email address.
Conclusion:
This product was a much needed product looking at today’s versatile requirements. In essence email alias manager eliminates the requirement of maintaining multiple mailboxes and those send as permission hiccups.
Ratish Nair
Microsoft MVP | Exchange Server
Team @MSExchangeGuru
")

