Exchange 2013: Hybrid Part 4
In the previous blog we covered Directory Synchronization and in this blog we will cover the Exchange 2013 Hybrid configuration.
This is a 7 blog series which was successfully tested and written with the help of Microsoft Exchange Deployment Assistant.
Here is the link of Microsoft Exchange Deployment Assistant: https://technet.microsoft.com/en-us/exdeploy2013/Checklist?state=2419-W-AABoAQqA0gCIAIEGAwAAAAg~
Exchange 2013 Hybrid Configuration
-
DNS Changes:
-
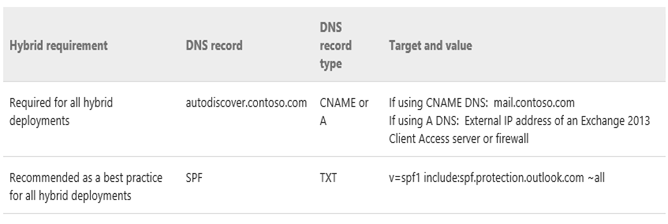
Autodiscover Host Record: To enable Outlook 2013, Outlook 2010, Outlook 2007, and mobile clients to connect to mailboxes in the Exchange Online organization, you need to configure an Autodiscover record on your public DNS. Autodiscover automatically configures client settings so that users don’t need to know server names or other technical details to configure their mail profiles. This should be configure as autodiscover.domain.com pointing to your exchange 2013 CAS servers. I am expecting that this record is already configured and working. This is one of the innovation that Exchange 2013 will be able to recognize if the user is in exchange or office 365. SRV based autodiscover redirect method is not supported for on-premises Exchange & Exchange Online federation.
-
SPF Txt Record: Microsoft also recommend that you configure a Sender Policy Framework (SPF) record to ensure that destination email systems trust messages sent from your domain and the Exchange Online Protection (EOP) service for your Office 365 organization. The SPF record for your organization uses the Sender ID Framework. The Sender ID Framework is an email authentication protocol that helps prevent spoofing and phishing by verifying the domain name from which email messages are sent. Sender ID validates the origin of email messages by verifying the IP address of the sender against the alleged owner of the sending domain.
For SPF we have 3 options. First route all your emails via office 364, second route all your emails via exchange 2013 and third both to send emails out. Based on your configuration add the IP and hostname to the SPF txt record. You can add maximum of 10 entries in one record and you can have multiple records.
-
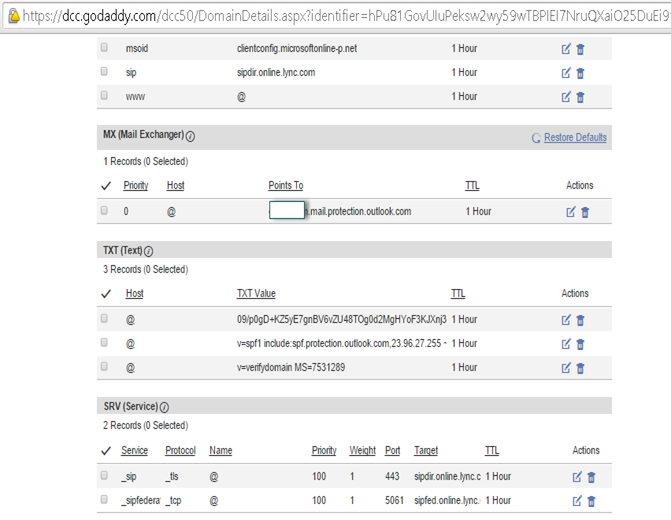
DNS records will look like below:
-
Certificates:
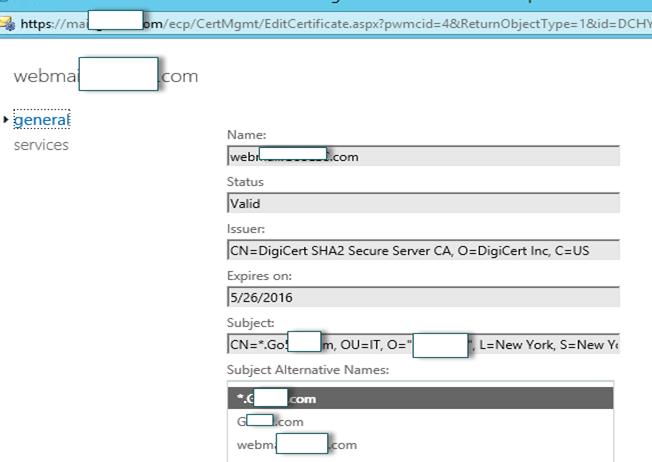
Digital certificates are an important requirement for secure communications between on-premises Exchange 2013 servers, clients, and the Exchange Online organization. You need to obtain a certificate that will be installed on Client Access and Edge Transport servers from a third-party trusted certificate authority (CA). Secure communications for internal connections between the on-premises Exchange 2013 Client Access and Mailbox servers use self-signed certificates. Microsoft recommends that your certificate’s common name match the primary SMTP domain for your organization.
We have explained the steps of generating a new certificate request then completing the request here. https://msexchangeguru.com/2013/01/18/e2013-certificate/
If you have separate CAS and MBX roles then you might like to import the cert to mailbox server for the SMTP. For that you need to export the cert from the Exchange 2013 where you had complete the cert request. Check the step of exporting and importing of the cert are mention here. https://msexchangeguru.com/2013/06/29/import-cert-e2013/
I am using wildcard cert of digicert.
-
Exchange Web Services:
We assume that you have already configured Externalurl on Exchange 2013 CAS servers for Exchange Web Services (EWS), Outlook Address Book (OAB), Outlook Web App (OWA), Exchange Control Panel (ECP), and the Exchange ActiveSync (Microsoft-Server-ActiveSync) virtual directories in the internet facing AD site.
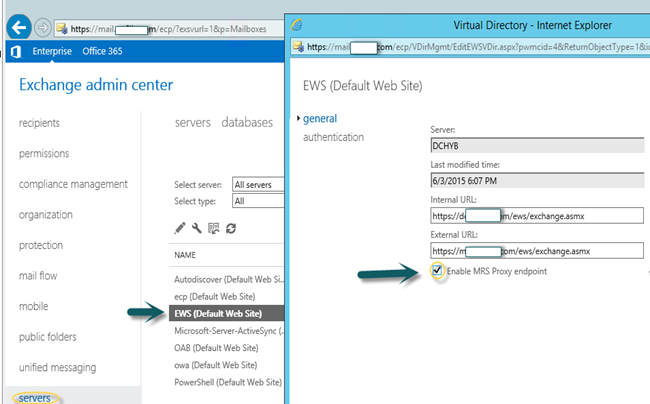
At the same time we need to ensure that you enable the MRS proxy service on the internet facing Client Access servers as part of EWS configuration. To enable the MRS proxy service, do the following:
- Open the EAC and navigate to Servers > Virtual directories.
- Select the Client Access server, select the EWS virtual directory, and then click Edit
-
Select the MRS Proxy enabled check box, and then click Save.
Make sure to do it on all internet facing CAS servers one by one.
-
Hybrid Configuration Wizard
The Hybrid Configuration wizard helps you establish your hybrid deployment by creating the HybridConfiguration object in your on-premises Active Directory and gathering existing Exchange & Active Directory topology configuration data. The Hybrid Configuration Wizard also enables you to define & configure several organization parameters for your hybrid deployment, including secure mail transport options.
-Login to the Exchange 2013 Server and login to ECP.
-Click on Hybrid then click on enable to start the wizard.
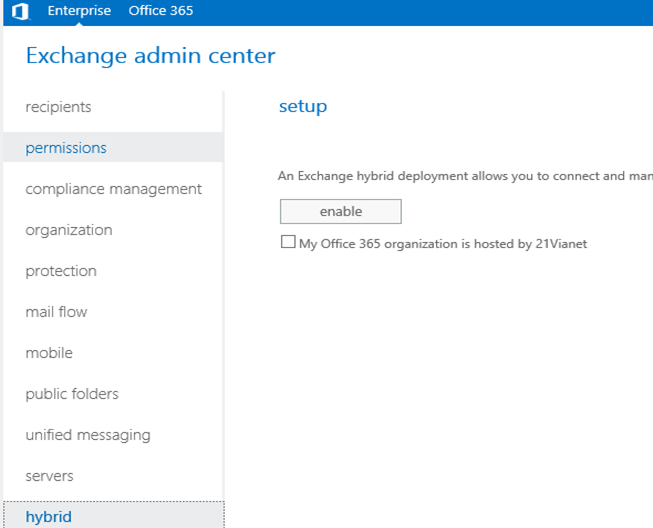
“My Office 365 organization is hosted by 21Vianet” – If you are based in China then you need to check this checkbox, else ignore this checkbox. If your Office 365 tenant is hosted by 21Vianet & this checkbox isn’t selected, the Hybrid Configuration wizard won’t connect to 21Vianet service, your Office 365 account credentials won’t be recognized & the wizard won’t complete properly.
-Click on sign in to office 365
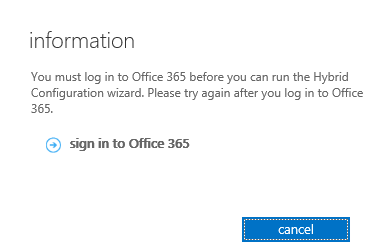
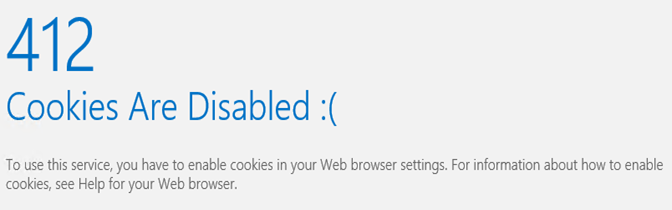
-Login to office 365 portal. You need to enable the cookies to sign in to office 365, else you will see this error.
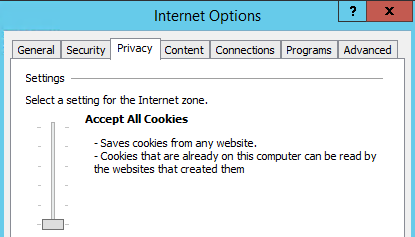
-This is how you enable the cookies.
-Refresh here and it will replace the url with the following. Domain is your domain.
-Now you should be able to switch between the “Enterprise” and “Office 365” modes without the need to authenticate.
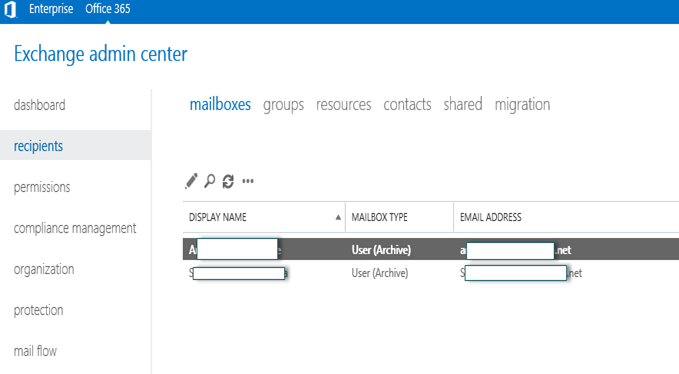
Look at this I can see my office 365 admin accounts
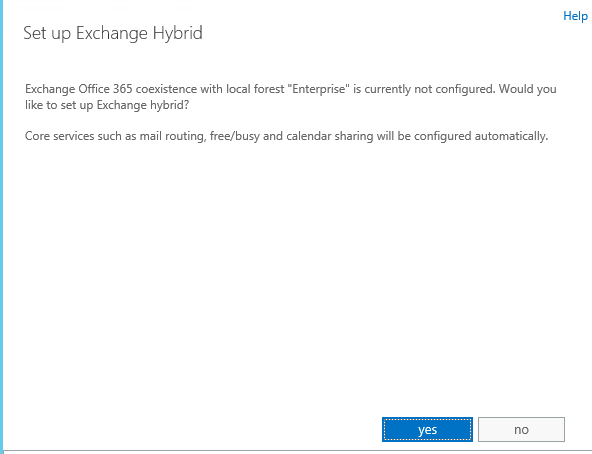
-Click again on enable and click yes when prompted. Now it is back to your url.
-Copy the token and create DNS txt record.
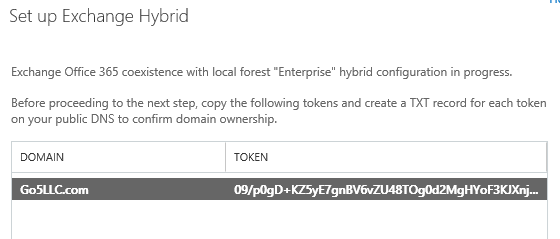
-I have created the DNS TXT record and clicked next on my hybrid wizard
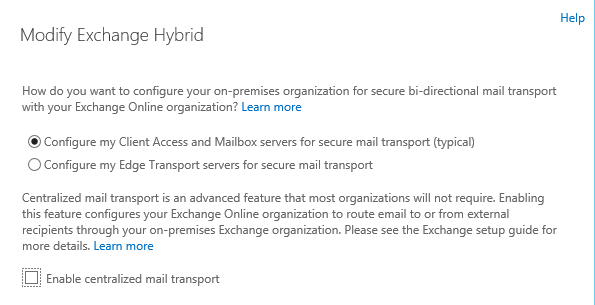
-This step is asking us how we want to route the email. If you have Edge Transport then select to route emails through edge transport else keep client Access and mailbox server.
When you click on more options you will another option if you enable this then you will receive all outgoing internet emails on your on premise exchange to send them to internet. To enable this feature select the Enable centralized mail transport check box in the More options section. The on-premises transport servers will be responsible for delivering the messages to external recipients. This approach is helpful in compliance scenarios where all mail to and from the Internet must be processed by on-premises servers. If this check box is not selected, the Exchange Online organization will deliver messages to external recipients directly.
I am going ahead with default setting as I don’t have Edge in this setup and I don’t have compliance setup or requirement.
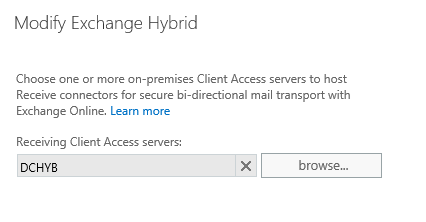
-Now add your Exchange 2013 Hybrid CAS Servers on which receive connectors will be created and click next.
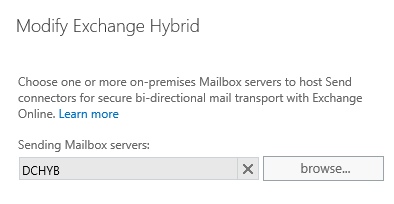
-Now add the Exchange 2013 Mailbox servers which will host the send connector and click next.
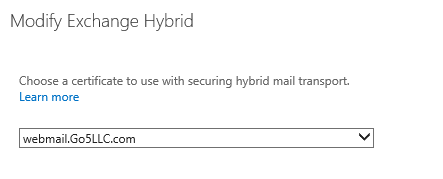
-Select the certificate from dropdown list for the secure mail transport. The certificate should be issued by a trusted CA provider
This list displays the digital certificates issued by a third-party certificate authority (CA) installed on the Mailbox server(s) selected in the previous step.
Click next.
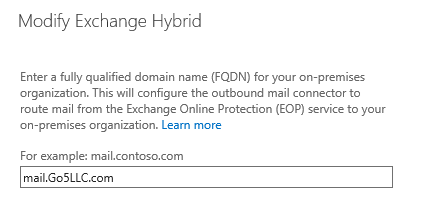
-Now type the externally accessible FQDN for the on-premises Client Access server(s). The EOP service in Office 365 uses this FQDN to configure the service connectors for secure mail transport between your Exchange organizations.
You may need to specify which domain is the primary domain which will be used for autodiscover in case your exchange org has multiple primary SMTP domains. By doing so we can eliminate the need for both adding “autodiscover.domain.com” for all SMTP domains to a SAN certificate as well as the need for publishing autodiscover for each of these.
Run the below command to configure an SMTP domain as the autodiscover domain, basically you need to add autod: in front of the domain:
Set-HybridConfiguration –Domains “autod:domainUSA.com, domainAsia.com, domainAU.com”
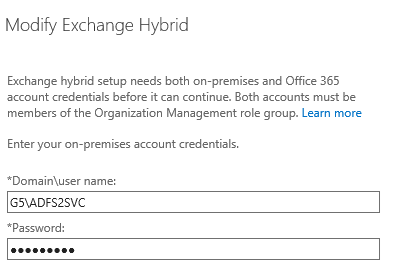
-Provide on Premise credentials which are member of Organization Management group.
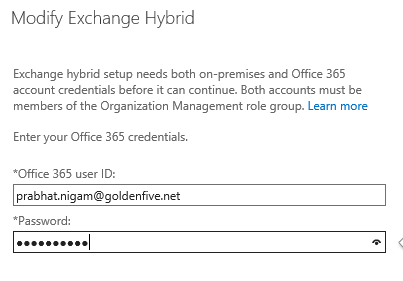
-Provide office 365 credentials which are member of Organization Management and global administrator group.
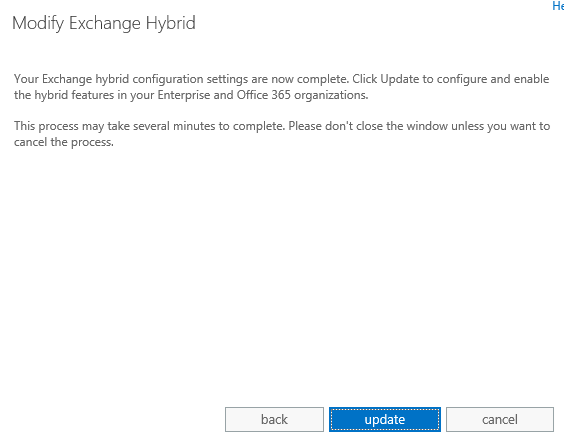
-We have completed the configuration settings. Now click on update to configure and enable the hybrid features.
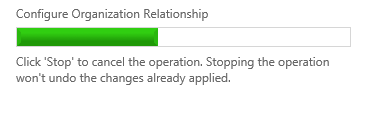
-Hybrid Setup completed.
J
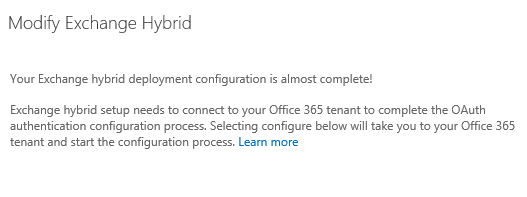
After the initial hybrid deployment configuration steps are complete, the wizard displays a message to complete the connection with Office 365 and configure Exchange OAuth authentication. Select Configure to connect to Office 365 and start the OAuth configuration wizard.
OAuth is an open standard for authorization OAuth provides client applications a ‘secure delegated Access’ to server resources on behalf of a resource owner. It specifies a process for resource owners to authorize third-party access to their server resources without sharing their credentials.
You may like to stop here but I am running it to show what comes next.
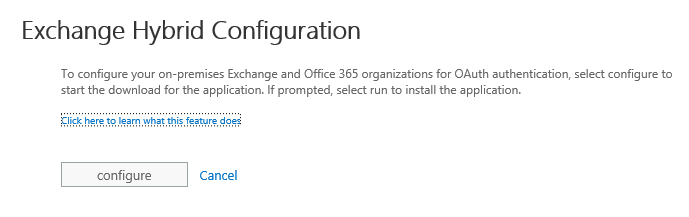
-Click on configure on this screen to start the Oauth authentication.
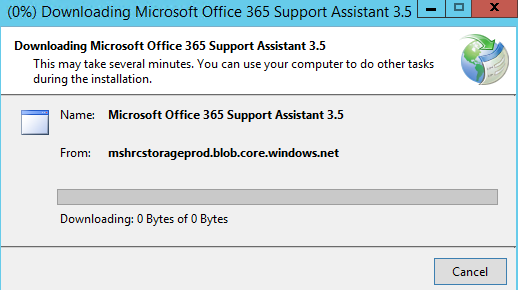
-Click on Run here.
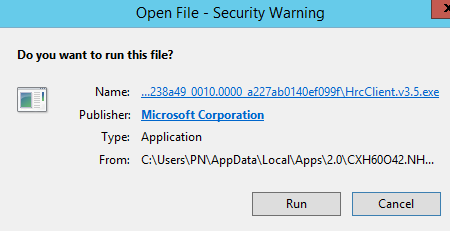
-Click on Run again.
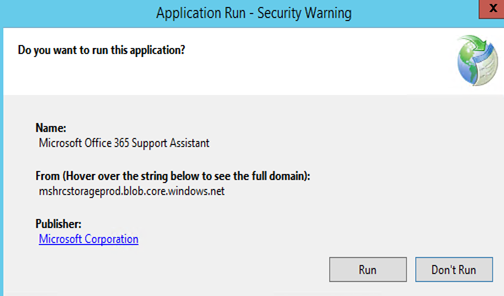
-Click on Run again.
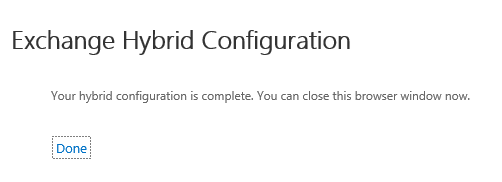
-And Done. If you have reached here then you will be very happy right now.
-
Access the Exchange online Organization in Exchange 2013 EAC
You access the Exchange Online organization in the EAC by selecting the Office 365 cross-premises navigation tab. From there you can easily switch between your Exchange Online and your on-premises Exchange organizations.
- Open the EAC on an Exchange 2013 server.
- In the EAC, select the Office 365 cross-premises navigation tab.
- Verify that the EAC displays objects for the Exchange Online organization.
-
Use the following blog to connect and disconnect through PowerShell
https://msexchangeguru.com/2014/02/03/eop-o365-connect-powershell/
Exchange 2013 Hybrid Configuration end here.
In the Next blog we will do the mailbox migration and test the access of the migrate user.
Prabhat Nigam
Microsoft MVP | Exchange Server
Team@MSExchangeGuru
Tweet me @PrabhatNigamXHG
")


June 19th, 2015 at 8:32 pm
[…] « Exchange 2013: Hybrid Part 4 […]
June 20th, 2015 at 6:33 am
Very Good One 🙂
June 22nd, 2015 at 2:56 am
[…] Exchange 2013: Hybrid Part 4 […]
June 24th, 2015 at 1:30 pm
[…] Exchange 2013: Hybrid Part 4 […]
June 30th, 2015 at 5:52 pm
[…] Exchange 2013: Hybrid Part 4 […]
June 30th, 2015 at 6:16 pm
[…] « Office 365: “Azure AD Connect Preview” Setup Fails with ADFS Server Bad Password Exchange 2013: Hybrid Part 4 […]
October 8th, 2015 at 1:36 pm
Great series. I have one question regarding MRS Proxy. Should this be enabled on the hybrid only which is internet facing or all CAS servers that are internet facing including the hybrid?
Thanks
October 9th, 2015 at 1:25 am
All CAS which are internet facing and can access EWS url. Hybrid server can be an execution server and not necessarily serve any work
November 19th, 2015 at 8:31 am
Hello,very well documented instructions.
I have a question.I have a single forest multi domain tree organization with different exchange 2010 and 2013 per domain installed in different countries.
Do i have to run the hybrid per domain?Or must be run to the root forest?I mean the domain and exchange organization must be treated seperately as a forest with it’s own certificate etc?
Thank you
November 19th, 2015 at 11:08 am
You should run from root internet facing Exchange 2013 server.
November 19th, 2015 at 11:39 am
Even though there are many exchange installation?
And what about the certificate?
Only for one smtp domain?
Thank you
November 19th, 2015 at 11:54 am
Yes, number of exchange server does not matter.
1 cert should have all smtp domains and CAS urls
November 19th, 2015 at 12:19 pm
Adfs also in root domain installation?
So if i have 50 accepted domains do i have to buy a certificate with 50 domains and their autodiscover?
November 19th, 2015 at 12:52 pm
Yes, Root domain for everything.
Yes all 50 CAS url, autodiscover urls and SMTP fqdn