Exchange 2016: Mail Routing
Mail routing is most important topic. If you are an Exchange 2010 user, then this is all new thing to configure mail routing for you. This blog walks through the mail routing configuration.
Remember if you have Exchange 2016 more than 2 AD site expanded DAG then your Exchange 2016 will use safety net which will keep 2nd copy of the message in the 2nd datacenter.
There are 2 main components where are required to configure in order to configure mail routing in the Exchange 2016 which is similar to Exchange 2010
Send Connector:
Send connector is an organization level configuration which can be configure from Exchange Admin Center or Exchange management Shell.
Important: Before creating send connector, add Exchange 2016 Servers IP on your spam appliances for sending emails out to Internet else Spam appliance will bounce the emails.
Configure from Exchange Admin Center:
Open EAC by going to the url https://localhost/ecp on internet explorer on exchange 2016 server.
Click on Mailflow on the left pane then click on Send connector.
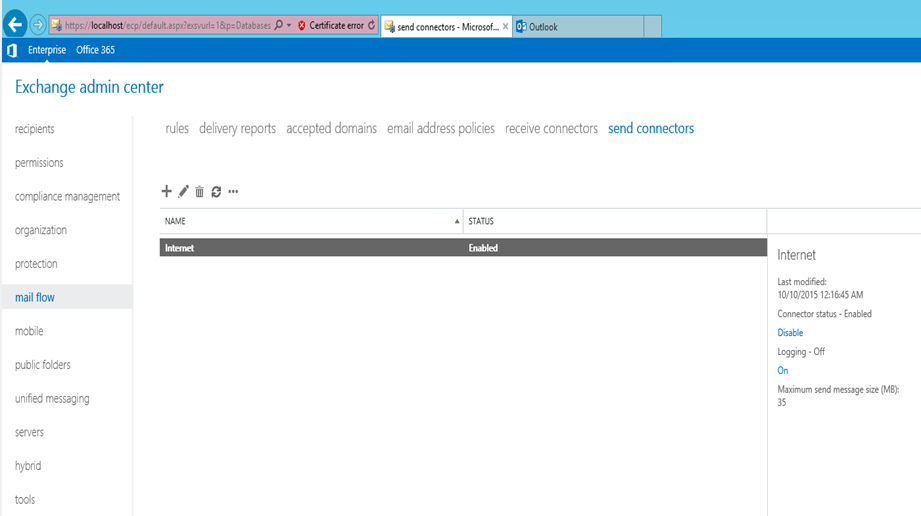
Here you have 2 option:
- Add your Exchange 2013 to the current Exchange 2010 Send connector
-Select the connector then click on pencil
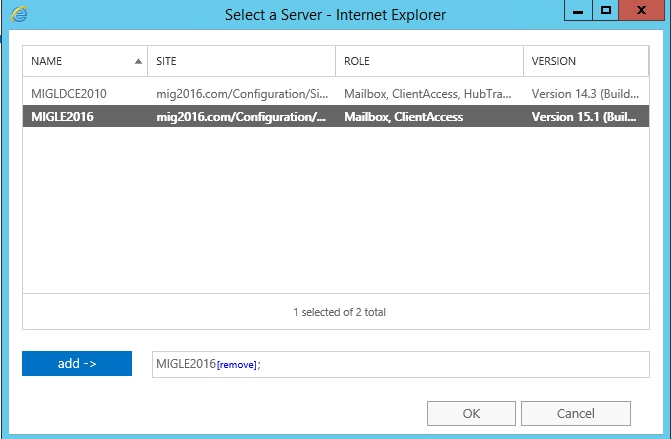
-Click on Scoping then click + on Source Server.
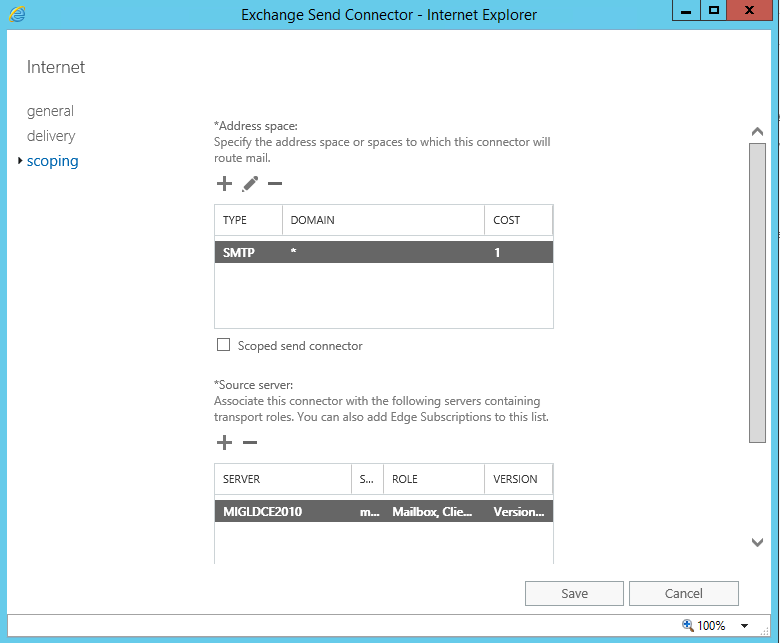
-Select Exchange 2016 servers, click add then ok then save. This will add Exchange 2016 server to the Source servers.
-
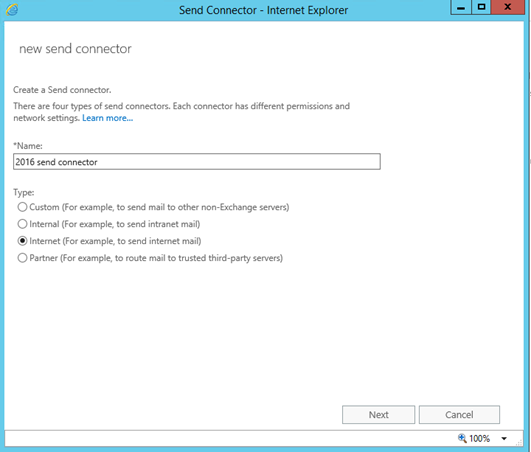
Create a new Send connector
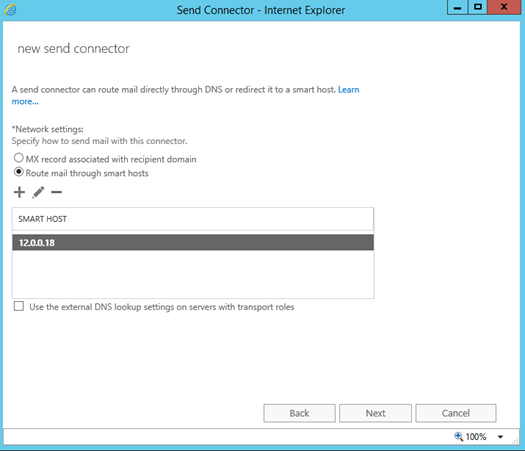
-Click on + sign, give a name and select internet then click next. On this window select “Route mail through smart hosts” and give the IP and click next.
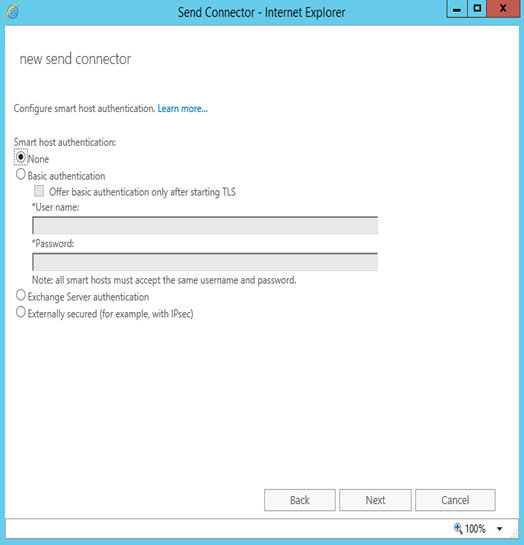
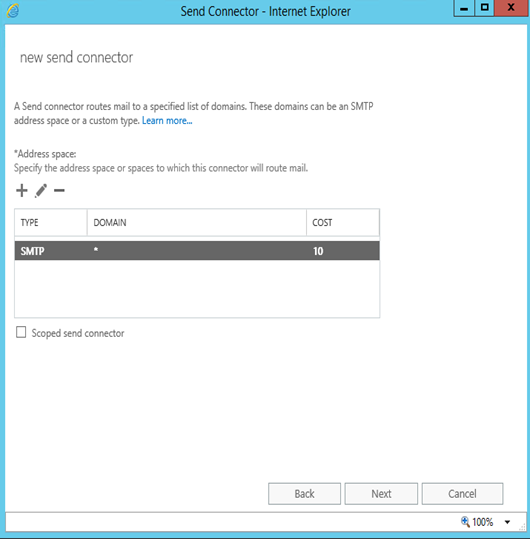
-Select the authentication and click next. Most of the time you will select none. On this screen click on + and add * then click next. There are 2 things to consider here. 1 is the cost, you may like to configure Exchange 2016 send connector and just keep them as backup until you migrate 50% of the users. Or You might like to use “Scoped Send Connector” if you have multiple AD site with their own Exchange servers and spam appliance to route emails locally.
-On source Server window add the exchange 2016 server and click Finish. This will create the send connector. Once send connector is creates, update the email size limit on the send connector.
Configure from Exchange Management Shell:
To add Exchange 2016 in the existing send connector run the below mentioned command
Set-SendConnector -identity name_of_the_send_connector –SourceTransportServers “Exchange2016servername and Exchange 2010 server”
To create new send connector for Exchange 2016 run the below mentioned command.
New-SendConnector -Name name_of_the_send_connector -SourceTransportServers “Exchange2016servername” -SmartHosts “Smarthosts IP” –Internet -AddressSpaces SMTP:*;20
Example: New-SendConnector -Name 2016 -SourceTransportServers MigLE2016 -SmartHosts 12.0.0.18 –Internet -AddressSpaces SMTP:*;20
Smtp is the Protocol. * means all domains and 20 is the cost.
Receive Connector:
Configure from Exchange Admin Center:
Open EAC by going to the url https://localhost/ecp on internet explorer on exchange 2016 server.
Click on Mailflow on the left pane then click on Receive connector.
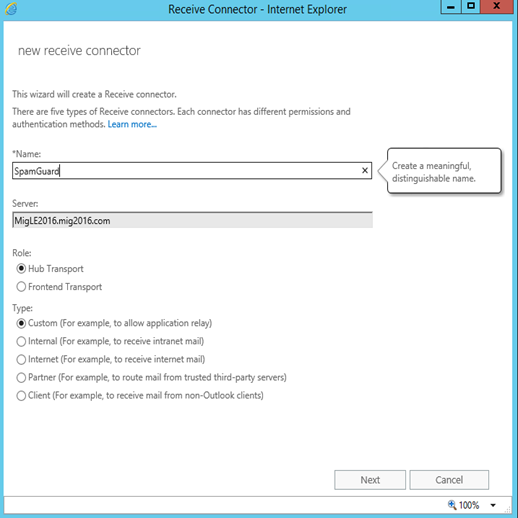
-Click on + then give a name and click next. Default should be selected as hub transport and custom. Click next on this screen or add IPv6 then click next.
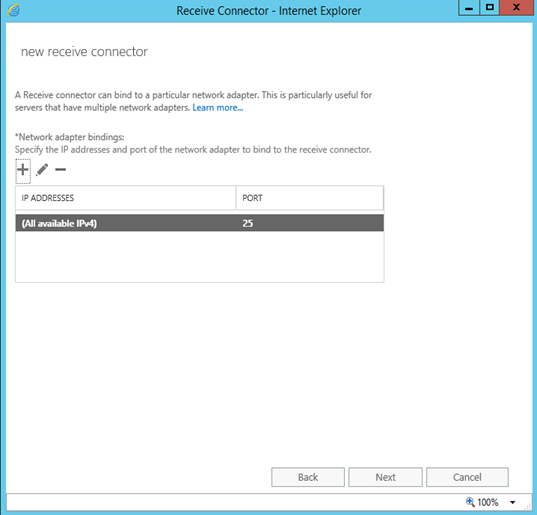
-Change the IP range to your spam forwarder or other application IP or Range then click Finish here to create new receive connector.

-Double Click the receive connector and set the message size limit and authentications.
Configure from Exchange Management Shell:
I have written the above blog about creating receive connectors from PowerShell because there can be 10 new servers and all servers may require 4 to 5 receive connect which leads to 30 to 40 receive connector. In this scenario PowerShell save your time. Check this blog here.
If you have to accept IP with anonymous users, then you will use the below is the command:
New-ReceiveConnector -Name NameOftheConnector -AuthMechanism TLS -RemoteIPRanges RemoteIPs -Bindings 0.0.0.0:25 -PermissionGroups AnonymousUsers -Server NewExchangeservername
Important: Once receive connectors are configured add Exchange 2016 Servers IPs on your spam appliance to forward emails to Exchange 2016 servers.
This ends Mail Routing blog.
Microsoft MVP | Exchange Server
Team@MSExchangeGuru
")

