Configure Exchange 2016 – mail flow and client access
Once we have installed Exchange Server 2016 in the organization, it requires configuring mail flow and client access in order to send to Internet and external clients such as Microsoft Office Outlook, and Exchange ActiveSync.
In my example I have taken a basic Exchange deployment with a single Active Directory site and a single simple mail transport protocol (SMTP) namespace.
Below are the steps involved in Mail flow and CAS server configuration:
-
Create a Send connector
-
Add additional accepted domains
-
Configure the default email address policy
-
Configure external URLs
-
Configure internal URLs
-
Configure an SSL certificate
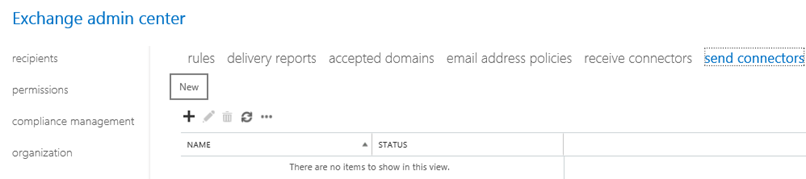
Create a Send connector:
Send connector is the one which permits an Exchange server to send emails externally based on the configuration on it.
Open EAC and Navigate to Mail Flow àSend Connectorsà Click on New :
:
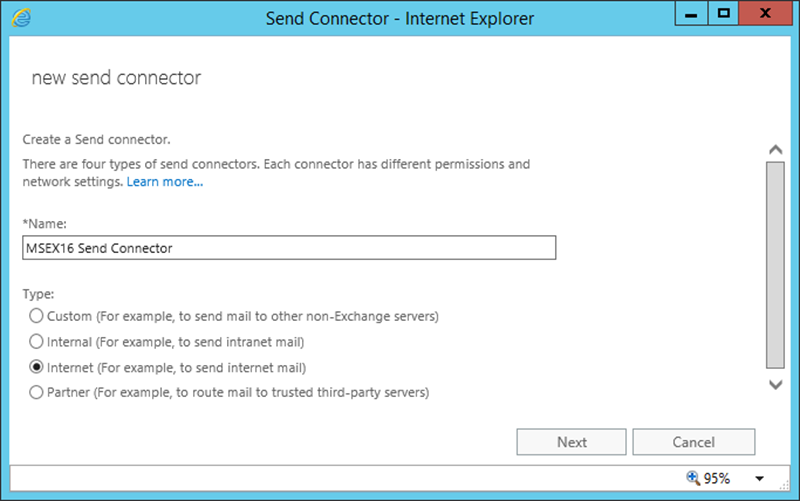
In the new send Connector window, provide Name and select the type of Connector and click on next:
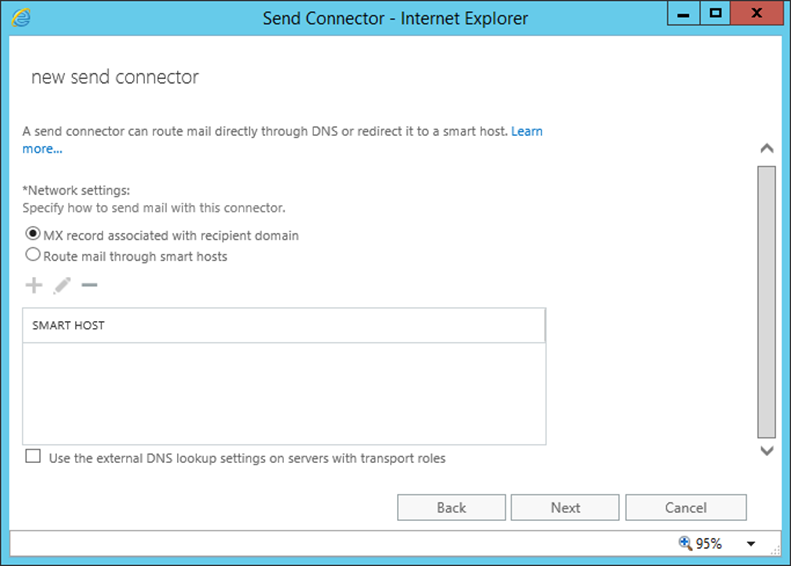
Select the Network Settings to send emails with the connector and click on Next:
Here we have two options available to route the emails.
MX record associated with recipient domain: Using MX record as email routing option, the Exchange server will try to find target email server using DNS lookups. Make sure the internal DNS server can resolve external domain names while selection this option.
Route mail through smart host: Smart hosts can be SMTP server of the Internet provider or any other SMTP server.
In my case I am selecting MX routing option send mail with this connector.
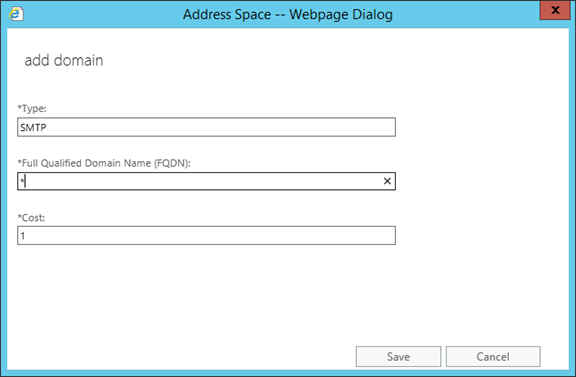
Provide the Address Space for which the send connector routes the mails: Click on Add :
:
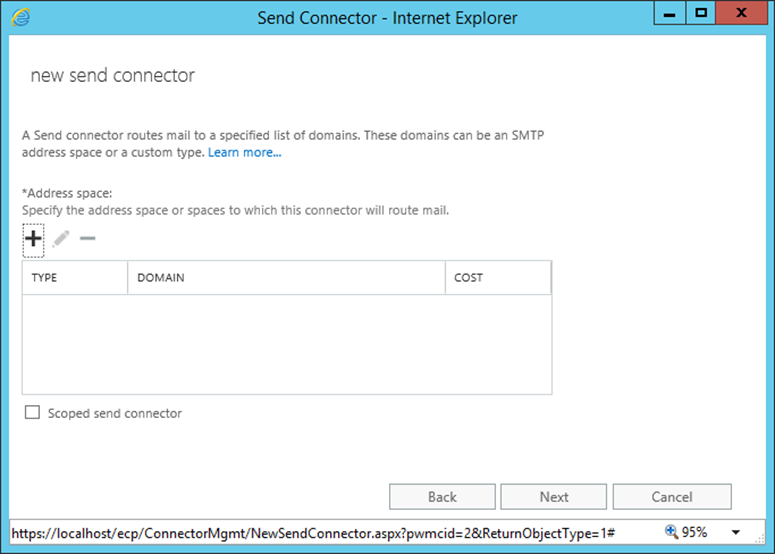
Provide the Type, domain Fully Qualified Domain Name FQDN and cost and click on Save as below:
NOTE:
As we need to send emails to all target domain names, provided * as FQDN.
Review the Address Space configuration and click on Next:

In the new window, Click on Add to select the Source serveràSelect the serveràclick on Add and OK
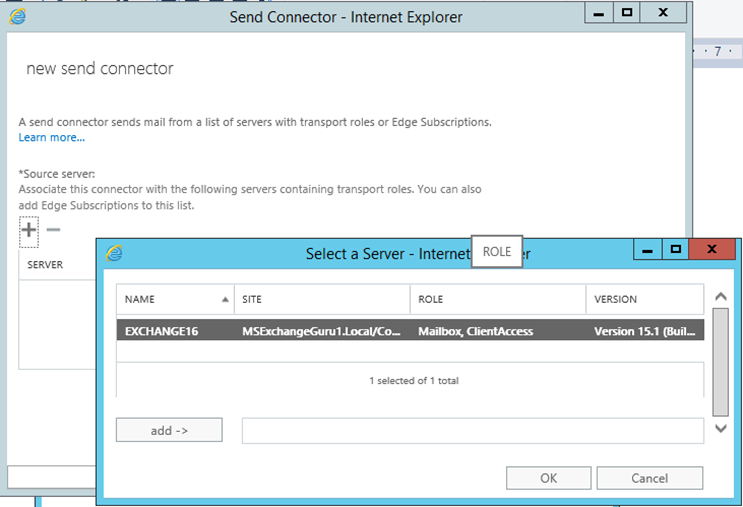
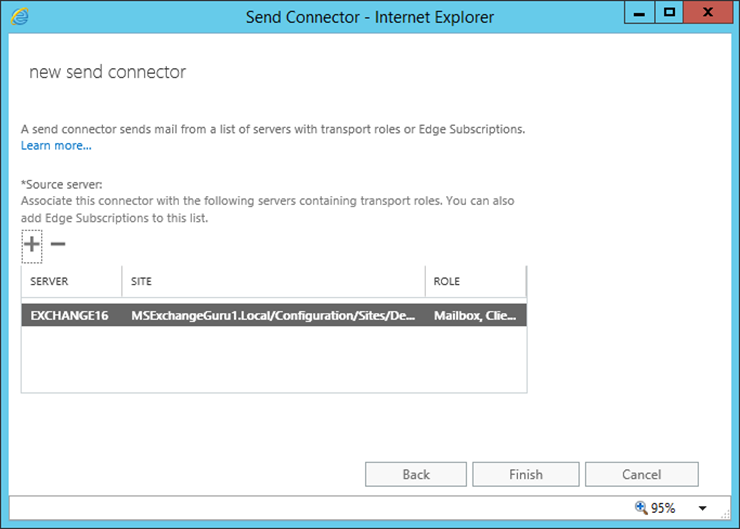
Verify the Source Server Details and Click on Finish to complete the send connector configuration:
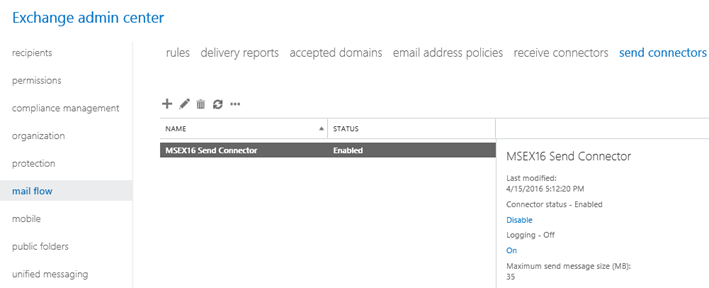
We can find the send connector as below:
NOTE:
Receive Connector: An inbound Receive connector will be created by default when an Exchange server 2016 is installed. This default Receive connector accepts anonymous SMTP connections from external servers; hence it is not required make any additional configuration for receive connector.
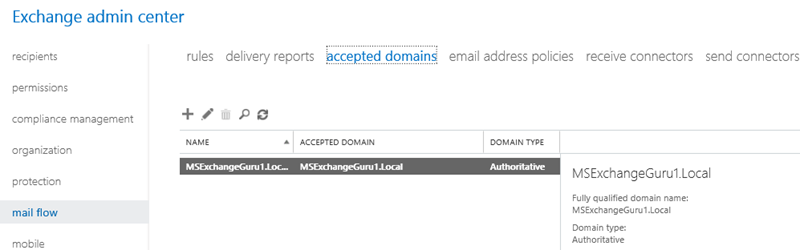
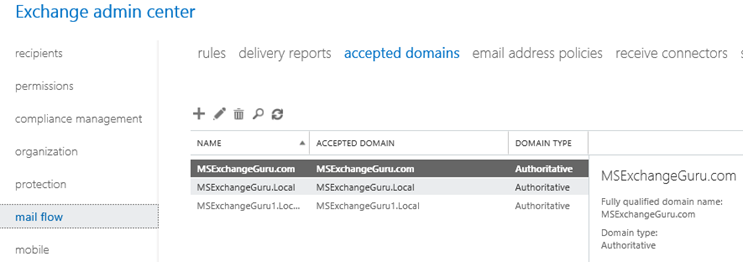
Add additional accepted domains:
An accepted domain is a SMTP namespace for which a Microsoft Exchange Server sends or receives emails. Accepted domains comprise the domains that the Exchange organization is authoritative. When exchange handles mail delivery for recipients in the accepted domain, the Exchange organization is authoritative. Accepted domains also include domains for which the Exchange organization receives mail and then relays it to an external email server.
We can see there is an MSExchangeGuru1.Local is added by default and the domain type is Authoritative. By default an active directory site’s root domain will be added as accepted domain.
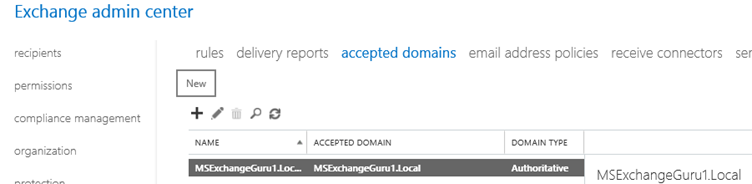
Configure additional Accepted Domain:
Open EAC and Navigate to Mail Flow àAccepted Domainsà Click on New :
:
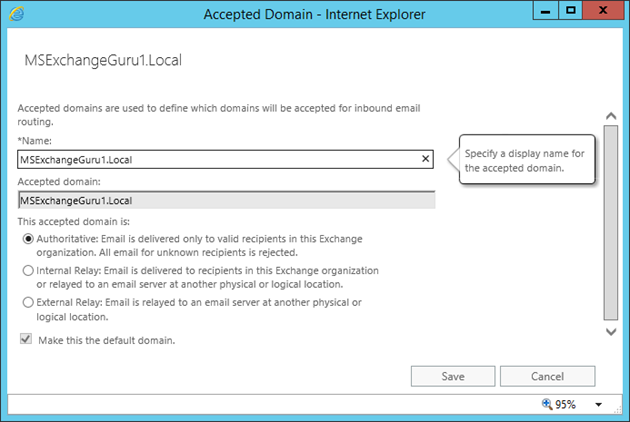
In the new Accepted domain window, provide the name, Accepted domain and select the domain typeàSave:
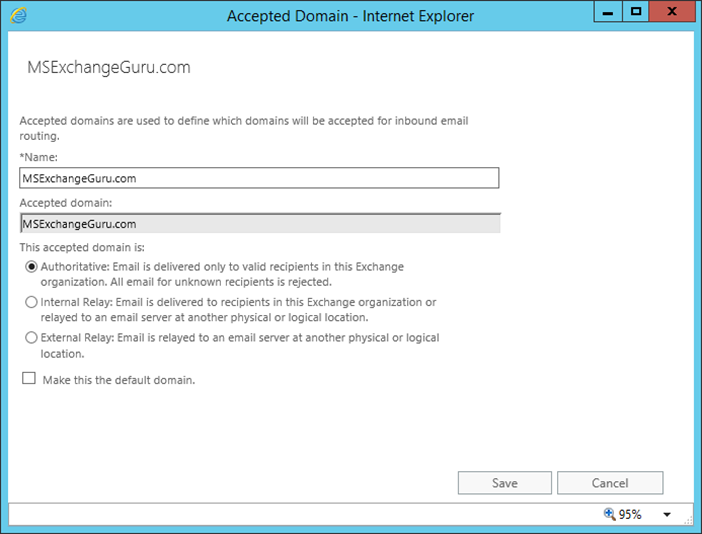
Once done we can find the Accepted Domains as below:
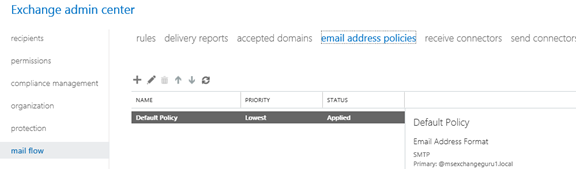
Configure the default email address policy:
Email address policies describe the email address format. By default, the default email address policy is created and applied to all recipient types and the default email address format is Alias@contoso.com. The default email address policy is typically acceptable; hence I will leave the default. If required we can add different email address policy and apply to recipients based on different criteria.
Open EAC and Navigate to Mail Flow àEmail address policiesà select Default PolicyàClick on Edit  :
:

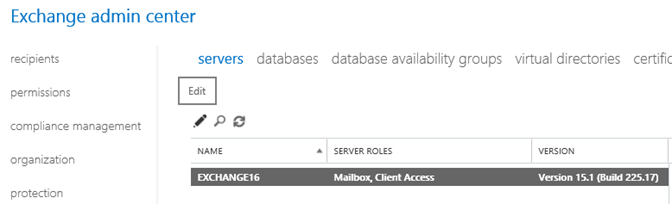
Configure external URLs:
It’s required to configure the external domains, or URLs, on the Mailbox server’s virtual directories and then configure public domain name service (DNS) records Before clients connect to our new server from the Internet.
In the below example have configured the same external domain on the external URL of each virtual directory. If you want to configure different external domains on one or more virtual directory external URLs, external URLs must be configured manually.
Open EAC and Navigate to Servers
àServersà select Internet facing severàClick on Edit :
:
NOTE: In my example I have only one server:
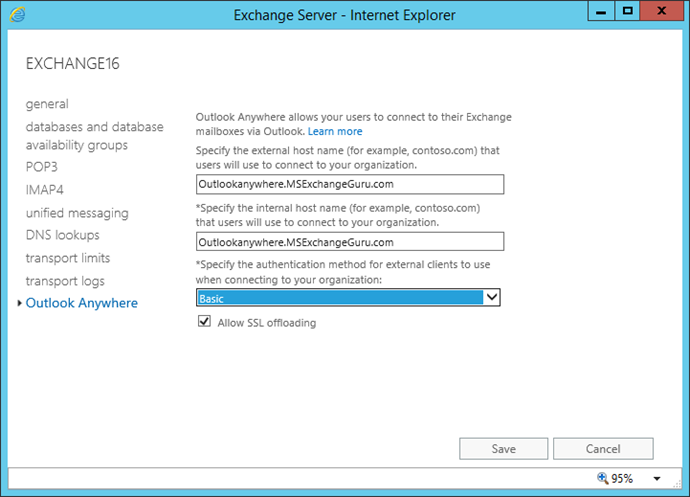
Navigate to Outlook AnywhereàSpecify the internal Host name and External Host name and Click on save.
Select Servers
àVirtual Directoriesà Click on Configure
External access domain :
:
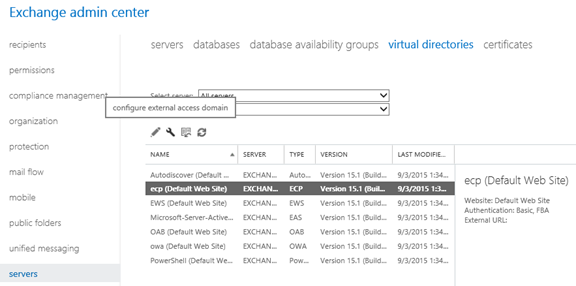
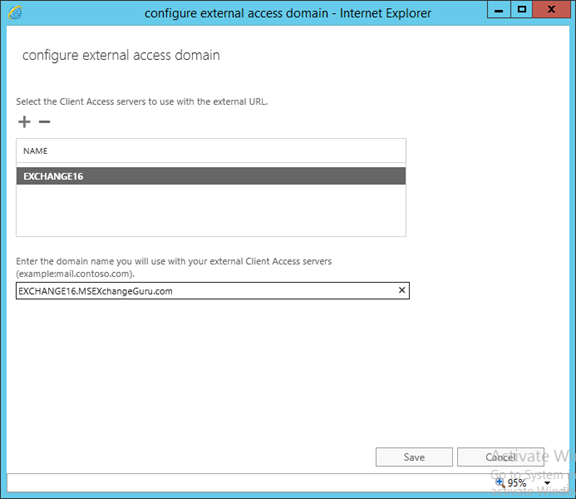
Select the Internet facing Exchange server by clicking on Add  button, Enter the Domain name which will be using for External access as below and click on Save.
Will get the confirmation as below:
NOTE: Once we have the external URL configured on the Mailbox server virtual directories, need to configure the public DNS records for Auto discover, Outlook Web App, and mail flow. The public DNS records should point to the external IP address or FQDN of the Internet-facing Mailbox server and use the externally accessible FQDNs that have been configured on the Mailbox server.
Configure internal URLs:
There are two options to configure Internal URLs depends on the addressing scheme that is in place already or the one which we want to implement.
- Configure internal and external URLs to be the same
- Configure different internal and external URLs
NOTE: If a new addressing scheme is deploying, its recommend to use the same URL for both internal and external URLs. Using the same URL makes it easier for users to access the Exchange server as they have to remember only one address.
Regardless of the procedure we choose, we must configure a private DNS zone for the address space which is configured.
Configure internal and external URLs to be the same:
This can be achieved by using Exchange Power Shell using the below steps:
- Open the Exchange Management Shell on the Mailbox server.
-
Store the host name of the Mailbox server in a variable that will be used in the next step. In my case it is Exchange16
$HostName = “Exchange16”
-
Run the following commands in the Shell to configure each internal URL to match the virtual directory’s external URL
Set-EcpVirtualDirectory “$HostNameECP (Default Web Site)” -InternalUrl ((Get-EcpVirtualDirectory “$HostNameECP (Default Web Site)”).ExternalUrl)
Set-WebServicesVirtualDirectory “$HostNameEWS (Default Web Site)” -InternalUrl ((get-WebServicesVirtualDirectory “$HostNameEWS (Default Web Site)”).ExternalUrl)
Set-ActiveSyncVirtualDirectory “$HostNameMicrosoft-Server-ActiveSync (Default Web Site)” -InternalUrl ((Get-ActiveSyncVirtualDirectory “$HostNameMicrosoft-Server-ActiveSync (Default Web Site)”).ExternalUrl)
Set-OabVirtualDirectory “$HostNameOAB (Default Web Site)” -InternalUrl ((Get-OabVirtualDirectory “$HostNameOAB (Default Web Site)”).ExternalUrl)
Set-OwaVirtualDirectory “$HostNameOWA (Default Web Site)” -InternalUrl ((Get-OwaVirtualDirectory “$HostNameOWA (Default Web Site)”).ExternalUrl)
Set-PowerShellVirtualDirectory “$HostNamePowerShell (Default Web Site)” -InternalUrl ((Get-PowerShellVirtualDirectory “$HostNamePowerShell (Default Web Site)”).ExternalUrl)
NOTE: Once the internal URL is configured on the Mailbox server virtual directories, we must configure the private DNS records for Outlook Web App, and other connectivity.
Configure different internal and external URLs:
Select Servers
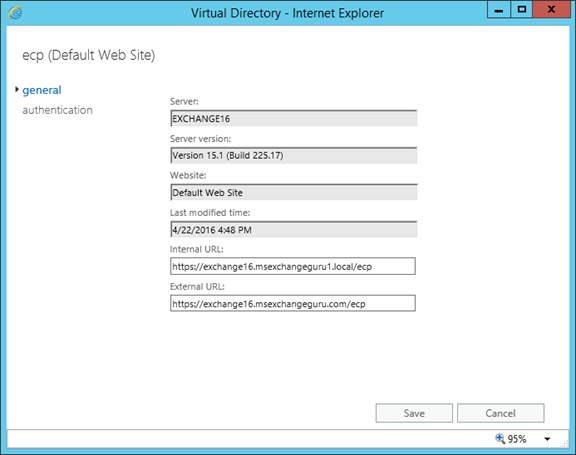
àVirtual Directoriesà Click on Edit :
:
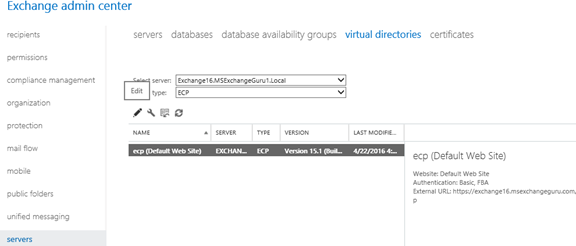
Under internal URL, replace the host name between https:// and the first forward slash (/ ) with the new FQDN that needs to be used and click on Save for all Virtual directories:
Configure an SSL certificate:
Exchange services like Outlook Anywhere and Exchange ActiveSync, require certificates to be configured on Exchange 2016 server; hence we must configure and an SSL certificates as per the requirement.
Ratish Nair
Microsoft MVP | Exchange Server
Team @MSExchangeGuru
")


September 8th, 2016 at 9:52 am
HI there, I’m trying to setup en Exchange Server 2016. Everything is working well except that I can’t access my mail using my iphone device. I always get “Unable to verify account information”.
Can you help me on this?
TY
September 10th, 2016 at 7:38 pm
This looks like Autodiscover issue.