Office 365: Create DKIM Record
Last week one of the known load balancer company send me an email where sender and recipient email address were my domain’s email addresses on my office 3 65. In the post incident RCA Microsoft told that SPF is not enough for this incident and we should have DKIM enabled for our domains.
Microsoft recommends to create DKIM DNS record along with SPF which adds the digital signature. Check Microsoft TechNet Blog here to learn more.
Overall it is a 2 step process. First is the creation of 2 CNAME records and second is Enabling DKIM in office 365 which will create 2 DKIM TXT record. The key here is learning how to create Cname record.
I am sharing the following steps to enable DKIM record in Office 365.
-
Create 2 CNAME record else you will see the below warning:
CNAME record does not exist for this config. Please publish the following two CNAME records first.
selector1-emaildomainname._domainkey.Tenantename.onmicrosoft.com
selector2-emaildomainname._domainkey.Tenantename.onmicrosoft.com

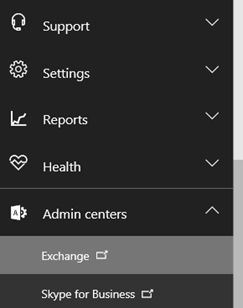
- Login to your office 365 tenant
-
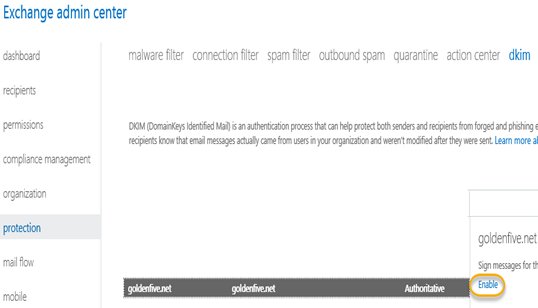
Open the Exchange Admin Center à Protection à DKIM à Select the domain and click Enable
Or
-
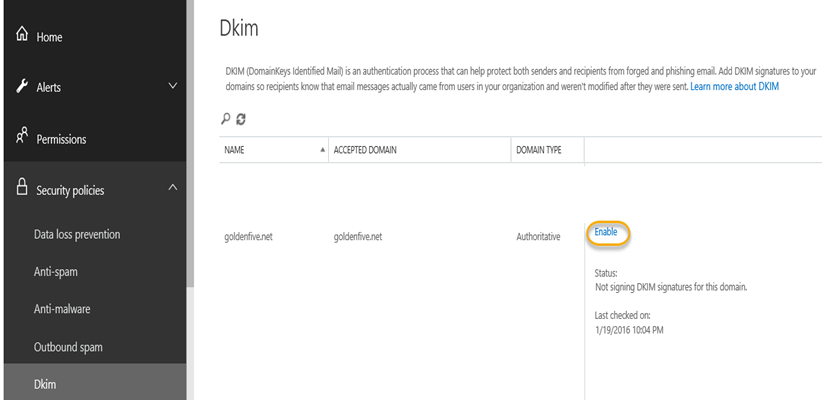
Click on Security Policies à DKIM à Select the domain and click Enable
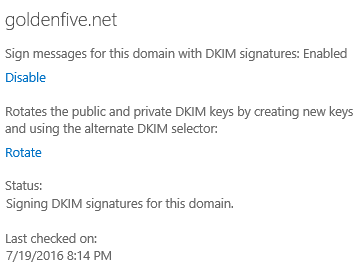
We do not need to rotate the Key. Microsoft does it for us.
For the verification, I had sent an email to MSExchangeGuru.com email address and the successful DKIM validation.

This is how my previous email used to look like.

Even though my sender domain is not onmirosoft.com, it used to pick up our tenant domain. This means it was using the default signature created by Microsoft but it is not 100 secure so you should configure DKIM for your domain.
Now the question is where are my DKIM record. It is simple logic. We created 2 Cname record which are the alias records so it will go to the pointers under Tenantename.onmicrosoft.com which is owned by Microsoft so you can’t see it in your DNS provider list.
There are couple of ways to check them
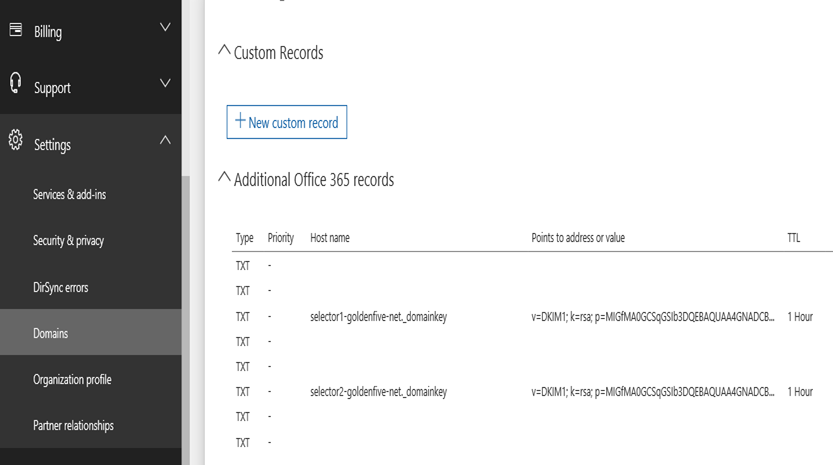
- Login to your office 365 à Settings à Domains à Select your domain à Additional Office 365 records.
Or
- Open command prompt à Nslookupà Set q=txtà Then type the pointer and enter

- We can also test the DKIM record working here. http://dkimcore.org/tools/keycheck.html
Just fill like this and click check

YAY! This is a valid DKIM key record

We are done DKIM for Office 365 here. I know some of you will ask to provide a blog for on premise, expect it sooner.
I am also sharing couple of reference here.
How anti spoofing protection works in Office 365 Mail http://aka.ms/AntiSpoofingInOffice365
https://blogs.msdn.microsoft.com/tzink/2015/10/08/manually-hooking-up-dkim-signing-in-office-365/
Microsoft MVP | CTO @ Golden Five
Team@MSExchangeGuru
")


September 6th, 2016 at 10:04 am
Can you share any doucment which can be created for Exchange on premises environment?
Thanks
David
September 16th, 2016 at 2:38 am
Here you go. My MVP Colleague did it.
https://exchangequery.com/2016/09/03/configure-dkim-and-dmarc-in-on-premise-exchange-environment/
April 25th, 2017 at 5:15 am
Hello Prabhat,
I had a small query do we need to set this for each domains we have under office365 tenant?
Thanks
RD.
April 26th, 2017 at 5:38 am
Yes, Please