Web Application Proxy with Azure MFA Part 2
After Part 1, we have Web Application Proxy installed and this is the configuration blog of WAP Deployment. We will also share the configuration required to publish RDWEB with WAP using the same server.
Web Application Proxy with Azure MFA Part 1 https://msexchangeguru.com/2016/12/09/wap-adfs-mfa-part-1/
Make sure we have SSL certificate with the RDWeb URL. We should install it on RDweb proxy.
Configure Kerberos for WAP server.
- Open Adsiedit.msc, Connect to the domain partition and Go to the properties of the WAP server computer object. We would assume the name of the computer is WAP and domain is GoldenFive.net
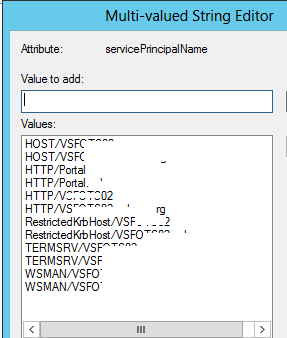
- Select ServicePrincipalName and click edit.
- Now add 2 entries for the server name and 2 for the application URLs here.
HTTP/WAP
HTTP/WAP.GoldenFive.net
HTTP/Portal
HTTP/Portal.GoldenFive.net
- Click ok then ok. Close Adsiedit.msc now.
Configure Delegation
- Open Active Directory Users and Computers.
- Search for the WAP server
- Go to the properties of the WAP server
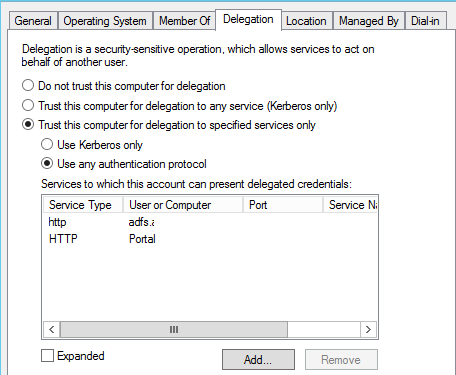
- Click on Delegation tab, click Trust this computer for delegation to specified services only, and then click Use any authentication protocol.
- Click Add and in the add services windows click on to the users or computers.
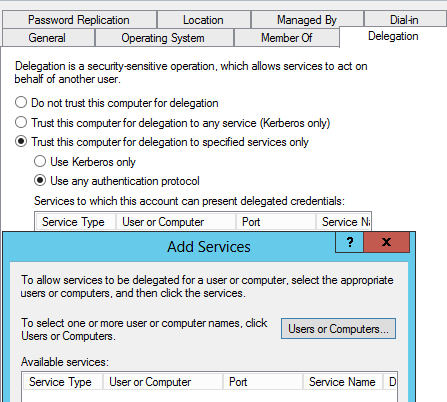
- Enter the name of the web server which is using Integrated Windows authentication.
-
Click ok. Now in the available services list, select Http service type then click ok. Then click ok.
I have added my URL with Service type HTTP and my ADFS Service account with Service type HTTP.
Configure ADFS Rely Trust
For all web applications that we are planning to publish using AD FS preauthentication, we need to configure one relying party trust for each application in the AD FS server.
In our case, RDWeb is not a claim aware application so we will add a non-claim aware relying Party Trust.
- Login to the ADFS server
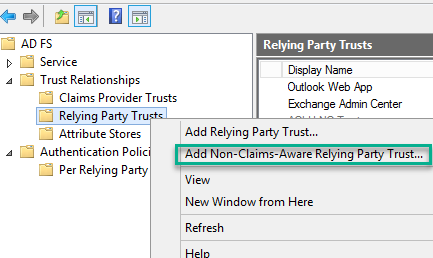
- Open ADFS Management
- Expand Trust Relationships
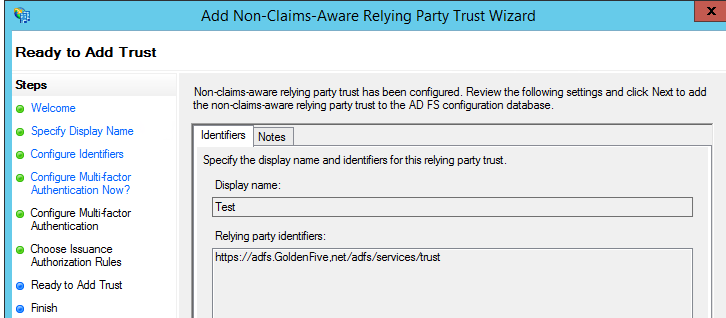
- Right click on “Relying Party Trusts” and select “Add Non-Claims-Aware Replying Party Trust”
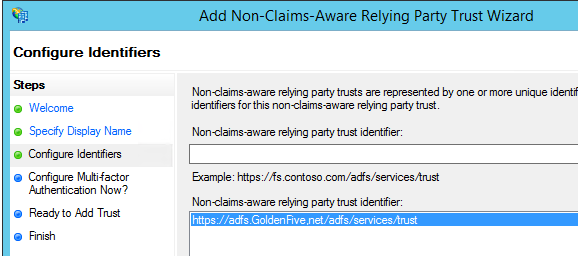
- Click Start Then Give a Display name and click next here.

- Now give your ADFS URL and click Add
https://adfs.GoldenFive,net/adfs/services/trust
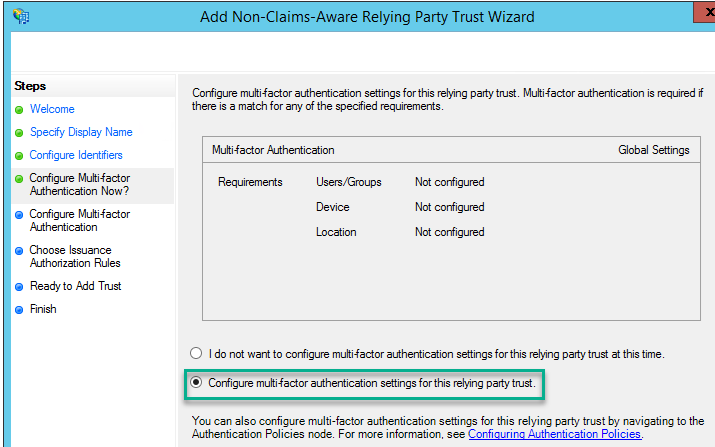
We are going to use MFA so we will configure “Configure multi-forest Authentication settings for this relying party trust” then click next
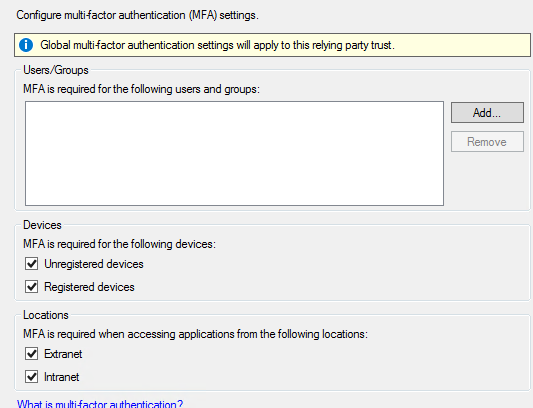
Select MFA settings and click next
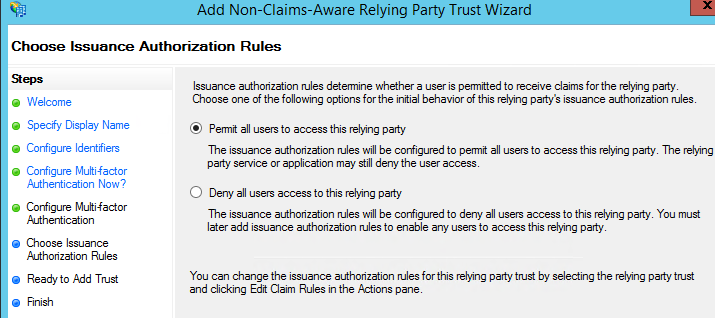
- Accept the default and click next.
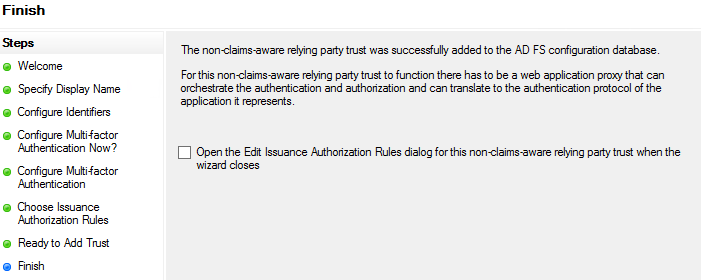
- Click next here.
- Uncheck the checkbox and click close.
- Restart-Service adfssrv

Publishing the RDWeb in Web Application Proxy
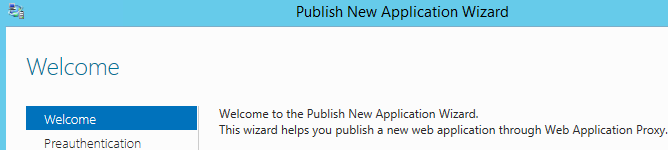
Open “Remote Access Management console” and click on Publish.

Click next on the welcome Screen
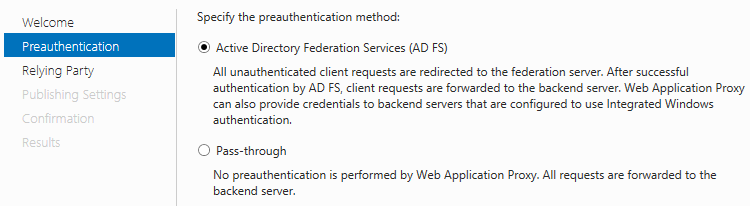
Select ADFS and Click next
Now select non-claim-aware relying Trust which was created in the previous step and click next.

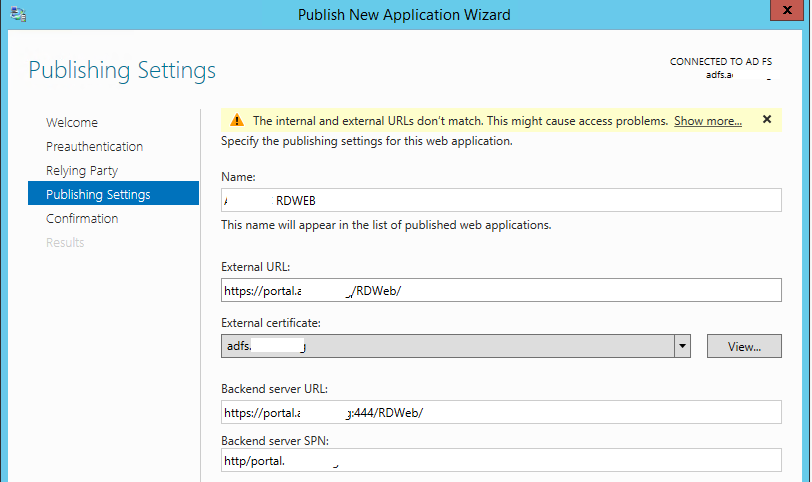
Now configure the following as mentioned below sample
Name – Golden Five RDWeb
External URL: RDWeb external URL
https://portal.GoldenFive.net/RDWeb
External Certificate: Select the certificate.
Backend Server URL: https://portal.GoldenFive.net:444/RDWeb
Look at this I have added port 444 for the backend server URL.
Backend Servers SPN: HTTP/Portal.GoldenFive.net
I have used the URL in place of the server name and this is why I had added the URL in the ServicePrincipalName in step 1.
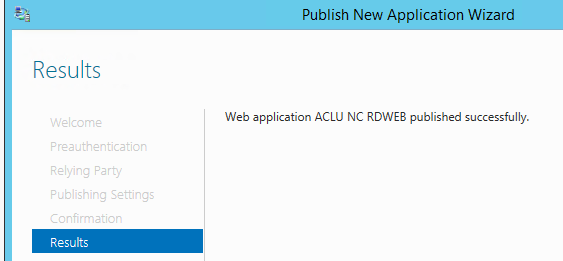
Review the cmdlet then click Publish.
Click close on the confirmation screen.
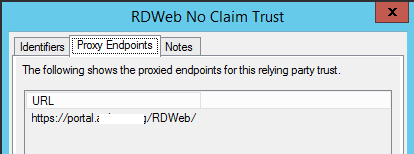
Now we can verify in the ADFS Management, on the claim properties à Proxy Endpoints will be updated.
Open the power shell and run the following cmdlets
Get-WebApplicationProxyApplication -Name “Published Application Name” | Set-WebApplicationProxyApplication -DisableHttpOnlyCookieProtection:$true -InactiveTransactionsTimeoutSec 28800
Import-Module remotedesktop
Set-RDSessionCollectionConfiguration -CollectionName “CollectionNAme” -CustomRdpProperty “pre-authentication server address:s: https://Portal.GoldenFive.net/rdweb/n require pre-authentication:i:1”
Run IISreset
Add the following Public DNS records
Host Record ADFS.domain.com Public IP
CName Record Portal.domain.com ADFS.Domain.com
Important: Make sure to point ADFS URL to the WAP Server for the external Traffic because it has to go through web application proxy server.
Firewall Rule:
Public IP NAT to WAP+RDWeb Server Internal IP with Port 443
Testing:
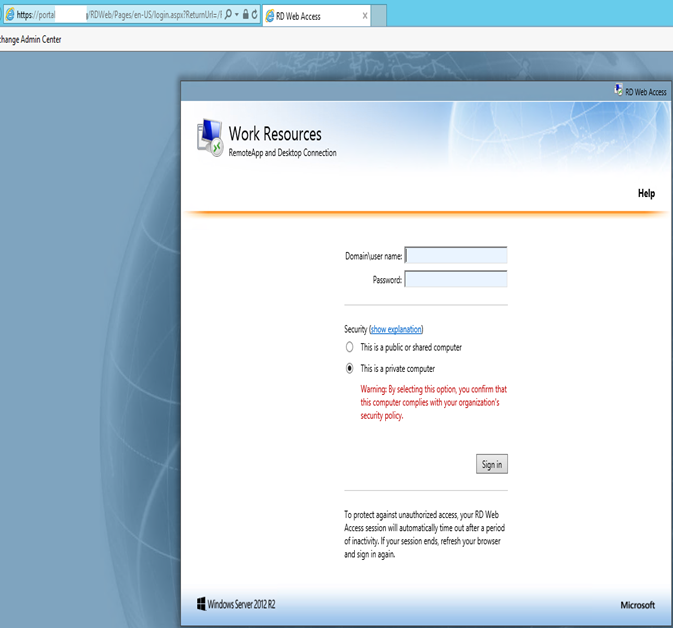
Open the RDWeb URL:
https://Portal.GoldenFive.net/RDWeb
Now we will see URL has changed to https://adfs.GoldenFive.net/adfs/ls….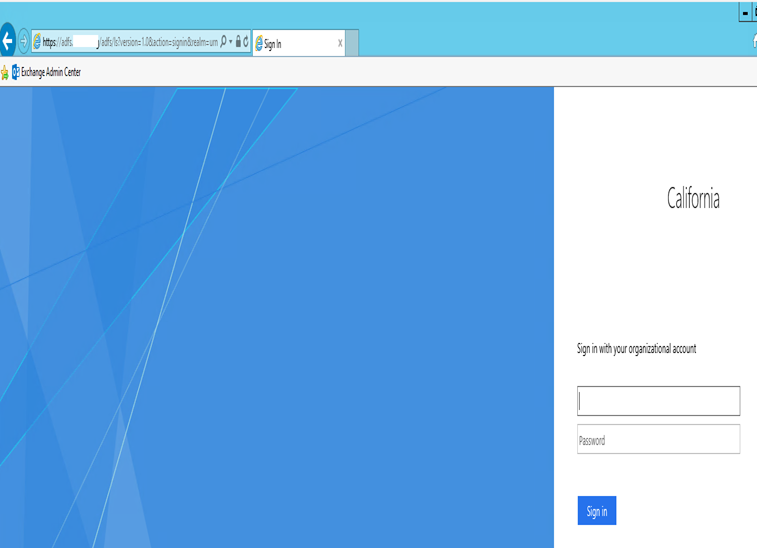
Type the credentials and click login.
Now we should see the Multi-Factor Authentication

Select your choice and authenticate.
Now we will see the URL has changed to this.
https://portal.GoldenFive.net/RDWeb/Pages/en-US/login.aspx?ReturnUrl=/RDWeb/Pages/en-US/Default.aspx
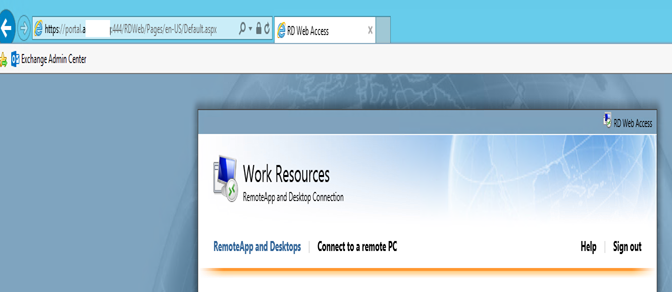
Important: Microsoft has confirmed that this RDWeb login would be required even after ADFS SSO.
After the login, URL will change again to the following:
https://portal.GoldenFive.net:444/RDWeb/Pages/en-US/Default.aspx
To stop the URL from showing the changed header run this command.
Get-WebApplicationProxyApplication -Name “RDWeb” | Set-WebApplicationProxyApplication -D
isableTranslateUrlInRequestHeaders:$True -DisableTranslateUrlInResponseHeaders:$True
After this command, URL will not show “:444”. When we will open any application then we will receive the following error.

To fix this error simply add the https://*.Domain.com in the Internet Explorer Trusted Sites.
RDWEB SSO Configuration:
We also configured SSO at the RDWeb Level with the help of this blog:
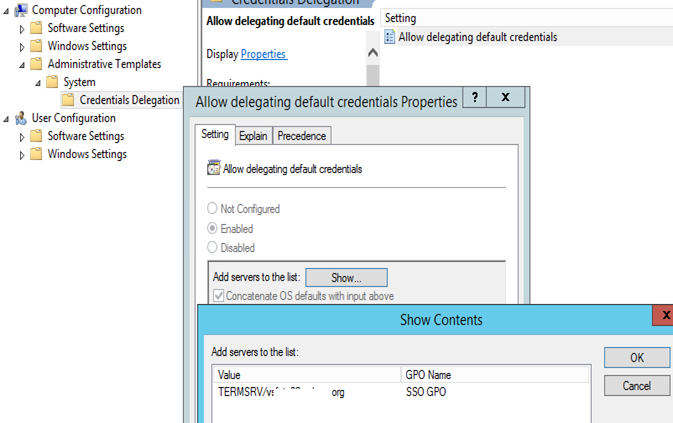
Add the fully qualified domain name (FQDN) of the RD Connection Broker server to the server list of the corresponding Credentials Delegation Group Policy setting. Configure the GPO in the DC and assign it to the WAP server OU.
WE have to add TERMSRV/Fqdnoftheserver
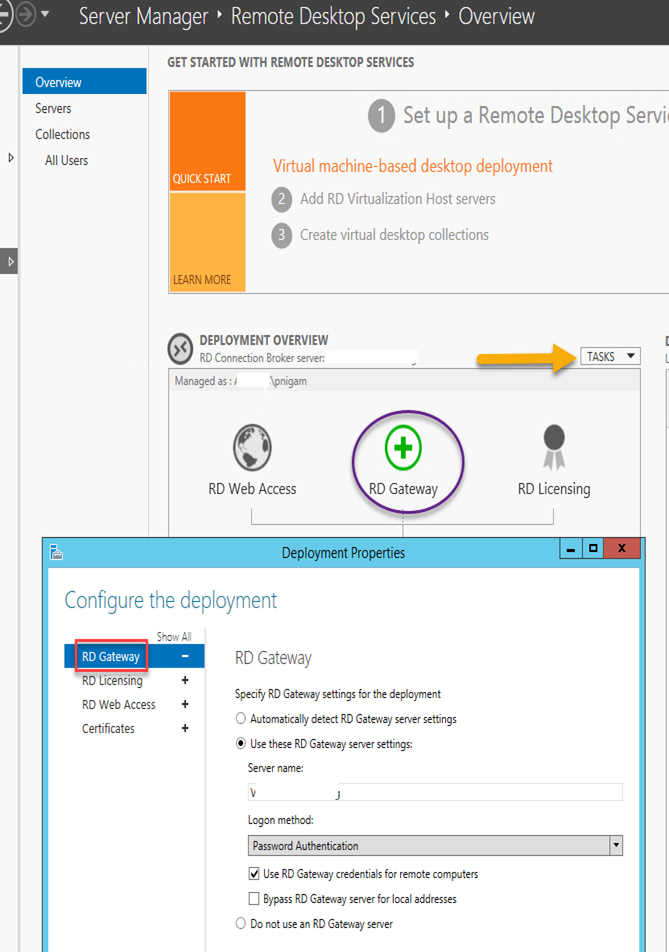
Navigate to Server Manager à Remote Desktop Services à Overview, and in the DEPLOYMENT OVERVIEW section, on the TASKS menu, click Edit Deployment Properties
In the Properties dialog box, select the RD Gateway tab on the left.
Give the RD Gateway Server FQDN which should be the URL configured in the certificate. Portal.GoldenFive.net
Check the checkbox Use RD Gateway credentials for remote computers check box,
Set the Logon method to Password Authentication.
Click Apply and ok.
RDWeb Certificate Configuration
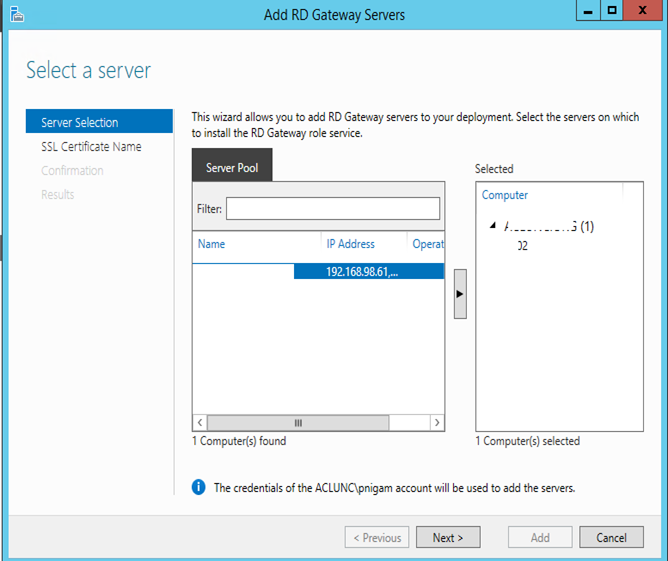
Click on RD Gateway

Move the server to right and click next
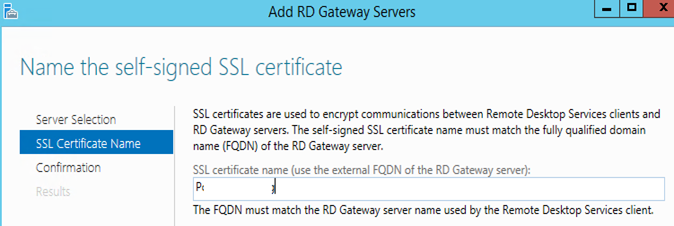
Give the URL Portal.GoldenFive.net then click next
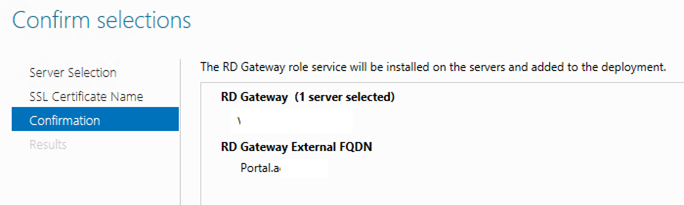
Click Add to confirm
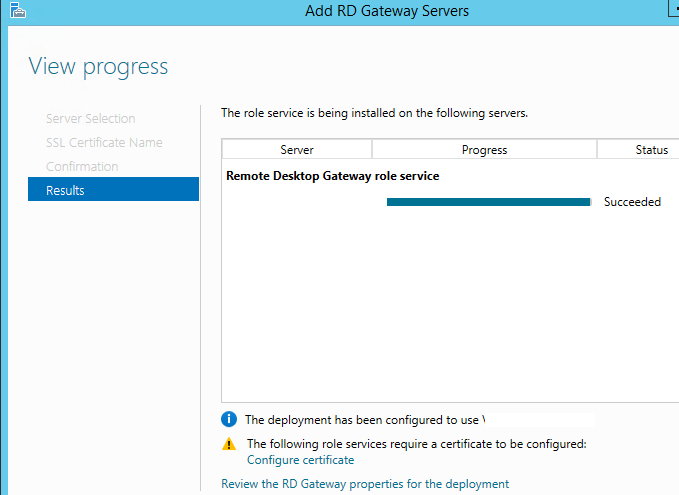
Click on the “Configure Certificate”
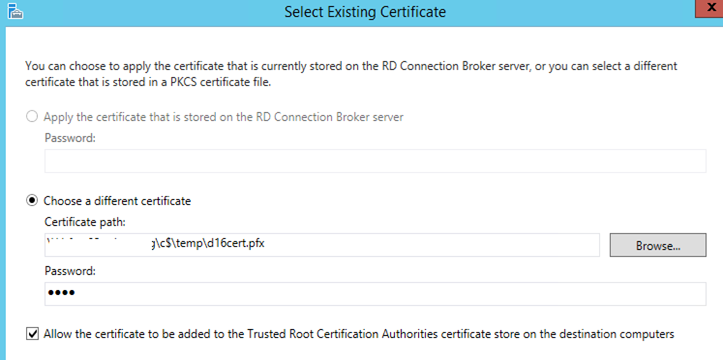
Select the Existing Certificate. Make sure to use the same certificate
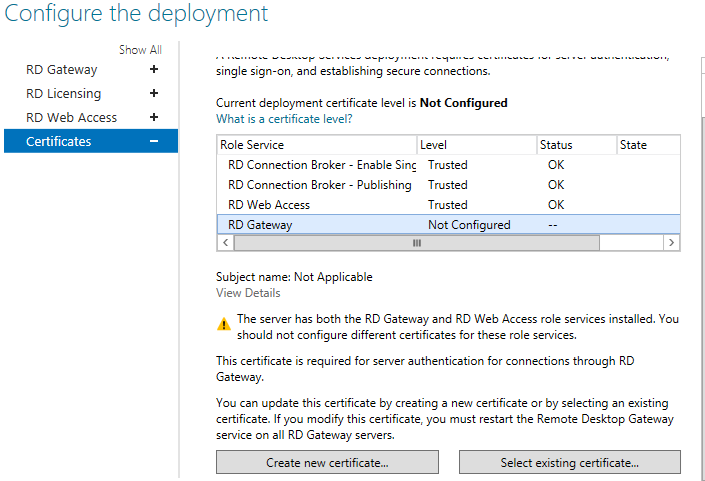
Select the certificate and give the password then check the checkbox and click ok.
Click Apply and ok.
Now we have completed the RDWeb configuration where we can publish outlook and secure it under MFA.
So this is one way of securing On-Premise Exchange Outlook and adapted by many organizations.
Microsoft MVP | CTO @ Golden Five
Team@MSExchangeGuru
Don’t forget to register December 2016 “New York Exchange User Group” meeting. This is the online session on “Upgrading or Migrating to Exchange 2016 CU3″
http://www.meetup.com/nyexug/events/235096894/
")


December 9th, 2016 at 6:46 am
[…] « Unable to install Web Application Proxy Web Application Proxy with Azure MFA Part 2 […]