Multi-Factor Authentication for RDS Portal Part2
As explained in part 1, we need to use Web access proxy to use Multi-Factor Authentication for RDWeb. Now there are 2 kinds of browsers IE which have active X and non-IE browser which are without active X. There is an expected behavior difference in both browsers. In this blog, I will share the difference, loop hole, and remediation.
Application opening different in IE and non-IE browsers
Login to MULTI-FACTOR Authentication works the same way in all the browsers.
There is a behavior difference in opening the application.
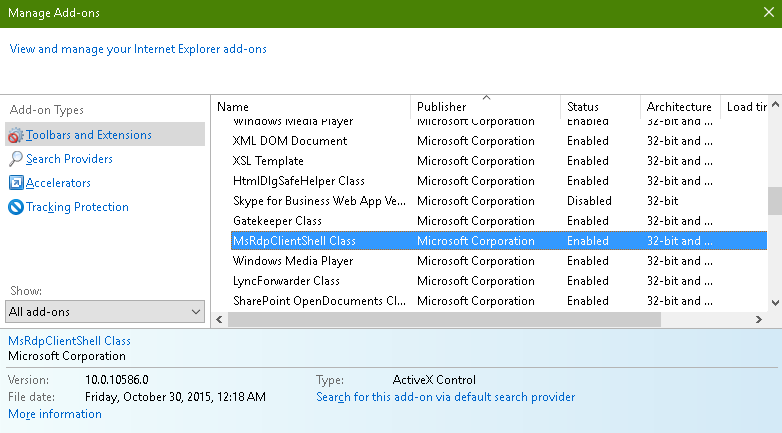
When we open an application from IE, it uses MSRDPClientShell Class Add-in to open the application.
When we open the application on a non-IE browser then it will download a .rdp file in the download folder.

Till this point, we are ok as it is working well.
Loop Hole
Here comes the concern:
You have logged out from RDWeb but .rdp file is still present in the download folder.
Now if you will double click this file then it will open your application without doing MULTI-FACTOR Authentication. It will ask for the active directory password only. Here your RDWeb MULTI-FACTOR Authentication deployment would look like a waste of time.
But logically this is not a bug but this is the reality.
If we think, .rdp file is not going to the RDWeb URL rather it is just opening the application from the server so it should work this way.
At the same time, our Goal is to provide Multi-Factor Authentication throughout the ORG so our security will not accept this solution until it is using MULTI-FACTOR Authentication for every external access.
Now we need to secure our RDWeb Gateway and Push the Authentication to Radius server. The next step will guide us through.
Configure RD Gateway for MULTI-FACTOR Authentication
Step 1. RD Gateway Configuration
First, you fake out RD Gateway and configure it to use a Central RD CAP store, but you point it to the new MULTI-FACTOR Authentication server. Follow these steps:
-
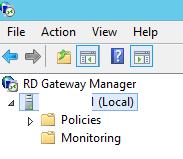
Open RD Gateway Manager, right-click the server name, and select Properties.
-
Select the RD CAP Store tab

-
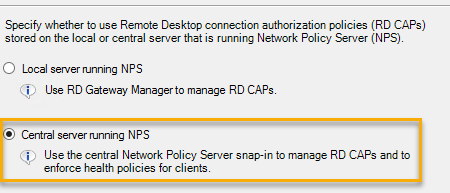
Select the Central server running Network Policy Server option.
-
Enter the IP address of the MULTI-FACTOR Authentication server and click Add.

-
Enter a shared secret in the corresponding popup box and click OK. Then Apply and ok.
Step 2. Network Policy Server Configuration
Make Network Policy Server and MULTI-FACTOR Authentication talk To Each Other
Now we need to configure Network Policy Server (located on the RD Gateway server) and MULTI-FACTOR Authentication server (Located on the ADFS server) to talk to each other.
Network Policy Server and MULTI-FACTOR Authentication server both use a RADIUS client and RADIUS server to communicate with each other. So, we configure a RADIUS client and a RADIUS server like this:
On the RD Gateway server, in Network Policy Server we will configure two Connection Request Policies:
-
The first will send communication to MULTI-FACTOR Authentication Server via a Remote RADIUS Server Group
-
The second will receive communication from MULTI-FACTOR Authentication server via a RADIUS client
On the MULTI-FACTOR Authentication server, we will configure:
-
A RADIUS client to receive communication from the Network Policy Server
-
A RADIUS Target to send communication to the Network Policy Server

Configure Network Policy Server to increase Multi-Factor Authentication Timeout.
First, you need to prevent Network Policy Server from timing out before MULTI-FACTOR Authentication’s Authentication has completed. Do the following to configure it.
-
Login to the RDWeb Server and open Network Policy Server MMC
-
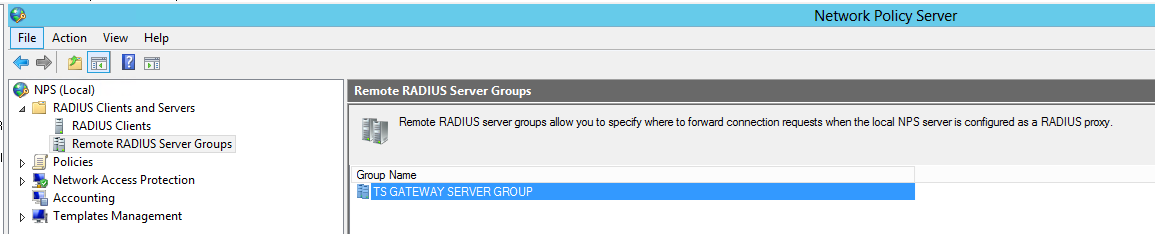
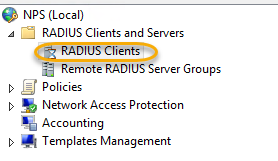
In Network Policy Server, expand the RADIUS Clients and Servers menu and select Remote RADIUS Server Groups.
-
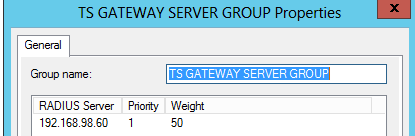
Right click “TS GATEWAY SERVER GROUP” group and select Properties.
-
Select the MULTI-FACTOR Authentication server listed and select Edit.
-
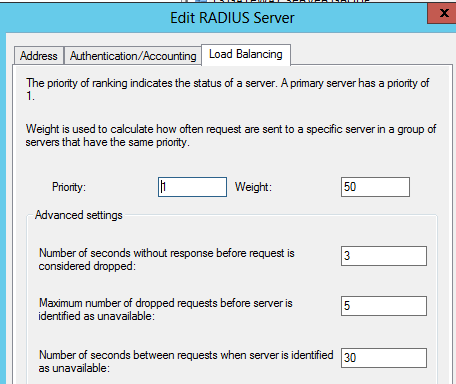
Select the Load Balancing tab.
-
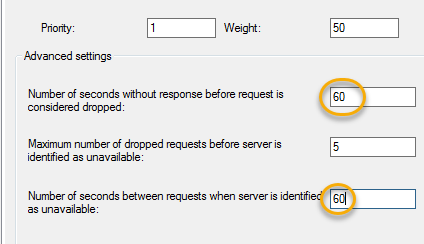
Change the “Number of seconds without response before request is considered dropped” and the “Number of seconds between requests when server is identified as unavailable” to 60 seconds. Then click apply, ok twice.
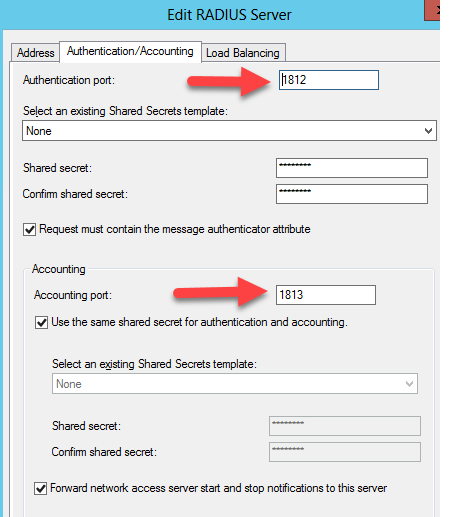
Click on the Authentication/Account tab and ensure that the RADIUS ports specified match the ports that the Multi-Factor Authentication Server will be listening on.
Configure Network Policy Server to receive RADIUS Authentications from MULTI-FACTOR Authentication server.
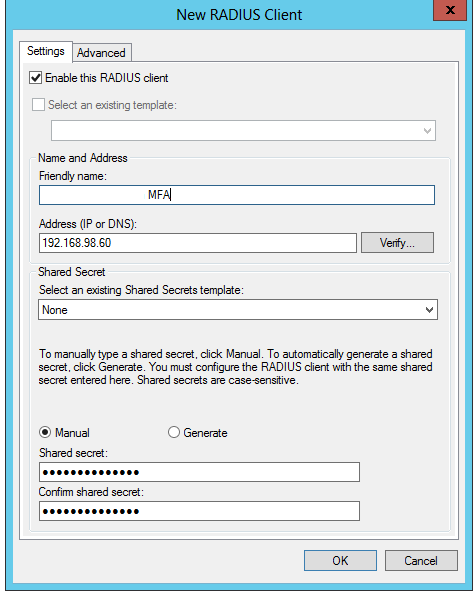
We will create a RADIUS client. In the below-mentioned steps:
-
In the left column, right-click RADIUS Clients and choose New.
-
Add a Friendly Name and the address of the MULTI-FACTOR Authentication. Add a shared secret (Same which we had created in the RD Gateway) and click OK.
Configure two Connection Request Policies in Network Policy Server
One to forward requests to the Remote RADIUS Server Group (which is set to forward to MULTI-FACTOR Authentication server), and
The other to receive requests coming from MULTI-FACTOR Authentication server (to be handled locally).
The easiest way to do this is to use the existing policy that was created when you created an RD CAP in RD Gateway. Follow these steps:
-
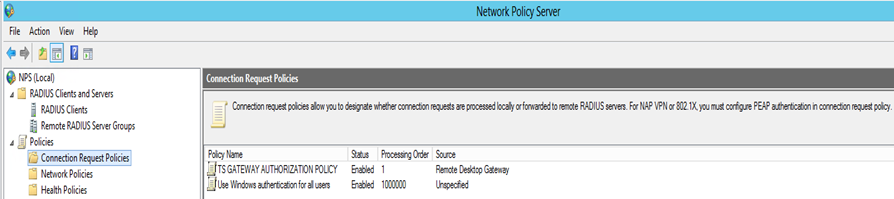
In Network Policy Server expand the Policies section on the left side of the screen and then select Connection Request Policies. You should see a policy already created there, called TS GATEWAY AUTHORIZATION POLICY.
-
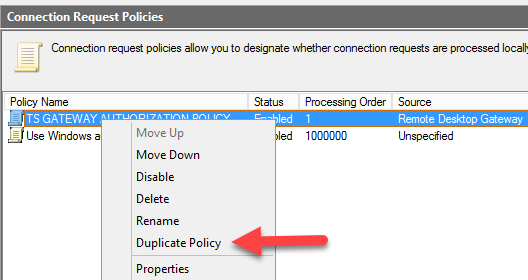
Right click this policy and select Duplicate Policy.
Note: In order to easily tell what each policy is doing, I rename my policies like this:
-
Rename “TS GATEWAY AUTHORIZATION POLICY” to “To MULTI-FACTOR Authentication”
-
Rename “Copy of TS GATEWAY AUTHORIZATION POLICY” to “From MULTI-FACTOR Authentication”

-
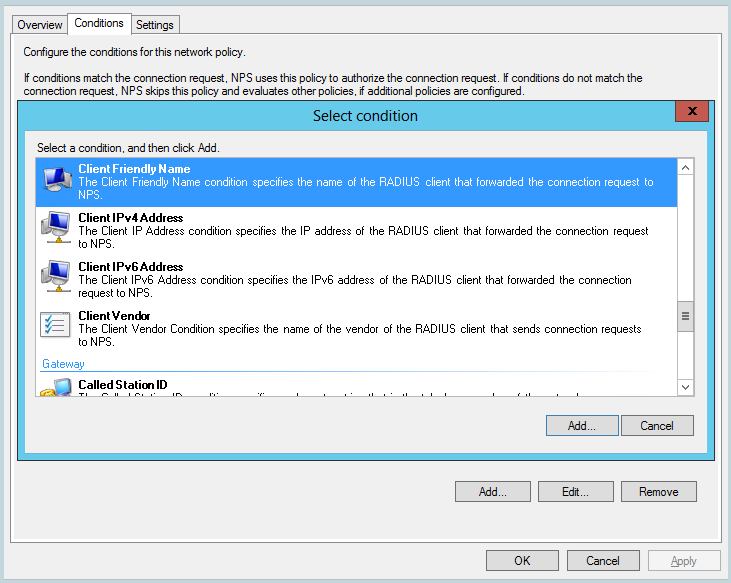
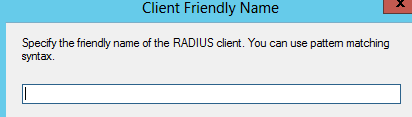
Double click the new duplicate policy and select the Conditions tab.
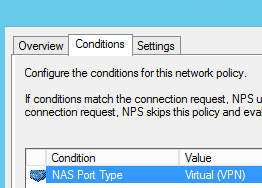
-
Add a Client Friendly Name, use the same Friendly name you set for the RADIUS client you created earlier. Remember this should match. Then click ok.
-
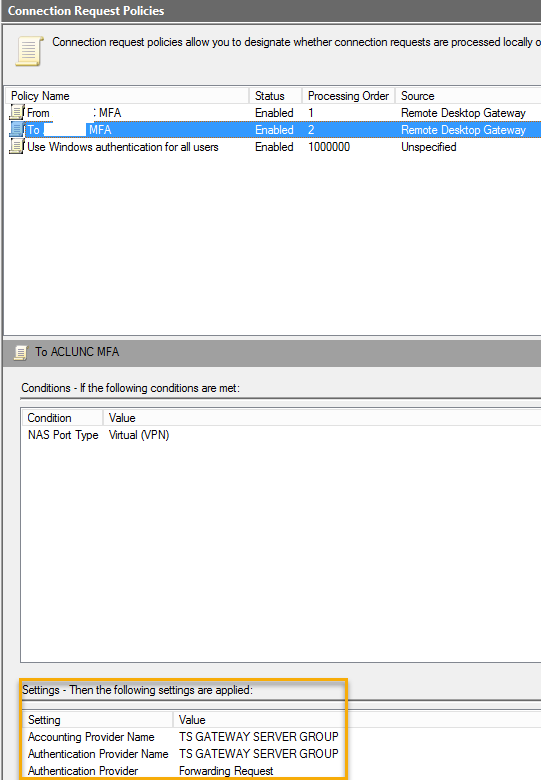
Now select the Settings tab and change the Authentication Provider from “TS Gateway Server Group” to “Authenticate requests on this server” as shown in Figure 15.
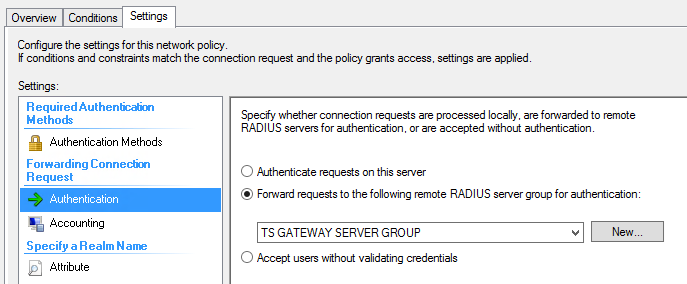
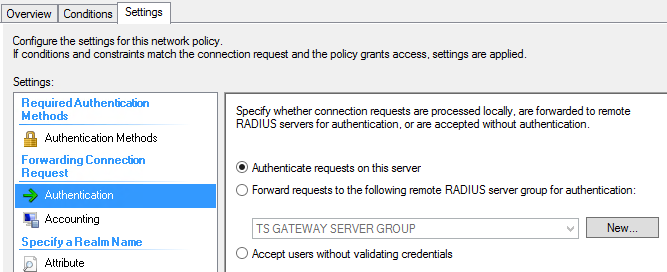
-
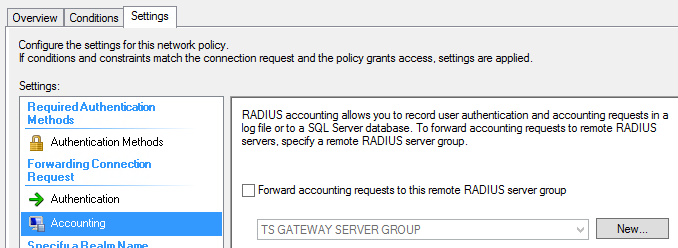
Select Accounting and make sure the “Forward accounting requests to this remote Radius server group” check box is not checked.
In my case, it was checked and I had to uncheck it.
-
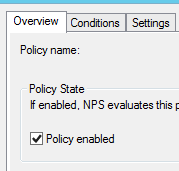
Enable the policy. Click on the overview tab, check the checkbox to enable it and click apply then ok.
-
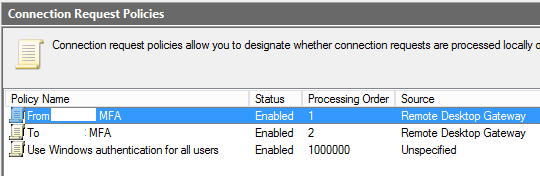
Now both policies will be enabled. Once both are enabled, make sure the order is correct.
-
From
-
To
-
-
We should not make any changes to the original policy (To) but double check to make sure that it contains settings.
Step 3 Configure MULTI-FACTOR Authentication Server
Now you need to configure the MULTI-FACTOR Authentication Server software with a RADIUS target and client. Follow these steps:
-
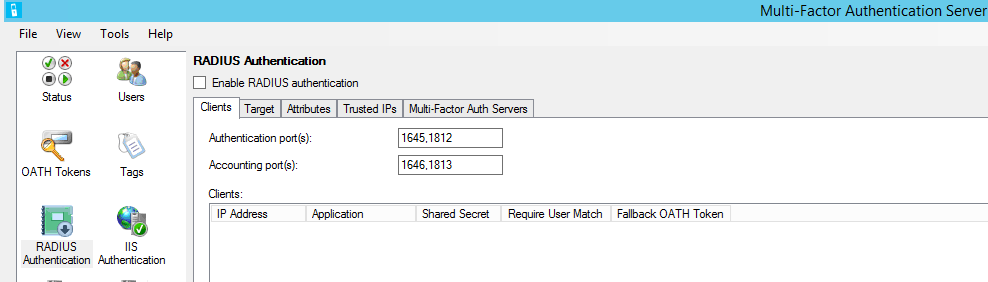
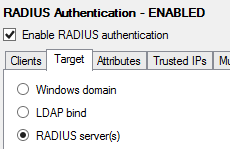
On the MULTI-FACTOR Authentication server open the Multifactor Authentication Server and click the RADIUS Authentication icon.
-
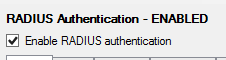
Check the Enable RADIUS Authentication checkbox.
-
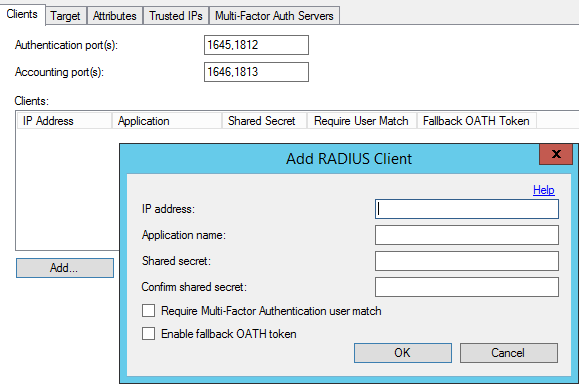
On the Clients tab, click the Add… button.
-
Add the RD Gateway / Network Policy Server IP address, and same shared secret. The shared secret needs to match the one added to the Central CAP Store configuration in RD Gateway Manager.

-
Click the Target tab and choose the RADIUS server(s) radio button. If the Azure Multi-Factor Authentication Server is installed on a domain-joined server in an Active Directory environment, select Windows domain.
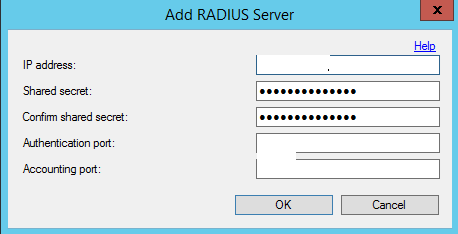
6. Click Add and enter the IP address, shared secret and ports of the Network Policy Server. The shared secret must match the one configured for the RADIUS client of the Network Policy Server. Verify the port from Network Policy Server Properties. MULTI-FACTOR Authentication will accept only one port. Click Ok.
Step 4: Restart Services
On the ADFS and MFA server do the following:
-Restart ADFS service
-IISReset
On the RDWeb and WAP server do the following:
-Restart RD Gateway Service and Network Policy Server Service
-IISreset
That’s it. Time to do some testing.
Step 5. Testing
Double click on the .rdp file which will prompt you for the credentials
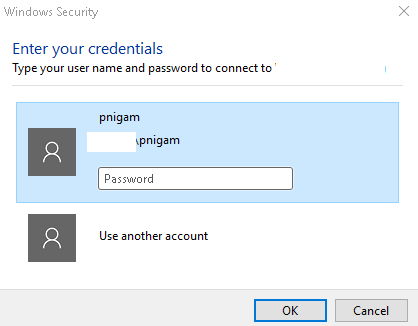
Type the password and click ok.
We will see the screen has stuck here.
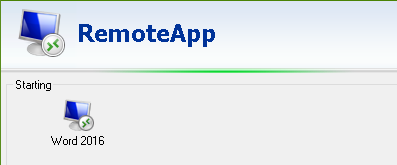
Actually, it is not stuck rather it is waiting for you to authenticate using default MFA method we have chosen for the user.
So, go to your mobile device and complete the Multi-Factor Authentication login.
Now your application will open and it is using Multi-Factor Authentication.
This end securing your infrastructure using Multi-Factor Authentication.
CTO @ Golden Five
Team@MSExchangeGuru
")


February 2nd, 2017 at 11:21 pm
[…] « Azure MFA: OWA – Showing Blank Page Multi-Factor Authentication for RDS Portal Part2 […]