Exchange 2016 Data Loss Prevention explained
DLP “Data Loss Prevention” can be considered as customized transport rule that is ready to be used to secure the critical data.
Data Loss Protection policies are a set of conditions that contain transport rules, actions, and exceptions, when Data Loss Protection policies are applied, they filter email traffic to prevent business-critical information in email from leaving the company.
Data loss prevention policies can be used as customized template or create a new policy and apply it for policy or enforce it for all mail communication
So to create a new Data-Loss prevention policy there are three ways:
-
Use the Microsoft templates which include for example:
- U.S. Financial Data: Helps to detect the presence of data commonly associated with financial information in the United States like credit card numbers.
- Germany Financial Data: Helps to detect the presence of data commonly associated with financial information in the Germany like credit card numbers.
- U.S. Health Insurance Portability and Accountability Act (HIPAA): Helps to detect the presence of data commonly associated with health information that is subject to HIPAA.
- U.S. Patriot Act: Helps to detect the presence of data commonly subject to the U.S. Patriot Act.
- U.K. Access to Medical Reports Act: Helps to detect the presence of data commonly associated with health information in the United Kingdom.
- Israel Protection of Privacy: Helps to detect the presence of data commonly associated with private information in Israel.
- Saudi Arabia Anti-Cyber Crime Law: Helps to detect the presence of data commonly associated with the cyber-crime law in Saudi Arabia.
- U.S. Financial Data: Helps to detect the presence of data commonly associated with financial information in the United States like credit card numbers.
- Import a policy that is created by third-party vendor.
-
Create a custom policy
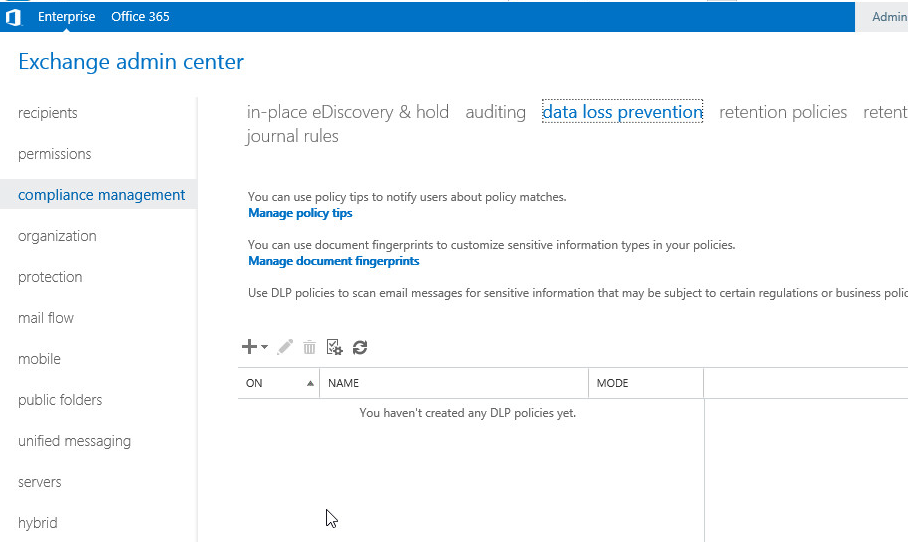
To create a new Data loss prevention you should follow the below steps:
-
Open EAC > Compliance Management > Data loss prevention > Add
-
Choose the way to create it from the three options:
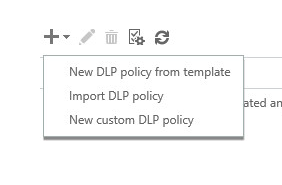
-
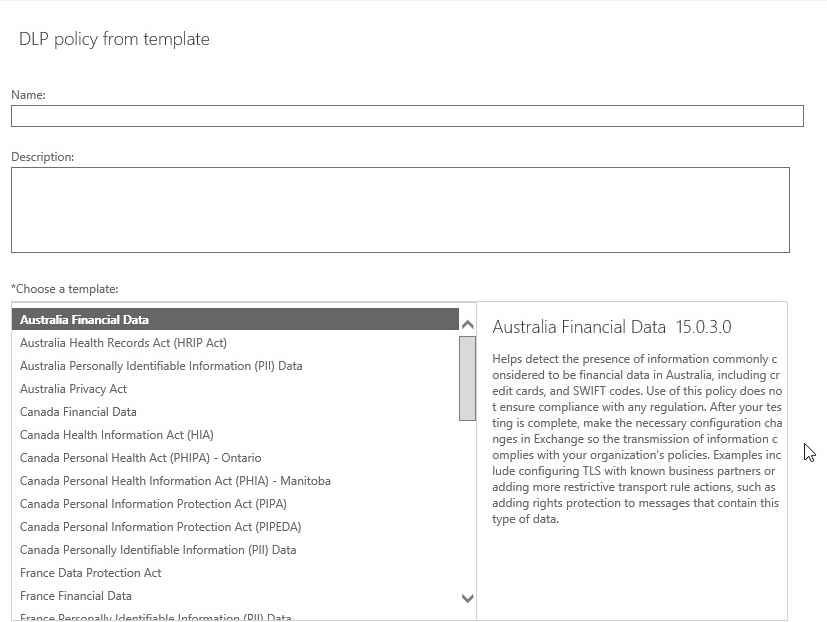
If you choose the first option to create it from template you should specify the below:
- Name
- Description
- Template
- Enable the policy or not
- Enforce the policy, test with policy tip or test without policy tip.
- Name
-
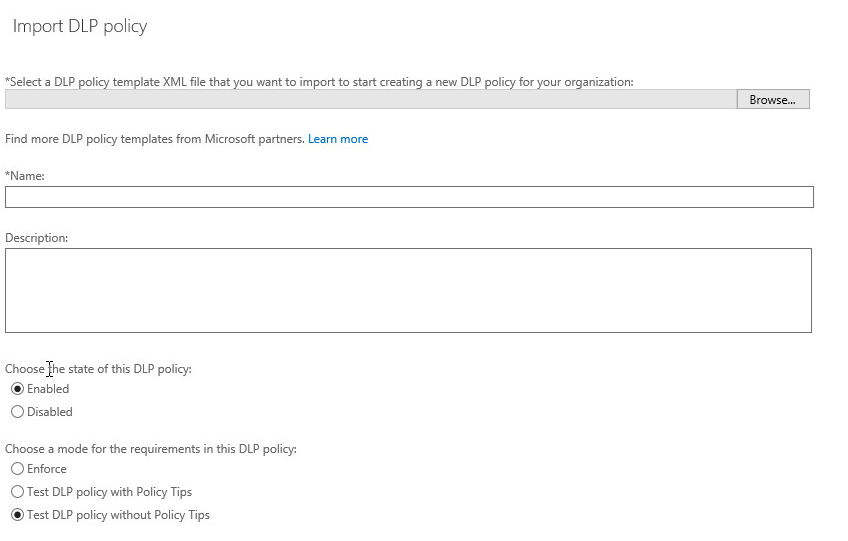
If you choose the next option to import DLP policy you should specify the below:
- Browse for the policy XML file.
- Description
- Enable the policy or not
-
Enforce the policy, test with policy tip or test without policy tip.
- Browse for the policy XML file.
-
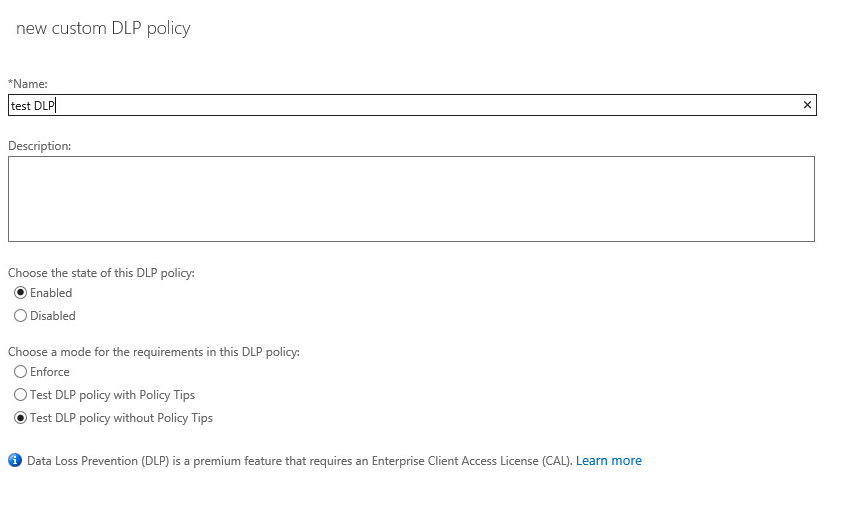
If you choose the third option to create custom DLP policy you should specify:
- Name
- Description
- Enable the policy or not
- Enforce the policy, test with policy tip or test without policy tip.
- Name
- After creating the custom DLP policy you should edit it to add rules
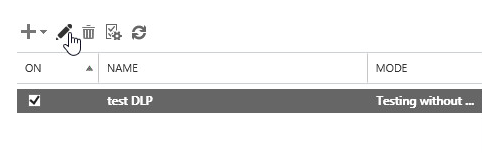
-
Then open Rules > Add > choose the type of rule
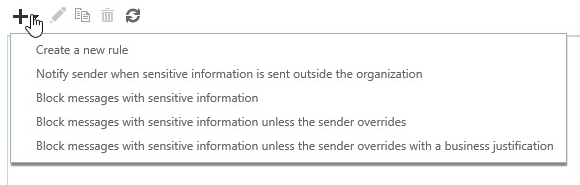
-
If you choose any rule with sensitive data option you should then specify the type of sensitive information
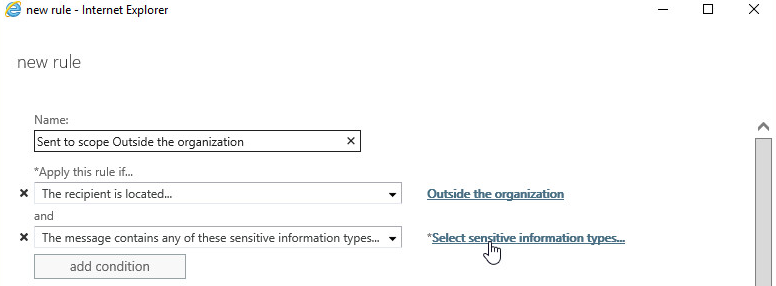
- Add type of sensitive data according your organization

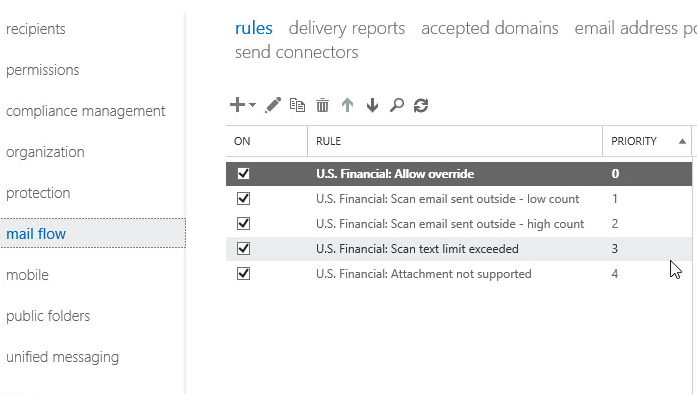
- To understand the exactly actions result of DLP policy you can create a policy from template for example “US financial data” then go to transport rules tab and you will find the actual rules that created for the DLP and you can edit its priority to choose which one should be applied.
Ratish Nair
Microsoft MVP | Office Servers and Services
Team @MSExchangeGuru
")


August 6th, 2017 at 11:37 am
[…] Exchange 2016 Data Loss Prevention explained […]