NXPowerLite Scanner and NXPowerLite for Microsoft Exchange
Email attachments are habitually bigger than they need to be, as PDF files, and Microsoft office files contains lot of high resolution images and unwanted background data
This results in utilization of more storage, backup and reduction in server life. NXPowerLite has released an excellent technique called NXPowerLite for Microsoft Exchange which reduces the size of PDF, JPEG, TIFF, PPT, Excel, Word files (on average these files take up to 90% of the storage space on Exchange Server) by removing excess data and converting images to most appropriate resolution. Let us see how this technology works in detail.
NXPowerLite Scanner for Microsoft Exchange is a free tool, provides a detailed report, showing the estimated re-claim space from NXPowerLite. Download the tool from www.neuxpower.com/latest/exchangescan
NOTE: NXPowerLite Scanner for Microsoft Exchange is a read only process and will not change any files on the server; hence the data is secure.
NXPowerLite for Microsoft Exchange shrinks the email storage space by replacing the large attachments with smaller enhanced versions. Normally PDF, Microsoft Office files contains lots of high resolution images, background data, which is not essential for normal use, NXPowerlite for Microsoft Exchange will remove this excess data without making any changes to the quality of the files, which results in minimizing the storage growth, backups and increasing the server life.
Download the software from www.neuxpower.com/latest/exchange/setup
and this requires a registration key to run.
Installation:
System requirements:
- Any Windows OS from XP/2003 onwards with latest service pack.
- .NET Framework 3.5, 4.0 or 4.5 should be installed.
- The Trusted SSL certificate/ self-signed certificate of Exchange Client Access server, needs to be installed on the computer where NXPowerLite is running.
Exchange Server Connection requirements:
- Mailboxes must reside on Microsoft Exchange Server 2010 SP2 or later.
- A single user account configured with impersonation (Service account).
- EWS (Exchange Web Services) access enabled for the service account.
NXPowerLite Scanner for Microsoft Exchange is a tool, just need to download, Extract contents from downloaded Zip file, Double-click ‘NXPowerLite Exchange Scan.exe’ file in extracted folder to start the application on the machine which meets all system requirements.
Installation of NXPowerLite for Microsoft Exchange is very simple, just download softwareàdouble click on installable fileàaccept the license agreementàclick on InstallàNextàNextàFinish
Key Features:
- Connects via Exchange Web Services (EWS): NXPowerLite connects Exchange using Exchange Web Services (EWS) API and optimization engine ensures that the attachments are safe and reduced efficiently.
- Works with Windows Task Scheduler: NXPowerLite can be run along with Windows task manage. NXPowerLite remember where it was stopped, and resume efficiently from where it stopped.
- Comprehensive reporting: NXPowerLite generates complete reports describing how storage was being used and the savings obtained by optimizing email attachments.
- Completely transparent: Files optimized with NXPowerLite stay in the same format – a PDF remains a PDF. It will look and sense identical to the original, just much smaller.
- Simplicity by design: This requires minimum planning, no downtime while installing/configuration. It’s very easy install and configures, once started it just runs in the background automatically optimizing files.
How it Works:
NXPowerLite Scanner for Microsoft Exchange:
NXPowerLite Scanner for Microsoft Exchange is a tool, download the tool on your machine, extract and run:

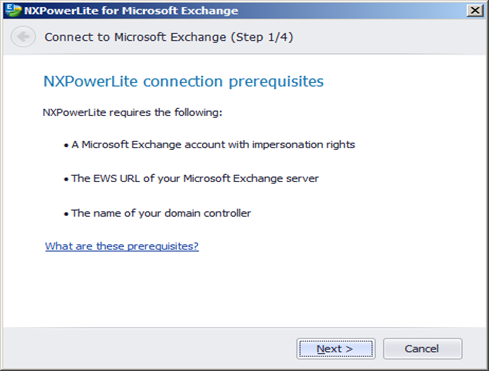
Click on Connect button to connect to Exchange server:

Click on Next:
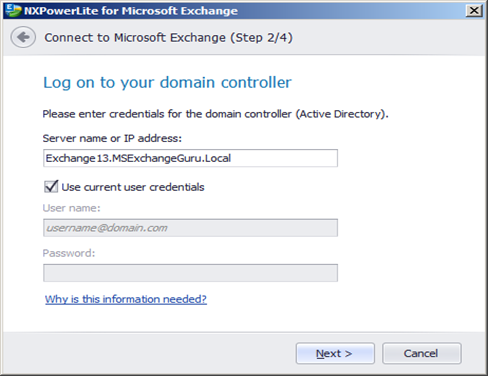
Provide the Domain Controller IP/name and the user credentials which has configured with impersonation:
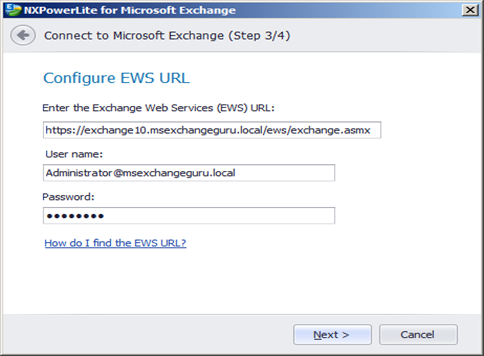
Provide Exchange Web Services (EWS) URL and credentials and click on Next:
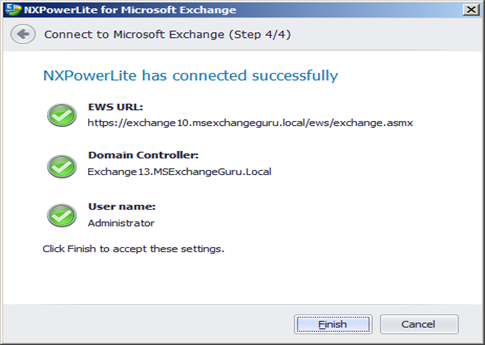
Once the connection is sucessful click on Finish to accept the settings:
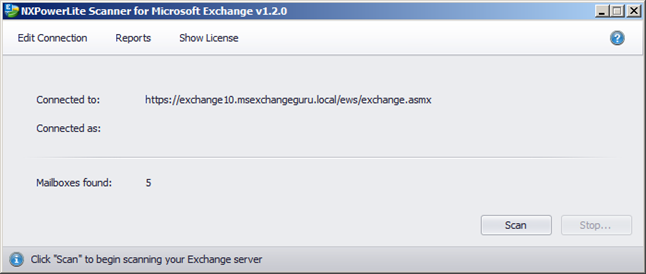
Once the Tool is connected, click on Scan button to start the Mailbox Scan:
Once the Scan is completed, it will provide the estimated reclaimed as below:
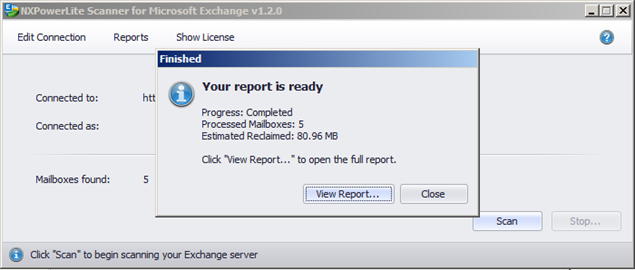
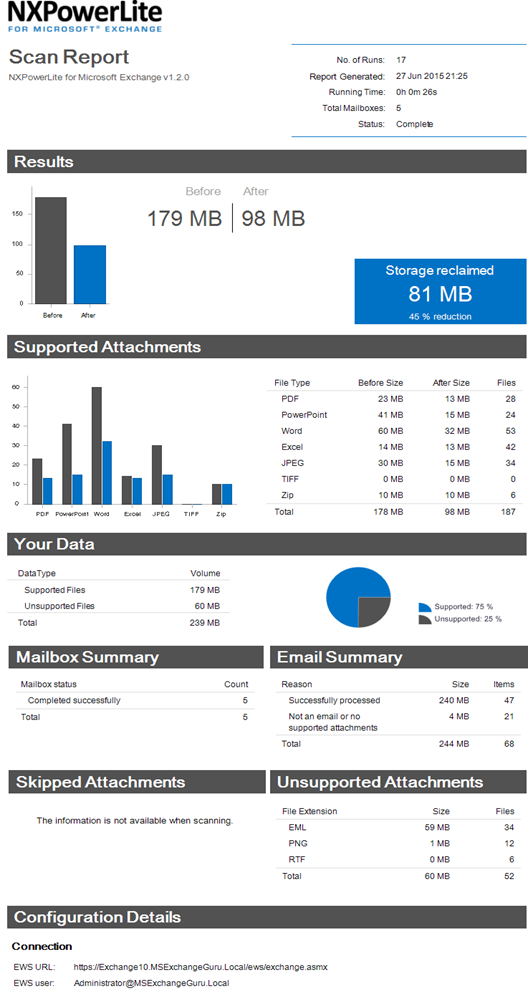
By Clicking on View Report we can find the detailed information on how many files are processed, types of the files, how space can be reclaimed etc. Below is the sample report:
NXPowerLite for Microsoft Exchange uses the same optimization technology as the file servers and desktop products use to reduce the size of the files. NXPowerLite for Microsoft Exchange consists
of two main components as below:
- NXPowerLite Exchange Dashboard: Used to connect to the Exchange Server, configure optimization run and view reports.
- NXPowerLite Exchange Optimizer Windows service: Maintains the connection with the Exchange server and manages all aspects of attachment processing.
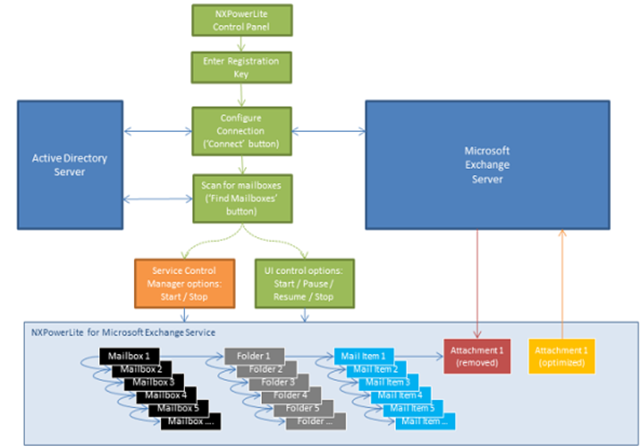
Once NXPowerLite Exchange Optimizer Windows service started, it will run in the background till it complete the optimization of all configured mailboxes. To run it again, administrator needs to open the Dashboard and restart it manually. Once configured via Dashboard, the service recaps over each mailbox in order. Under every mailbox, it scans each folder looking for mail items by determining whether there are any supported and configured attachments and replaces them with optimized versions. Below diagram explains how the optimization process works:

When NXPowerLite optimizes file attachments in Exchange items, it changes some properties of the items, but it does not directly modify the exchange data. NXPowerLite added its own item tag to the properties of each item it processed successfully and this tag allow NXPowerLite to potentially skip that item on future optimization runs, this improves the performance.
NXPowerLite for Microsoft Exchange dashboard:
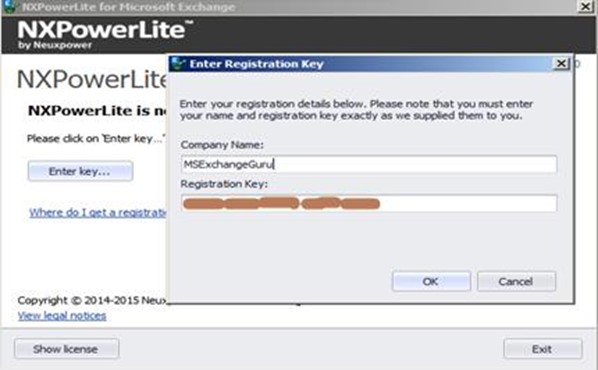
Once NXPowerLite for Microsoft Exchange installed, Open the NXPowerLite Exchange Dashboard from Start menu, click on Enter Key and provide the company name and Registration Key as below:
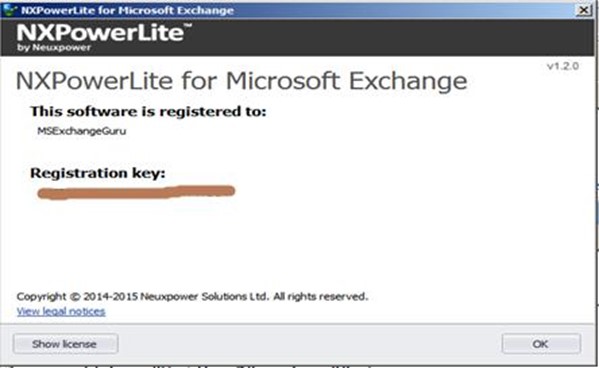
Once done it will show the summary details as below and click on OK:
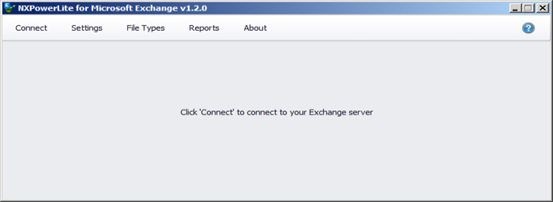
Click on Ok to go to connection wizard. Click connect button to connect to Exchange and follow the same steps followed in NXPowerLite Scanner to connect to exchange server:
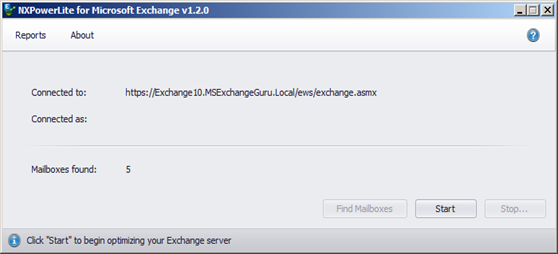
Once it is connected, click on Find Mailboxes, to
generate the list of mailboxes to be processed.
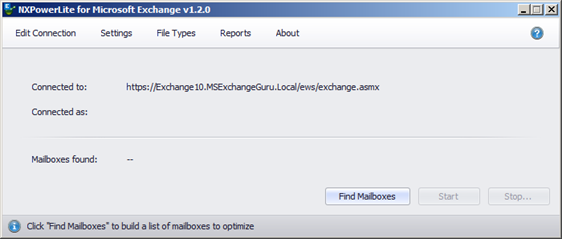
NOTE: Find Mailboxes process generate the list of existing mailboxes to process. Any mailboxes added after that will not process until a new run starts.
Click on start button to initialize the optimization process:
NOTE: Click on Start button to initialize the optimization immediately, if required to start later, administrator can set a scheduler or start via service control manager.
Administrator can Pause or Stop the process either by using NXPowerLite for Microsoft Exchange Dashboard or Windows Service Control Manager and resume the same when required.

NOTE: If the computer running
NXPowerLite for Microsoft Exchange restarts during the optimization process, the optimizer will pause and it requires to restart manually either by using NXPowerLite for Microsoft Exchange Dashboard or Windows Service Control Manager
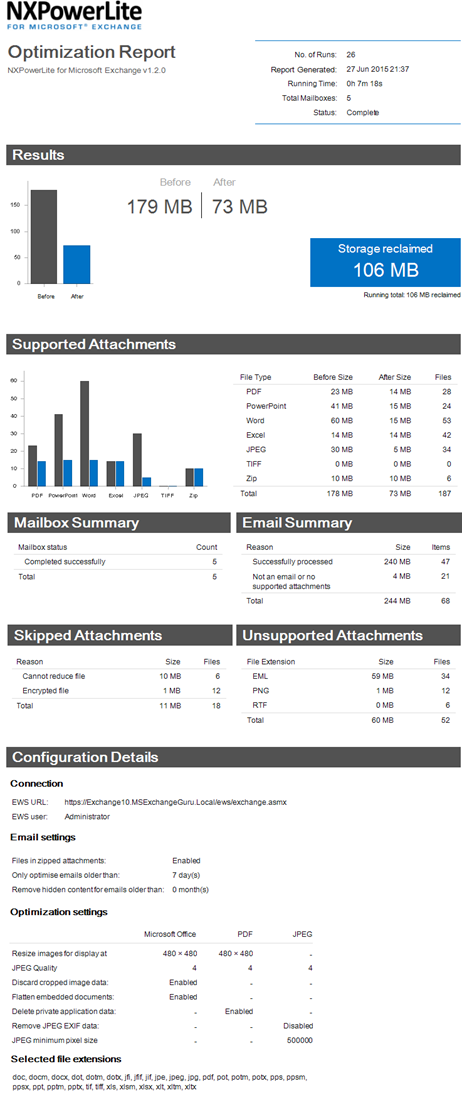
Once NXPowerLite for Microsoft Exchange completes optimizing all mailboxes configured, it generates a complete report as below.

Click on View Report to get the complete details:
The report can also be saved as PDF file, RTF file or an Image file.
Configuring optimization settings:
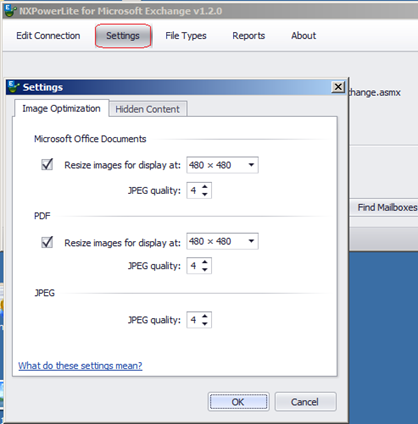
Administrator can change the optimization settings using Settings button. Using the default optimization settings is recommended, as it offers a best transaction between reduction performance and quality.
Image Optimization:
-
Resize images for display at: Doc often contains a large images
EX: pictures taken from Digital cameras contains more visual information than it may require, NXPowerLite replaces these images with the smaller size without changing its quality.
-
JPEG quality: This sets the level of quality used by NXPowerLite when recompressing JPEG files. Lower values will result in more disk space reclaimed, but will reduce the visual quality of images. Recommended option is to use the default setting for better balance between size and quality.
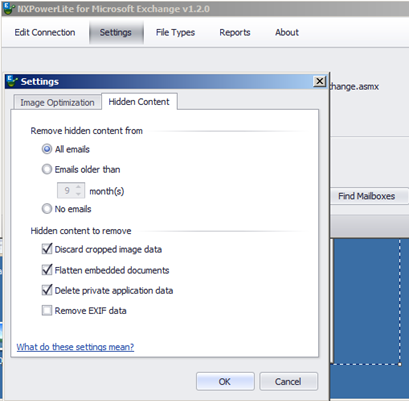
Hidden Content:
-
Remove hidden content from: NXPowerLite can apply different settings depending on the emails sent/received. By default threshold is set to 1 month for hidden content removal, which is based on the most common customer settings.
-
Discard cropped image data: Enabling this feature will lean garnered images within documents so that only the visible portion is stored in the file. This will reduce the size of the files, but users will no longer be able to edit cropped images to reveal the areas that have been removed.
-
Flatten embedded objects: Enabling this feature will cause embedded documents within document files to be “compressed”, converting them into pictures. This will reduce the size of the files but users will no longer be able to double-click embedded documents to edit them.
-
Delete private application data: Applications that create PDF files, such as Adobe Photoshop or Acrobat, will store information within a PDF file that they can use when opening or editing the file. This information can only be used by the application, not required to display the file. NXPowerLite will reduce the size by deleting this data as it will have no effect on the use of the PDF file.
-
Remove EXIF data: JPEG images normally include extra information (metadata) inside the file such as the device used to capture the image, the location the image was taken, etc. By default, NXPowerLite will retain this data – however, this option enables such data to be removed from each JPEG file.
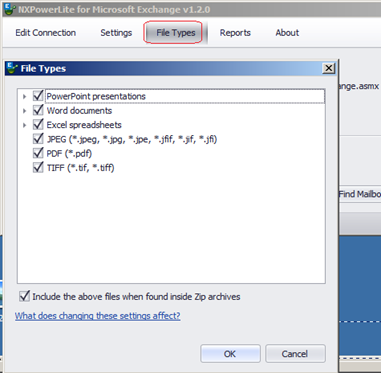
Administrator can also choose the file types needs to be optimized using File Types tab:
Restricting NXPowerLite for Microsoft Exchange to a subset of mailboxes
By default, NXPowerLite for Microsoft Exchange will optimize the contents of all the mailboxes that it can find.
It is also possible to restrict a set of up to 5 mailboxes by editing the NXPowerLite Exchange.exe.config file in the NXPowerLite for Microsoft Exchange installation folder. Run notepad as admin and open the NXPowerLite Exchange.exe.config file and add the user’s primary email address and save. Open the Microsoft Exchange dashboard and click on Find Mailbox, it will list the same numbers as entered in the config file.
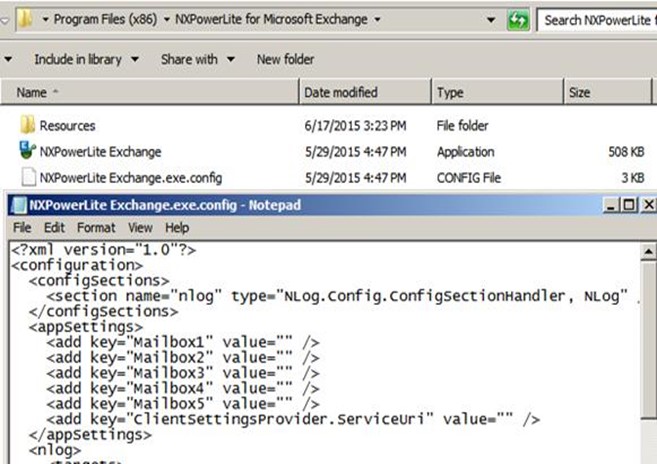
NOTE: Before editing NXPowerLite Exchange.exe.config file, make sure “Find Mailbox” button is enabled on NXPowerLite for Microsoft Exchange dashboard.
LOG Files:
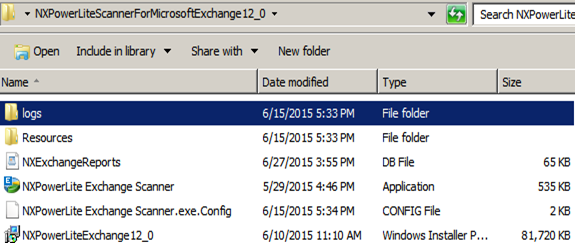
NXPowerLite generates a log files under ‘logs’ folder in the NXPowerLite extracted folder. The log file includes details of all activates, errors during the scanning.
Items not Optimized by NXPowerLite for Microsoft Exchange:
By design, NXPowerLite for Microsoft Exchange will not optimize the below items:
- Less than 7 days old emails.
- Unread and draft emails.
- Non-email items like Calendar, contact, appointment and task items.
- Inline attachments.
- Content of system mailboxes.
NOTE: NXPowerLite for Microsoft Exchange will not compact the underlying database.
Licensing:
NXPowerLite for Microsoft Exchange is priced per server, and licenses are perpetual. Maintenance and support is included for the first year, and charged at 20% of the license price annually thereafter.
Summary:
NXPowerLite is a wonderful product which reduces the size of Office Docs like PDF, JPEG, TIFF, PPT, Excel, Word files without altering the quality of the original file. I have seen that it enable Exchange administrators eliminate the need for complex configuration changes required by adding additional storage thereby becoming better organized and save time and money in the process of doing it.
Ratish Nair
Microsoft MVP | Exchange Server
Team @MSExchangeGuru
")

