Exclaimer Cloud – Signatures for Office 365
As email is one of the most significant modes of communication in modern business across the world, an effective email signature plays a vital role in a company’s brand reputation
Exclaimer Cloud – Signatures for Office 365 allows organizations on Office 365 to centrally design and manage email signatures within an easy-to-use web portal. All emails get a high-quality signature when sent from any device, including from smartphones, tablets and Macs. It requires no specialist skills to run and there is nothing to install.
Exclaimer Cloud – Signatures for Office 365 contains a wide range of professionally designed email signature templates that can be easily customized by editing key elements and choosing appropriate information to include
Features of Exclaimer Cloud – Signatures for Office 365:
-
Professional email signature templates: Signatures for Office 365 comes furnished with a collection of specialized email signature templates. Administrators can even create a signature as bitmap graphic with embedded web links.
-
Anything is possible: Authorized users can create email signature templates for individual users, groups/departments and an entire organization. Exclaimer will even design a custom signature if the user can’t find a template they like.
-
Design different signatures for different purposes: There’s no limit to the number of signature designs you can have. Authorized users can create email signature templates for individual users, employees who speak in various languages etc.
-
No IT expertise needed: Signatures for Office 365 provides a very simple User Interface that does not require any specialist IT expertise to use.
-
Instant updates: Easily alter any elements in an email signature and see the amends instantly.
How Exclaimer Cloud – Signatures for Office 365 works:
- Once the subscription is enabled, authorized users need to provide permission for Signatures for Office 365 to read the Azure/Office 365 directory data from the user’s domain.
- Mail flow will pass from Office 365 to Exclaimer’s Azure servers using Office 365 connectors.
- Signatures for Office 365‘s regional, load-balanced Azure servers add email signatures to all emails sent from any device and sends them back to Office 365 for sending.
Configuration of Exclaimer Cloud – Signatures for Office 365
Signatures for Office 365 and data aggregation:
First thing we need to do is activate the connection between the Office 365 tenancy and Signatures for Office 365 subscription. This is known as data aggregation. Carrying out this process will provide permission for Signatures for Office 365 to read user data from the Office 365 directory and maintain a replica in an Exclaimer Cloud database.
-
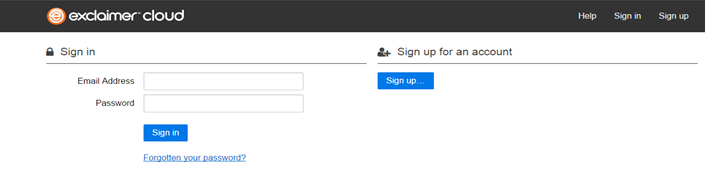
Sign in if you have already registered or Sign up to register for a new Exclaimer Cloud account. The registration process takes only a couple of minutes:
-
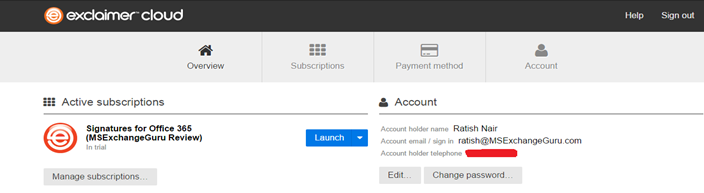
Once registered, you will see the confirmation window as below:
-
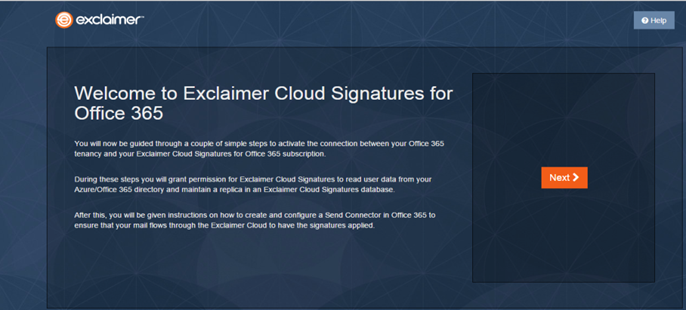
Click on Launch to get the Signatures for Office 365 User Interface (UI) setup:
-
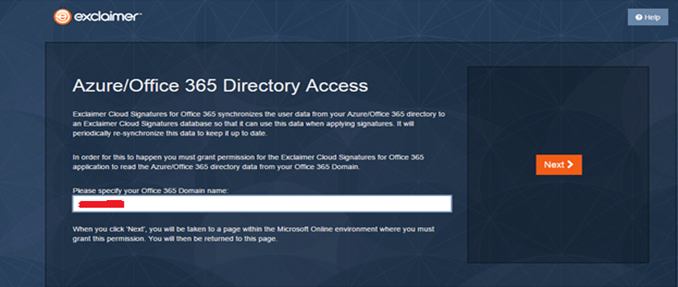
Signatures for Office 365 synchronizes user data from your Office 365 directory to an Exclaimer Cloud database, using it applying email signatures. It will periodically re-synchronize this data to keep it up-to-date.
Type in your O365 Domain name and click on Next:
-
This will redirect you to the Microsoft Online environment from where you need to grant the aforementioned permission:
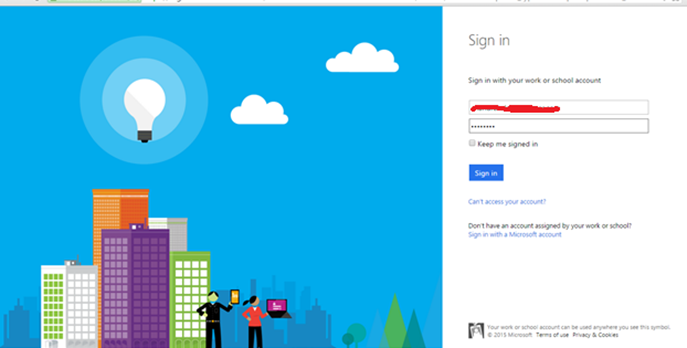
-
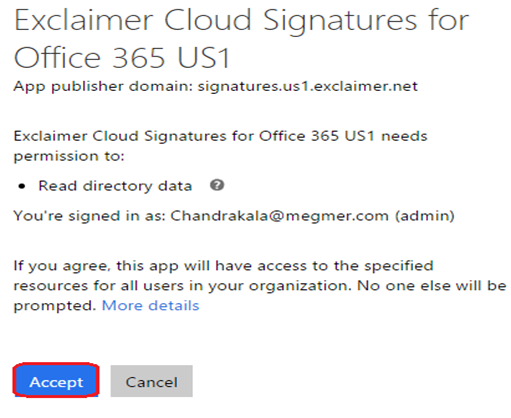
On the right of the page, you will be asked if you accept letting Signatures for Office 365 read your Office 365 directory data.
Click Accept:
-
Once accepted, it will take you to the Signatures for Office 365 UI setup page:
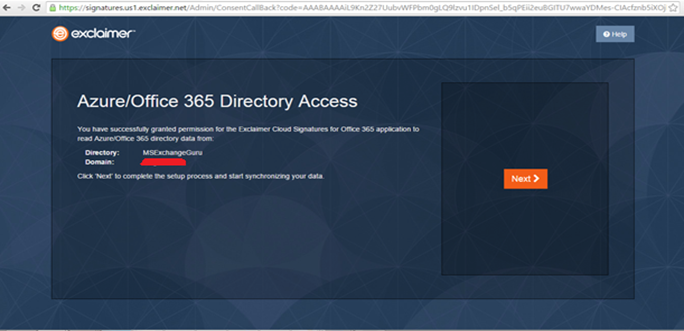
-
Click Next to complete synchronizing the directory data with Signatures for Office 365.
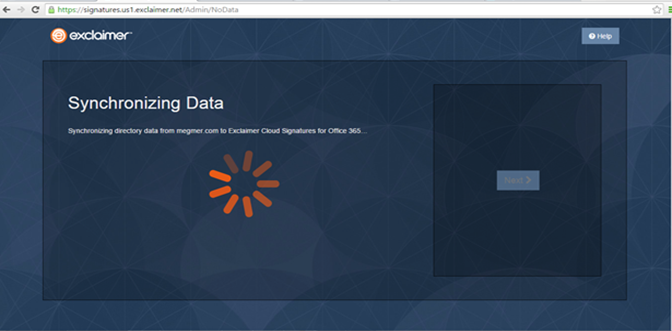
-
Once the data synchronization is complete, click Next and then you can start creating your first email signature in Signatures for Office 365.
Exclaimer Cloud – Signatures for Office 365 comes equipped with the most comprehensive collection of signature templates available, created by Exclaimer’s design experts.
-
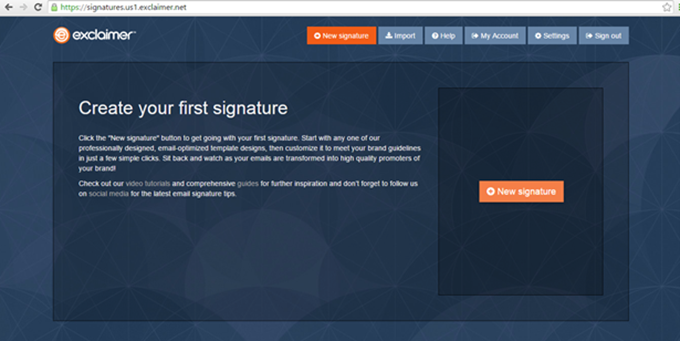
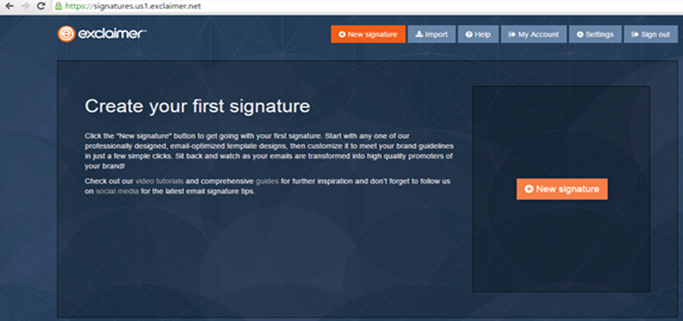
Once the data aggregation process is completed, you will arrive Signatures for Office 365 Home page. Click New Signature on the right of the screen:
-
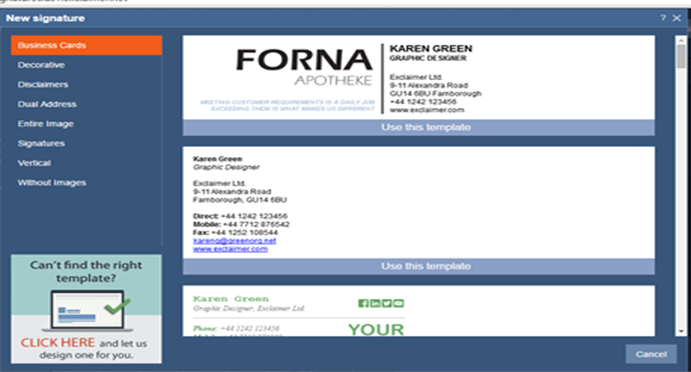
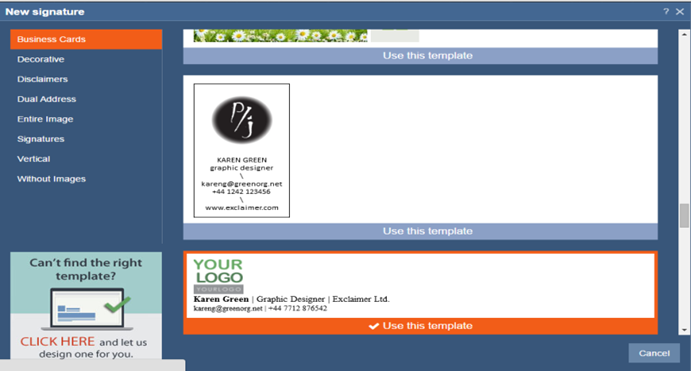
Once you click on New Signature, you will see all of the available signature templates as below:
-
Select the signature template that suits your requirements:
-
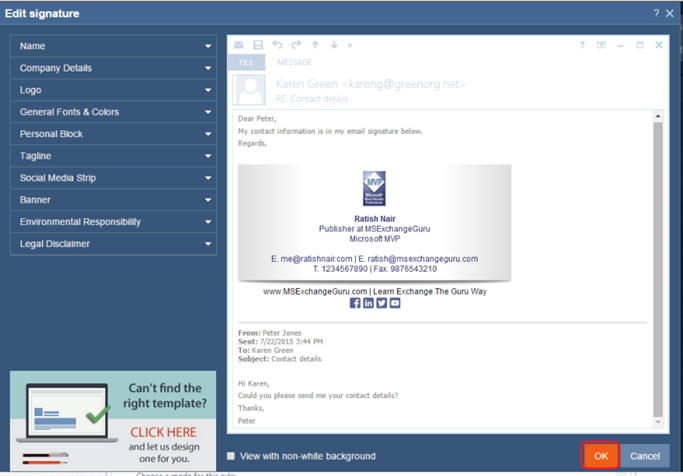
Once you select the template, the Edit Signature window is displayed and provides details such as name, company, contact details etc. Click OK.
-
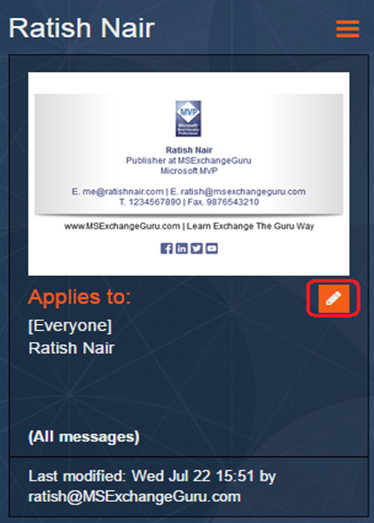
Once the Signature is saved, you need to assign the signature to a user or group.
From the main display, select the customized signature and click on the Edit icon.
-
Click on Add People/Group. Select the appropriate option as shown below and click OK:
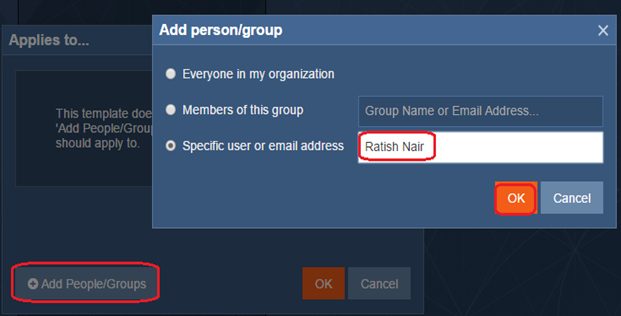
From here, you can choose which user/group this signature is to be assigned to. You can set the same signature for the entire organization if you wish.
-
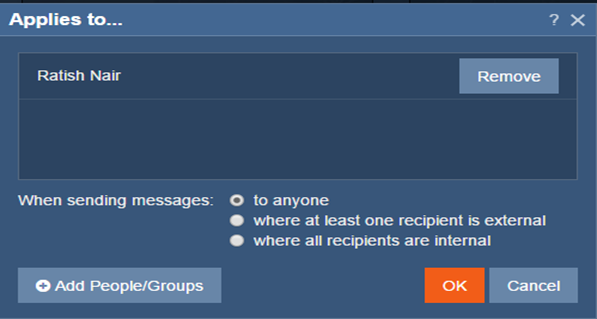
The next window sets the conditions under which the email signature should be applied. Here, we can set the signature so it is used by everyone, internal recipients only or at least one external recipient.
Click OK. Using the Remove button lets you remove the rule:
-
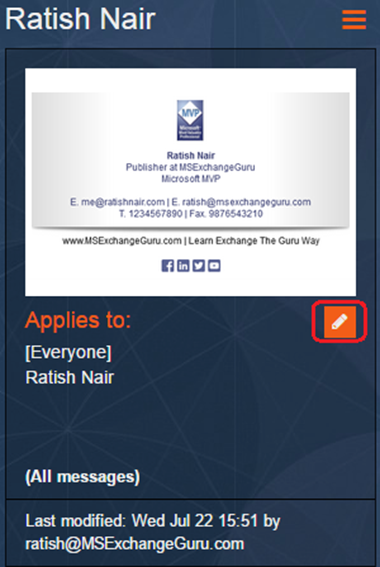
Your signature will appear as below:
Signatures for Office 365 and connectors in Office 365:
To enable Signatures for Office 365 to apply signatures to your messages, you must ensure that your email flows through the Exclaimer Cloud.
To make this happen you need to create 3 things in your Office 365 portal:
-
A “Send” Connector- This redirects each message to the Exclaimer Cloud where the signature is added before it is delivered to the recipient(s).
-
A “Receive” Connector – When the Exclaimer Cloud has added the signature, it returns the message back to Office 365 through the Receive Connector.
- A “Transport Rule” – This will ensure that each message doesn’t get sent more than once to the Exclaimer Cloud.
Note: You will need to add the following line to your email domain’s Sender Policy Framework (SPF):
-
include:spf.exclaimer.net
Create a Send Connector:
-
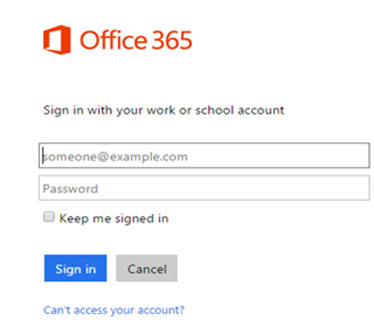
Login to your Office 365 tenancy:
-
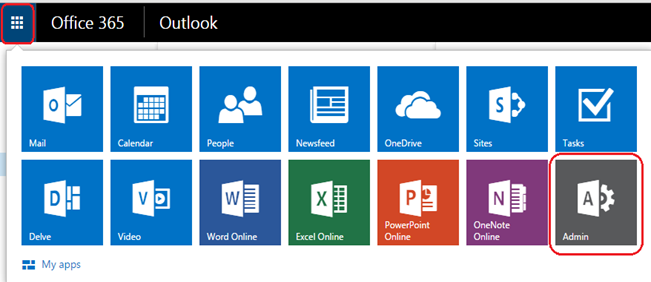
From the menu, click on Admin to get into Admin center:
-
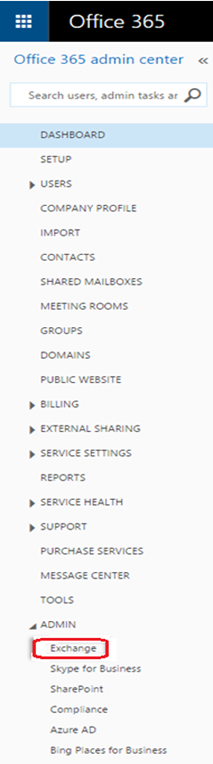
From the Admin center home screen, click on Admin and select Exchange:
-
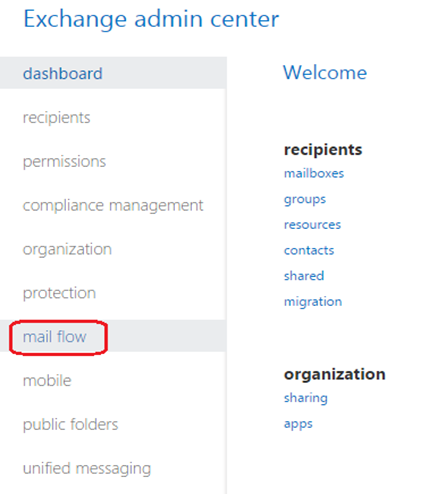
Click on Mail Flow from Exchange Admin center:
-
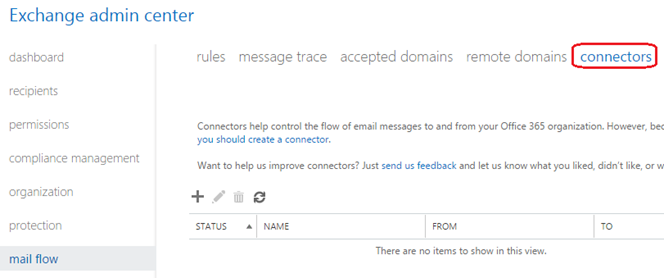
Select Connectors from the Mail Flow options under the Exchange admin center:
-
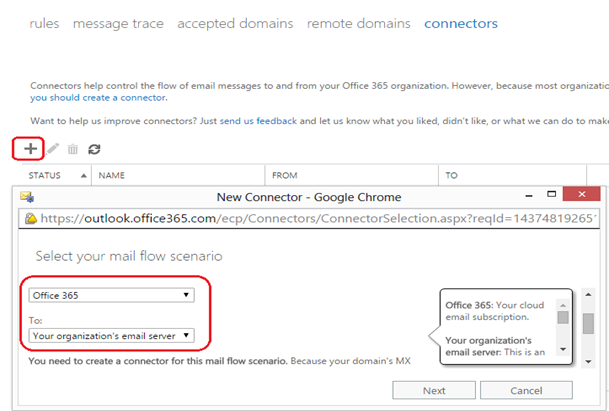
Click the Add (+) icon. Office 365 provides an option to specify the start and end points for a mail flow connector.
Set ‘From:’ to ‘Office 365′ and set ‘To:’ to ‘Your organization’s email server’ as below and click Next:
-
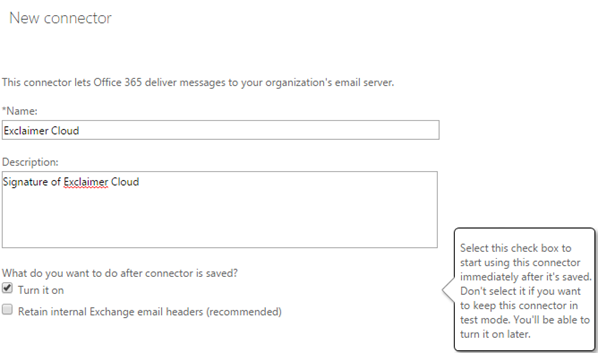
Provide a name and description for the connector.
By default Turn it on and Retain internal Exchange email headers (recommended) will be checked.
Uncheck Retain internal Exchange email headers and click on Next
-
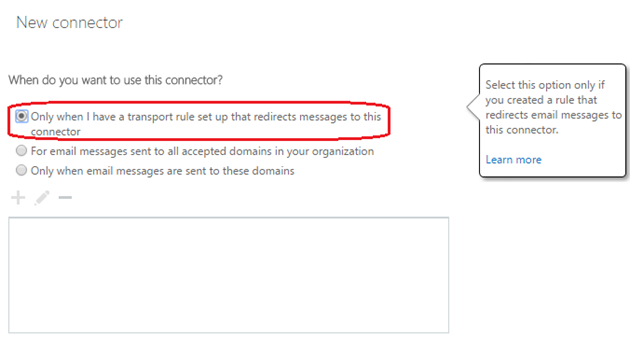
Select the option “Only when I have a transport rule set up that redirects messages to this connector“. The transport rule will be set up shortly. Click on Next
-
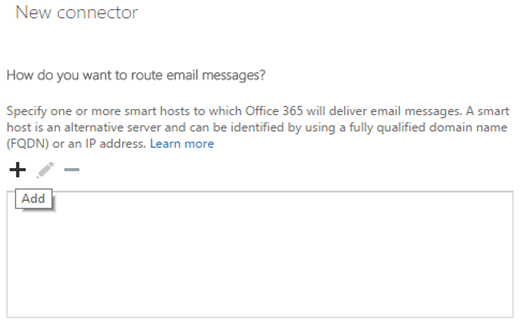
Click the Add (+) icon and click on Next.
-
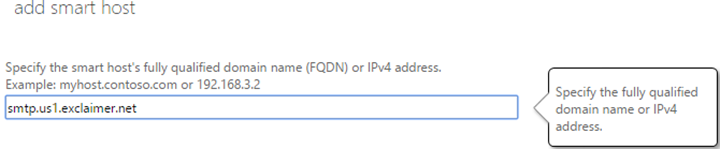
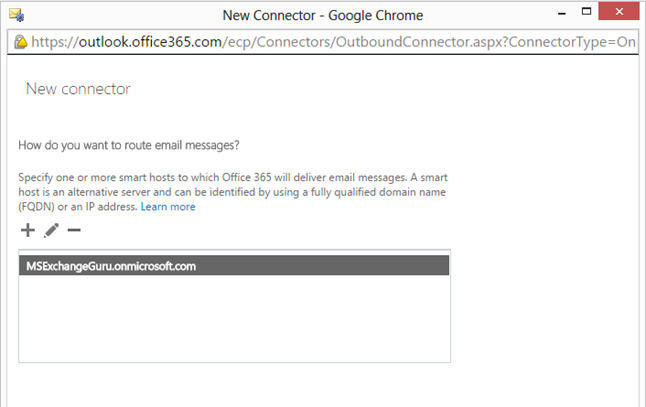
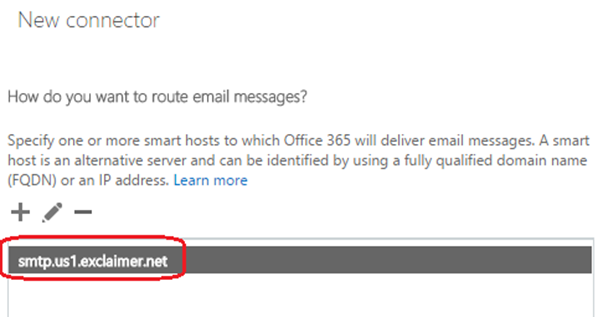
New window will ask to add a Smart Host. Add the SaaS smart host FQDN by checking your subscription for the relevant Azure server: Once add the FQDN click on Save.
-
smtp.eu1.exclaimer.net
– Europe
-
smtp.us1.exclaimer.net – Rest of the world
-
smtp.au1.exclaimer.net – Australia and New Zealand only
-
-
Once the Smart host has been added click on Next:
-
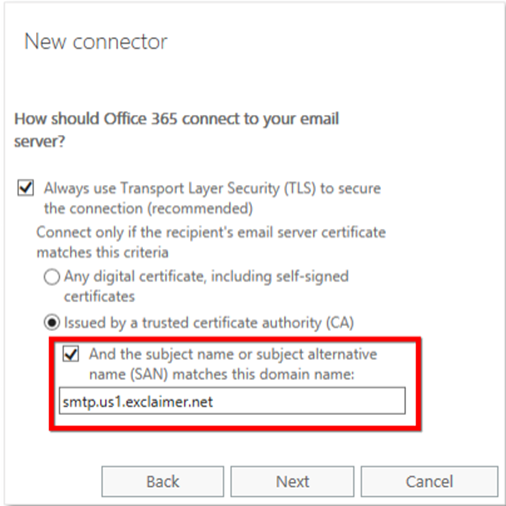
On the next screen, you need to choose how Office 365 connects to the email server. Leave the ‘Always use Transport Layer Security (TLS)’ option checked.
Select the ‘Issued by a trusted certificate authority (CA)‘ radio option is selected. Check the ‘And the subject name or subject alternative name (SAN) matches this domain name‘ box and enter the SaaS Smart Host FQDN in the field below, then click ‘Next’:
-
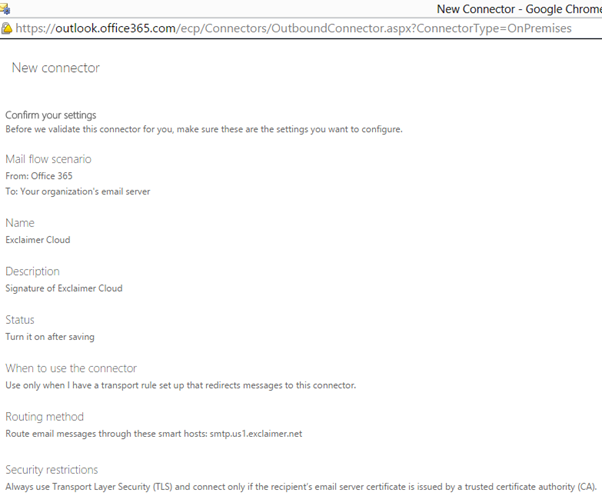
Once verified in the summary, click on Next:
-
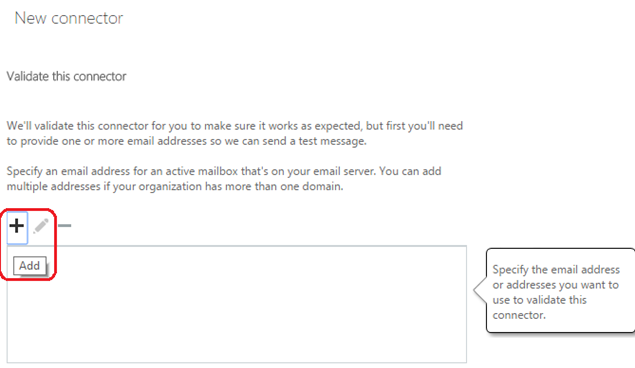
Click on Add(+) on the Validate this connector window:
-
Add an email ID which is not an O365 email address to send the validation email:
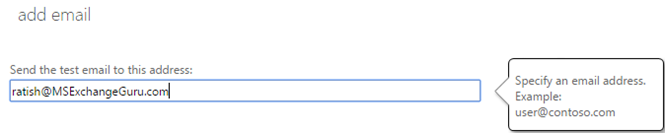
-
Click on Ok, and then Validate to validate the email ID:

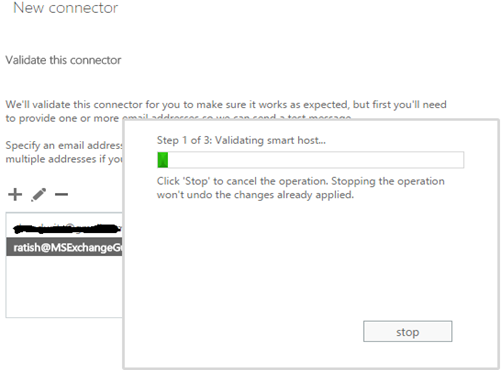
-
The validation process will start:
-
Once completed click on Close and Save:
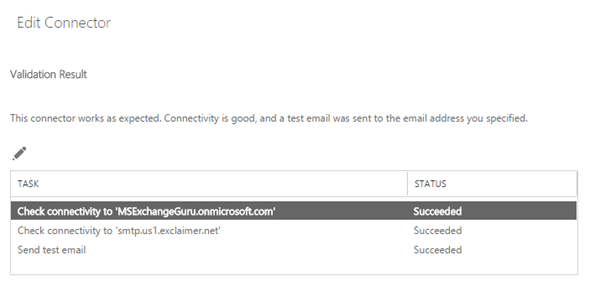
-
Once the validation completed, you will see the results as Succeeded.
Create a Receive Connector:
-
Follow the same steps as Send connector
-
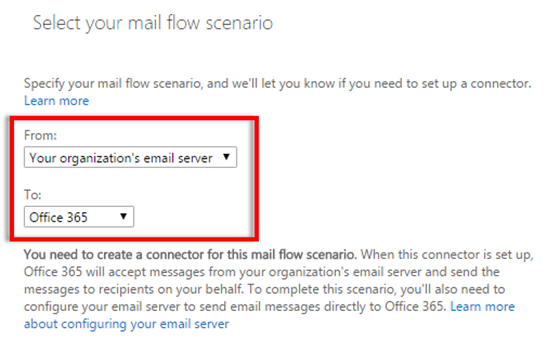
In the mail flow scenario window set ‘From:’ to ‘Your organization’s email server’ and ‘To:’ to ‘Office 365′. Click Next as below:
-
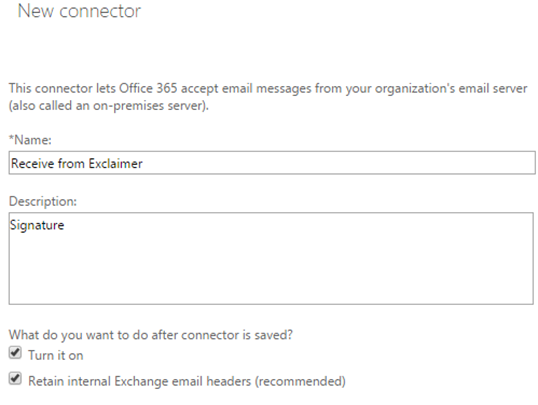
Provide the name and description for the connector and lave the default selections as it is and click on Next:
-
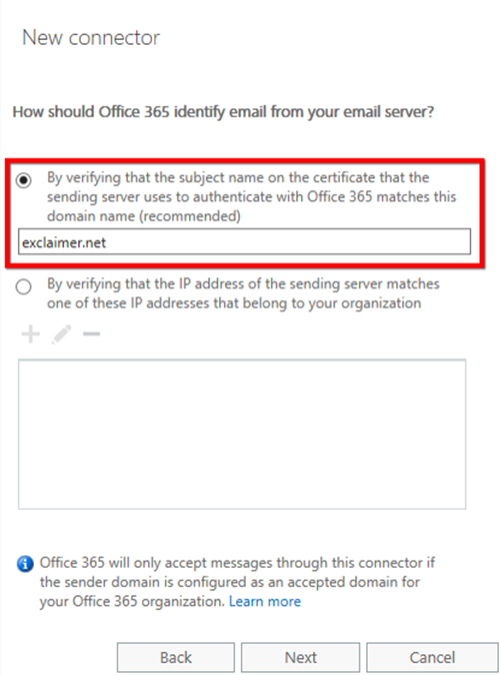
On the next page select the radio option ‘By verifying that the subject name on the certificate that the sending server uses to authenticate with Office 365 matches this domain name (recommended)‘.
In the field below, enter exclaimer.net then click ‘Next‘:
-
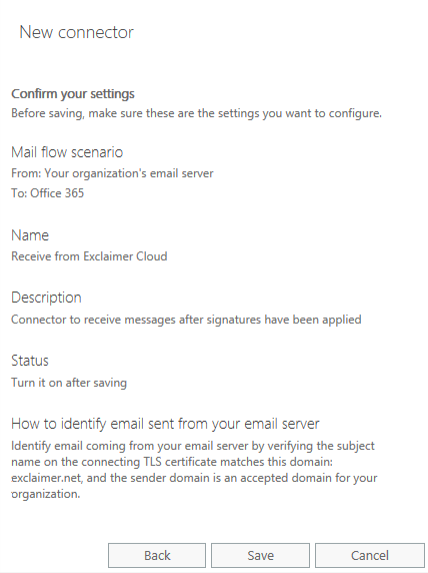
Review all settings and click on Save:
-
-
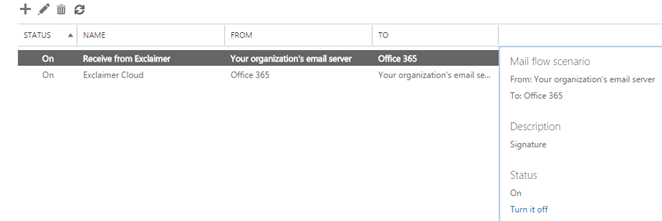
You will be able to see both the connectors under the Exchange Admin center as below:
Create a Transport rule for the Send connector to work:
-
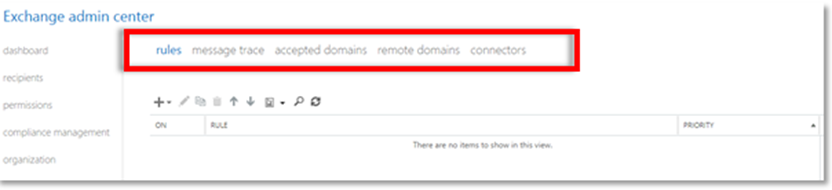
Select Rules from the Exchange Admin center:
-
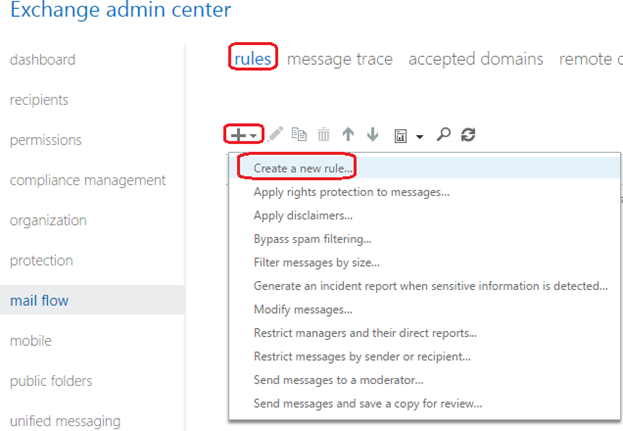
Click on Add (+) and select Create a new rule
-
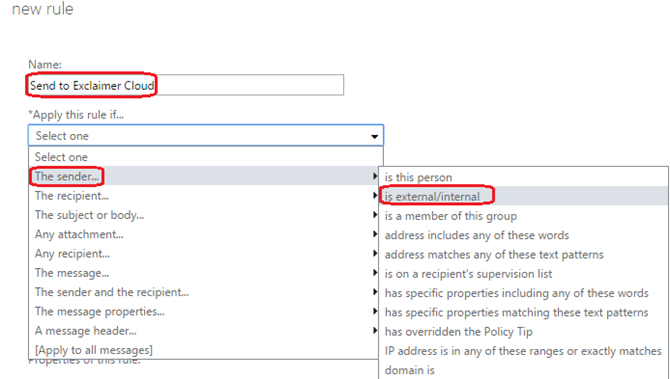
Provide a name for the rule and select to whom it is to apply to:
-
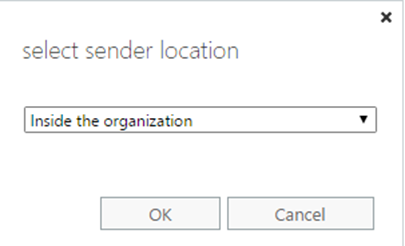
Select the sender location as ‘Inside the organization‘:
-
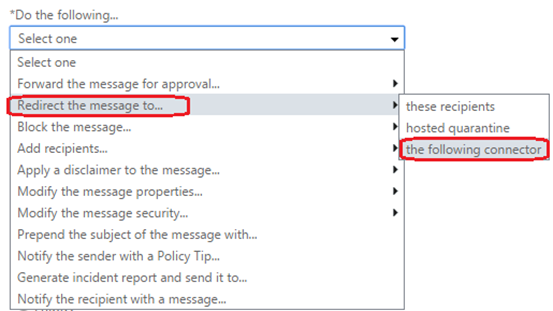
Select the option to redirect the messages to the Send Connector that we have created already:
-
Select the Send Connector as below from the dropdown:

-
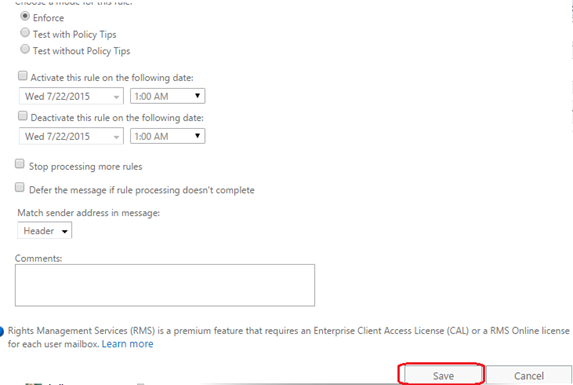
Add any Exceptions and save the rule:
Now, all settings and connectors are ready.
Testing Exclaimer Cloud – Signatures for Office 365:
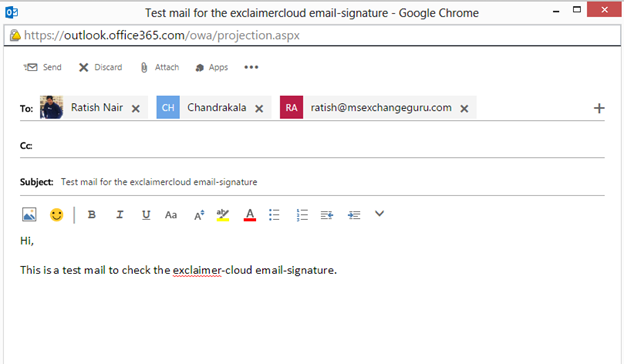
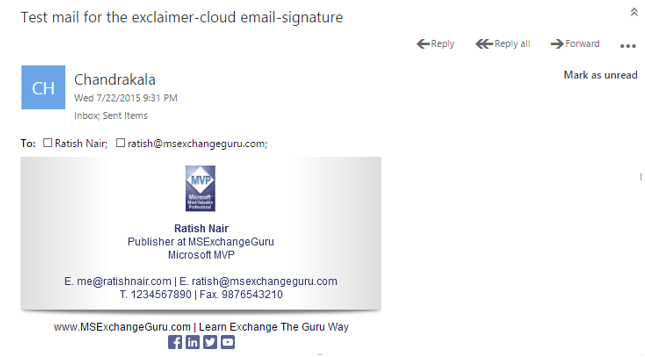
Send a test mail and check if the signature is being added. Here, we have configured the signature to apply to everyone in the organization:
-
Here is a test email without the signature:
-
Now, here is the received email with the new signature below:
Conclusion:
Exclaimer Cloud – Signatures for Office 365 is a fantastic cloud service for Office 365 users to manage their professional signatures without downloading and installing any additional software/applications.
Ratish Nair
Microsoft MVP | Exchange Server
Team @MSExchangeGuru.com
")


August 3rd, 2015 at 9:30 pm
I’ve just completed trials for Exclaimer, Xink and Crossware. Setting up Crossware was 10 times faster than the others!
August 5th, 2015 at 6:00 am
This is a nice feedback. Thank you.
August 8th, 2015 at 7:46 pm
[…] · Exclaimer Cloud – Signatures for Office 365 […]
August 8th, 2015 at 7:48 pm
[…] · Exclaimer Cloud – Signatures for Office 365 […]