Web Application Proxy with Azure MFA Part 1
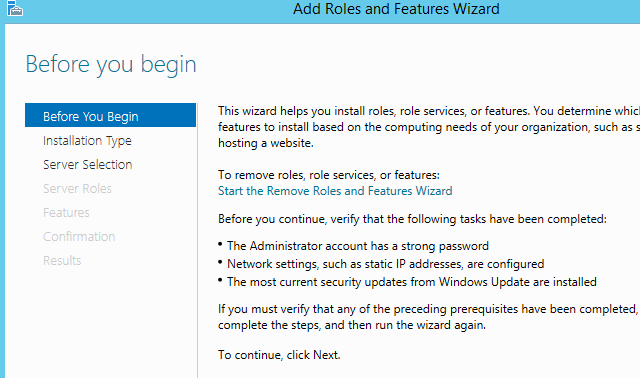
This blog explains the steps required for the installation of Web Application Proxy.
Go to the System manager à Manage à Add Role and Features. Then click next here.
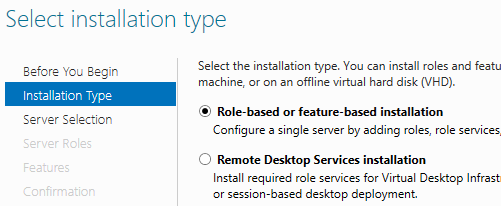
Click next here. Select the server and click next.
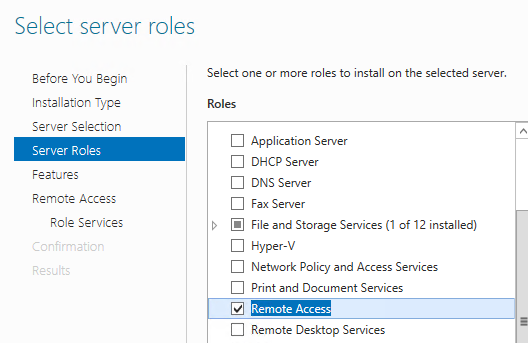
Select Remote Access and click next. Then next on the features screen.
Click next here.
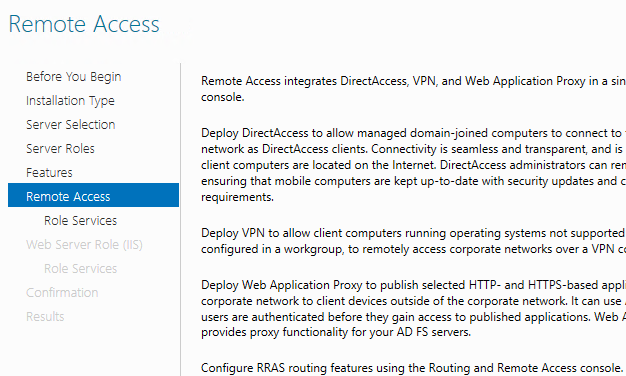
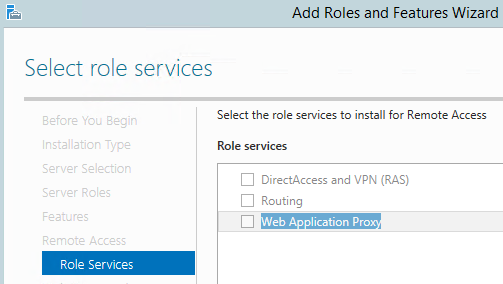
Select Web Application Proxy. Remember WAP is only available in windows 2012 R2 and not in 2012 non R2.
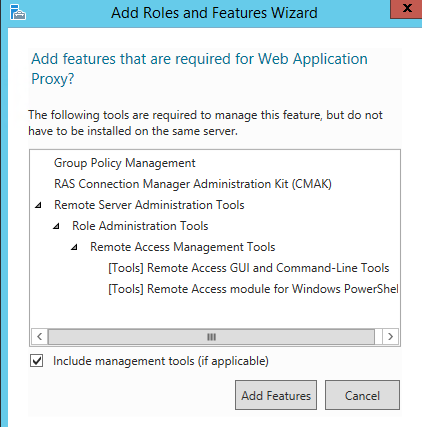
Click add features here and Click next.
Click next here.
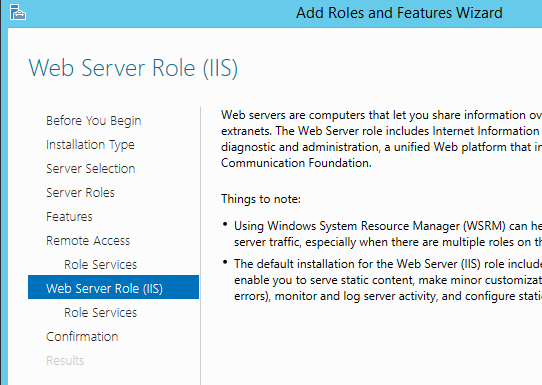
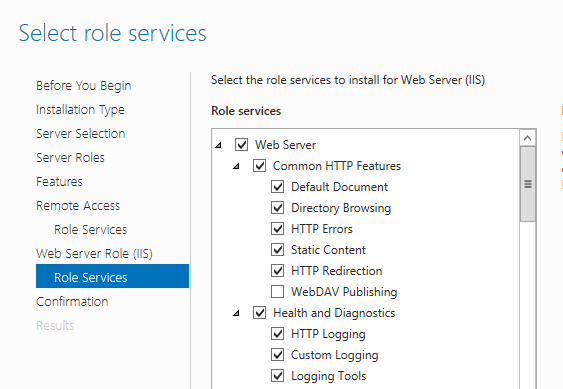
Click next on the IIS roles page
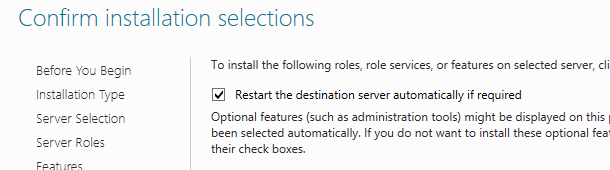
Click Install on the confirmation page.
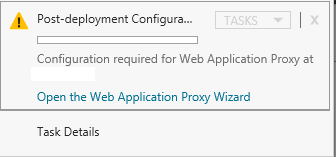
Once installation completed. Close the wizard.
Click on “Open the Web Application Proxy Wizard”
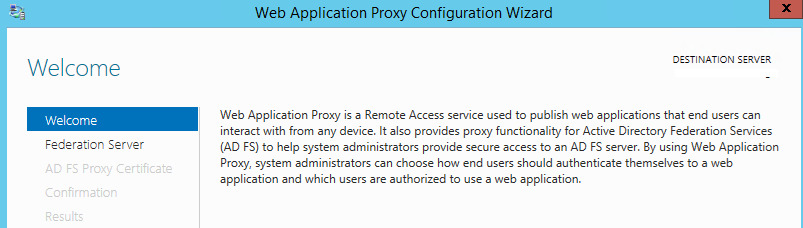
Click next on the welcome screen.
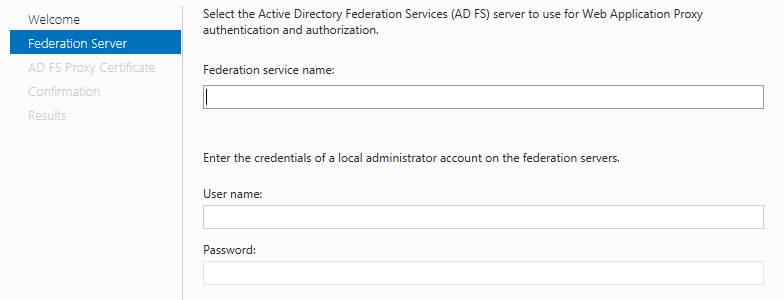
Fill the “Federation service Name”, Username, Password and click next.
Give the Federation service name which is your ADFS URL then any administrator on the ADFS server. I would prefer ADFS Service account here. Click next after populating the fields.
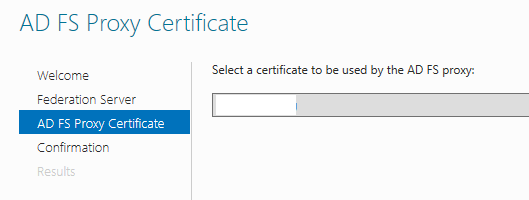
Select the certificate and click next.
Select a certificate and click next here. We need to use the ADFS server certificate so we might need to export the cert and import the certificate to the local computer à Personal folder
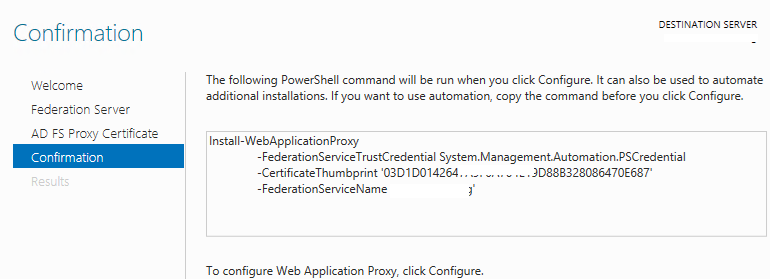
Click configure on this screen
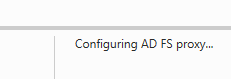
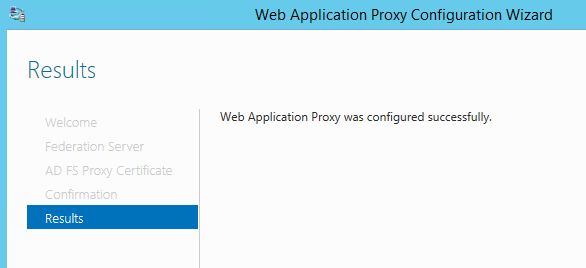
ADFS Proxy Configuration will begin
Web Application Proxy with Azure MFA Part 2 https://msexchangeguru.com/2016/12/09/wap-adfs-mfa-part-2/
Microsoft MVP | CTO @ Golden Five
Team@MSExchangeGuru
Don’t forget to register December 2016 “New York Exchange User Group” meeting. This is the online session on “Upgrading or Migrating to Exchange 2016 CU3″
http://www.meetup.com/nyexug/events/235096894/
")


December 9th, 2016 at 6:42 am
[…] « Web Application Proxy with Azure MFA Part 1 […]