Azure Multi-Factor Authentication Part 2 Deployment
This is the Azure Multi-Factor Authentication blog series of 2 Parts. In Part 1, we have seen Azure MFA Prerequisite, Download steps, and installation steps walkthrough. Now in part2, we will see the Multi-Factor Authentication Configuration.
Create a Service Account in the Active Directory
After we installed the User Portal, a group (PhoneFactor Admins) was created in the Users container of the Active Directory environment. It is the time to work with service accounts.
Open Active Directory Users and Groups
Navigate to the Service Account OU.
Create a new User account.
Set password never expire for this user
Add the group membership to “PhoneFactor Admins” Group
ADFS Integration
If you have ADFS setup, then you might like to configure it else this ADFS integration is not required.
-
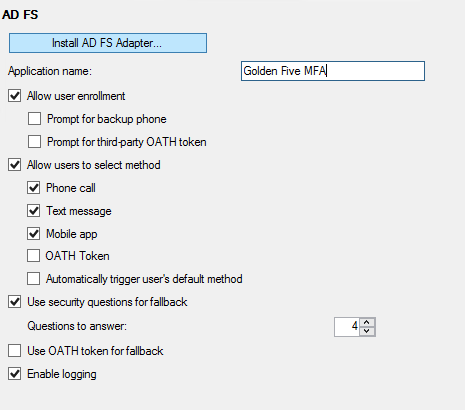
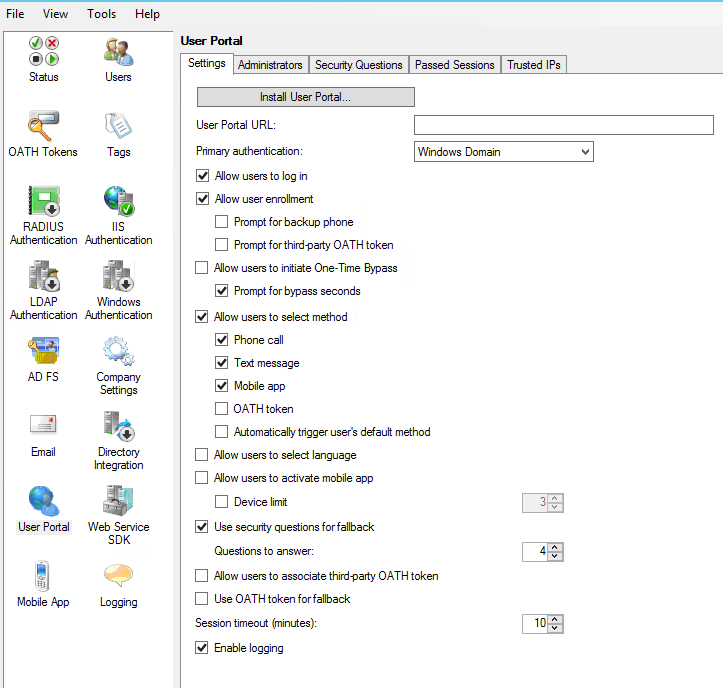
In the Azure Multi-Factor Authentication Server management console, click the AD FS icon, and then select the options Allow user enrollment and Allow users to select method.
-
Select any additional options you’d like to specify for your organization.
-
Click Install AD FS Adapter.
-
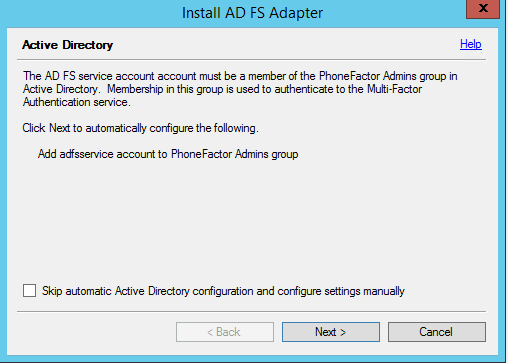
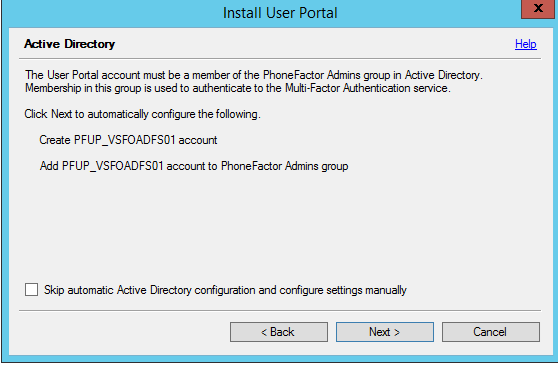
Then Click next on the Active Directory wizard
-
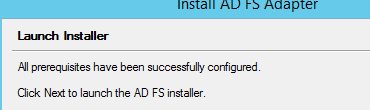
Click next here
-
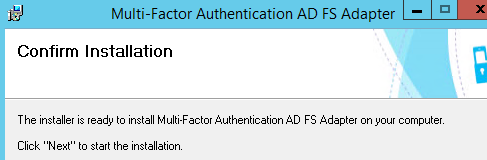
Click next here.
-
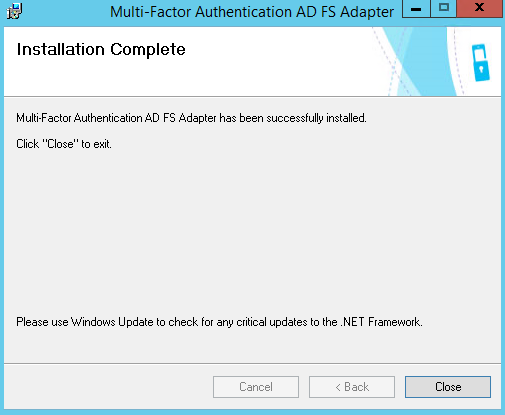
Once complete. Click Close
-
When the adapter has been installed, you must register it with AD FS.
-
Open Windows PowerShell and run the following PS1 Script:
-
Register-MultiFactorAuthenticationAdfsAdapter.ps1
-

-
-
Restart AD FS Windows Service.

-
To use your newly registered adapter,
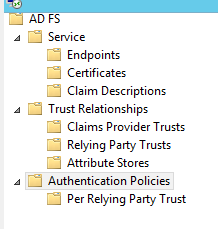
-Open AD FS Management Console à Go to the Authentication Policies node
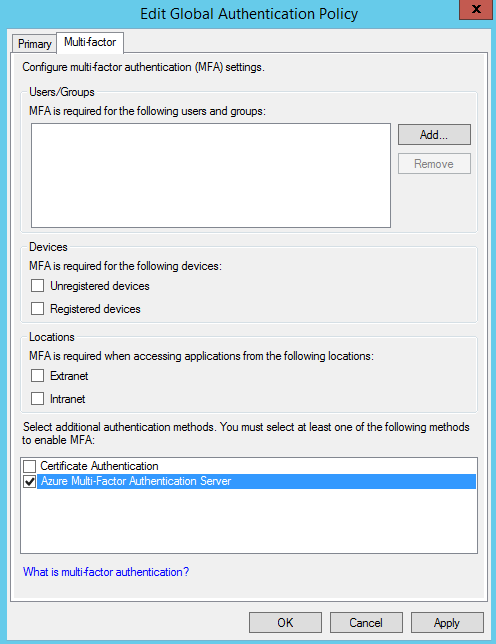
-Right Click edit global authentication policy
-In the Edit Global Authentication Policy window, select Azure Multi-Factor Authentication Server as an additional authentication method, and then click OK.
-
Restart the AD FS service for the registration to take effect.

At this point, Multi-Factor Authentication Server is set up to be an additional authentication provider to use with AD FS.
PORTALS
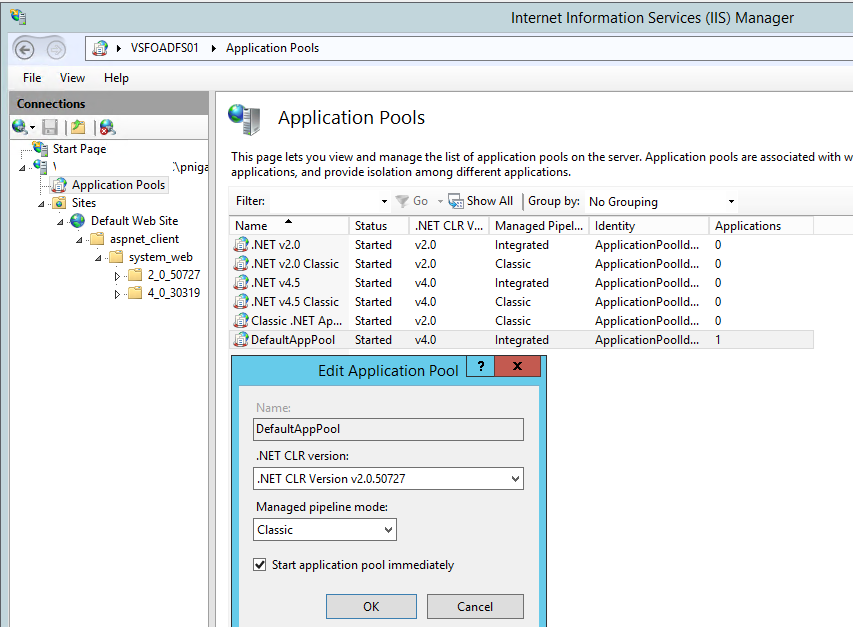
Update the IIS App Pool, Open IIS Manager.
Browse to the Application Pools in the IIS Manager and Change the properties of “Default App Pool”
From this
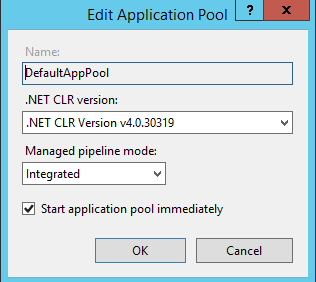
To This
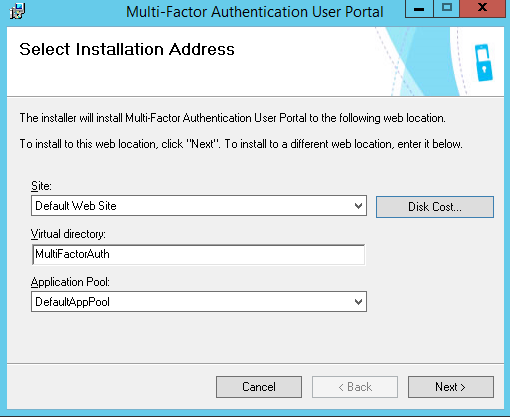
User Portal
Click on Install User Portal here in the Azure MFA Console.
Click next here.

Click next here.
Click Next here
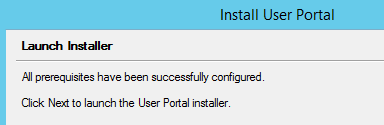
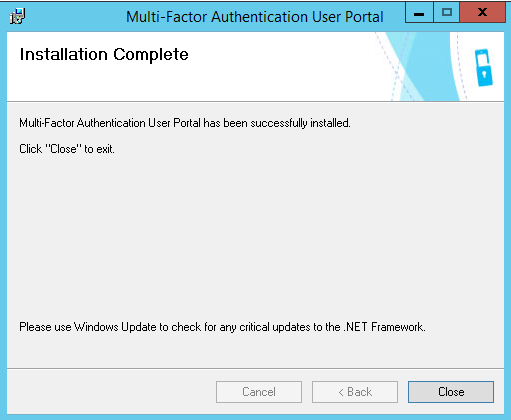
Click Next here and it will begin the installation.
Click close on the completion screen.
Web Service SDK
Since both the User Portal and the Mobile Portal use the Web Service SDK to connect (remotely) to the MultiFactorAuth service (MultiFactorAuthSvc), we’ll start with installing it:
-
In the left pane of the Multi-Factor Authentication management console, click Web Service SDK.
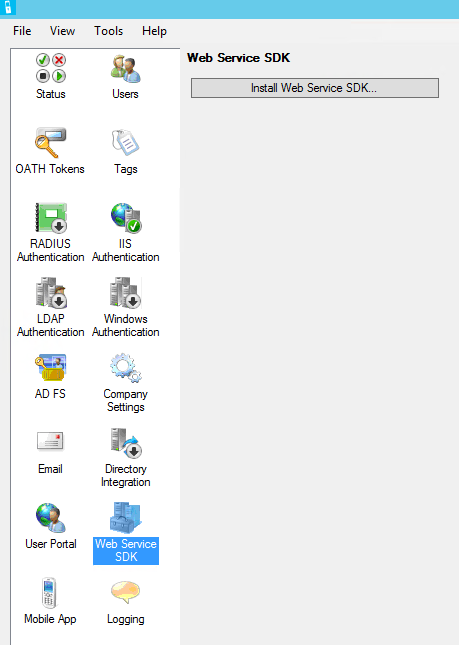
-
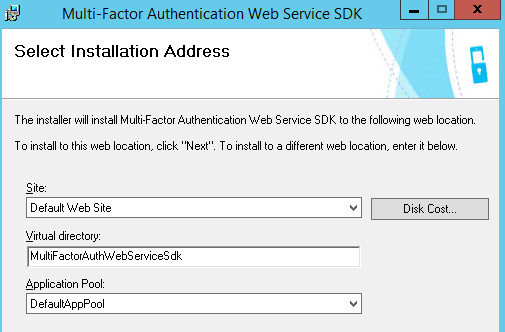
Click the Install Web Service SDK… button.
-
Click Next here
-
Click on Close, once done
-
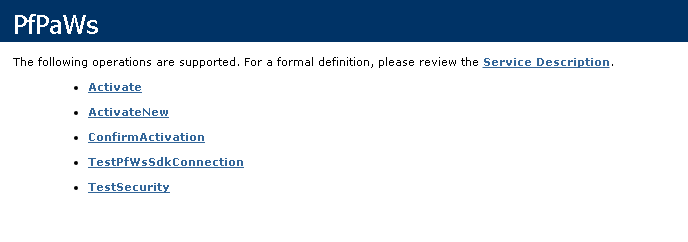
Do the IISReset and browse
https://localhost/multifactorauthwebservicesdk/
We will see a list of supported operations for the PfWsSDK Web Service. This confirms the MFA Web Service SDK is correctly installed and fully functional.
Mobile Portal
The Multi-Factor Authentication management console does not offer a button to install the Mobile Portal, so we’ll kick off its installer from the folder where we installed the Multi-Factor Authentication Server:
-
Open the elevated Powershell prompt.
-
Navigate to C:\Program Files\Multi-Factor Authentication Server\.
-
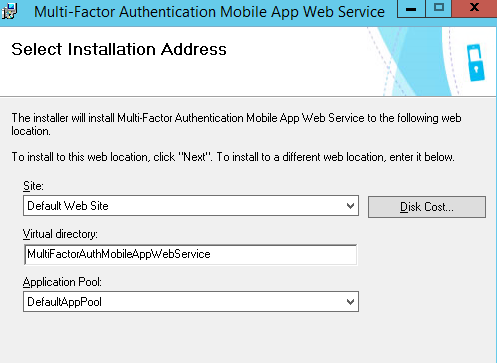
Run MultiFactorAuthenticationMobileAppWebServiceSetup64.msi

-
Click next here.
-
Click Close when completed and run iisreset.
Making the MFA Server aware of its existence
The Multi-Factor Authentication Server installation has no knowledge of the existence of the Mobile App Portal at this point. Let’s fix that:
-
Open the Multi-Factor Authentication Server Management console.
-
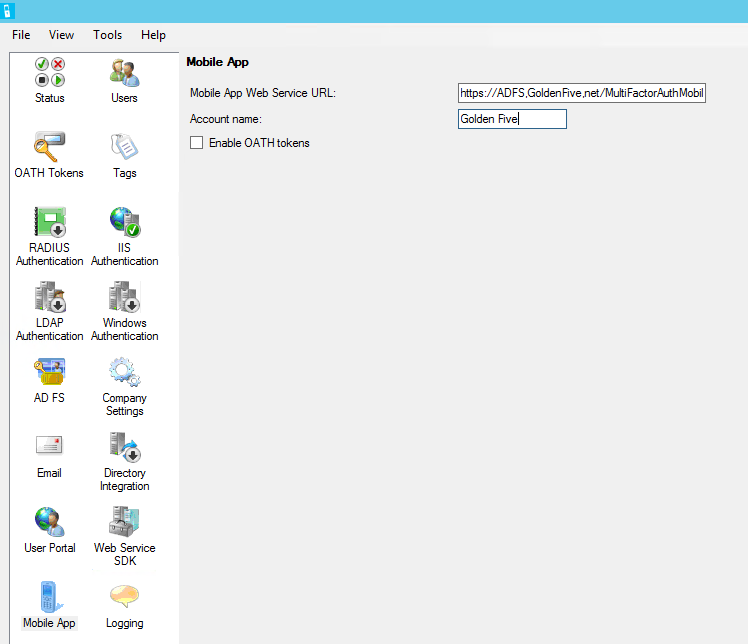
In the left pane, click Mobile App.
-
For the Mobile App Web Service URL, fill in the externally resolvable address, starting with https:// and ending with /MultiFactorAuthMobileAppWebService
-
For Account Name write your organization’s name.
-
Browse the URL and you will see the following
Configuration
Configuring the Web Service SDK
Configure authentication for the Multi-Factor Authentication Web Service SDK:
-
Open Internet Information Services Manager
-
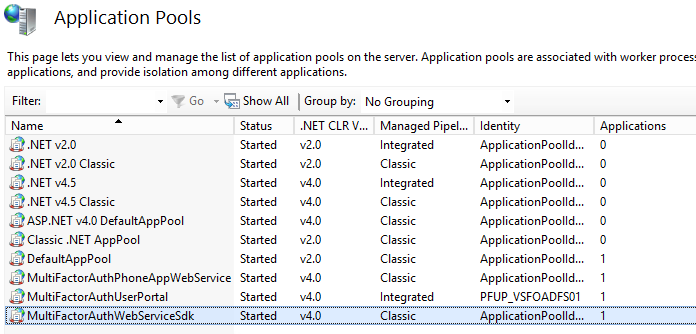
Expand to the Application Pools.
-
Select the MultiFactorAuthWebServiceSDK application pool that the MFA Web Service SDK created.
-
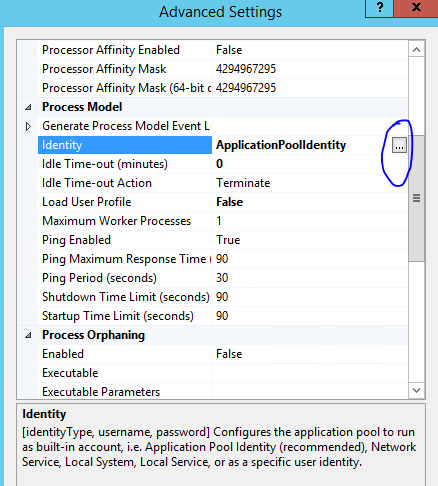
Click Advanced Settings in the right
-
From the list of settings, under Process Model, select Identity.
-
Click the button with the three dots to the right of ApplicationPoolIdentity.
-
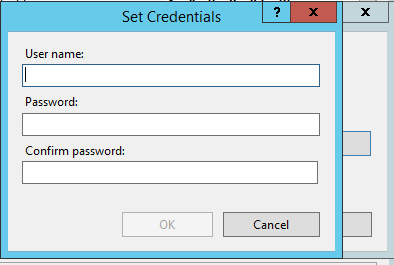
In the Application Pool Identity window, select Custom account.
-
Add the service account here and click ok. Ok. Ok.
-
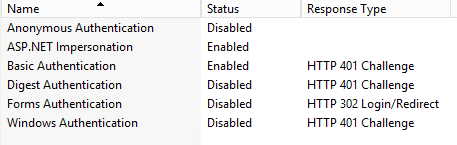
Now navigate to the MultiFactorAuthWebServiceSDK application under Default Website and double-click Authentication
-
Ensure, Anonymous Authentication is Disable and Basic Authentication is Enabled.
-
Close the Internet Information Services (IIS) Manager
Configuring the Mobile Portal
Because the Multi-Factor Authentication Mobile App Web Service offers validation options when accessed from the local server, we’ll configure this portal first:
-
Open Notepad as an administrator.
-
By default, Notepad opens with a new document. From the File menu, select Open….
-
Browse to the folder in which you have installed the MFA Mobile Portal. By default, it is located in C:\Inetpub\wwwroot\MultiFactorAuthMobileAppWebService.
-
In the right bottom corner, change the file type from Text documents (*.txt) to All Files.
-
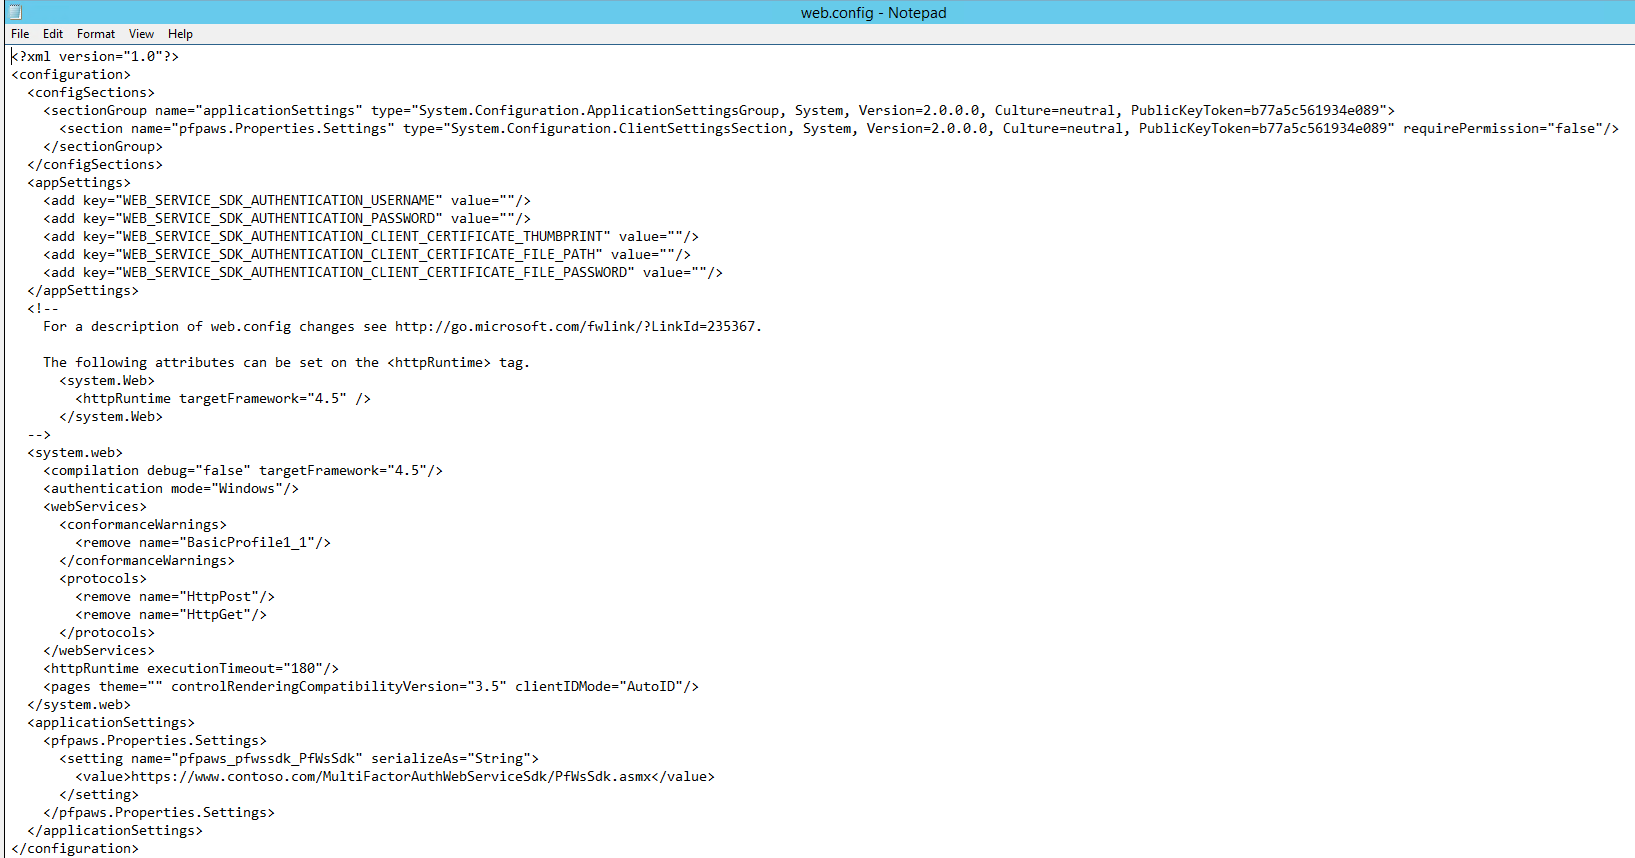
Select and open Web.Config.
-
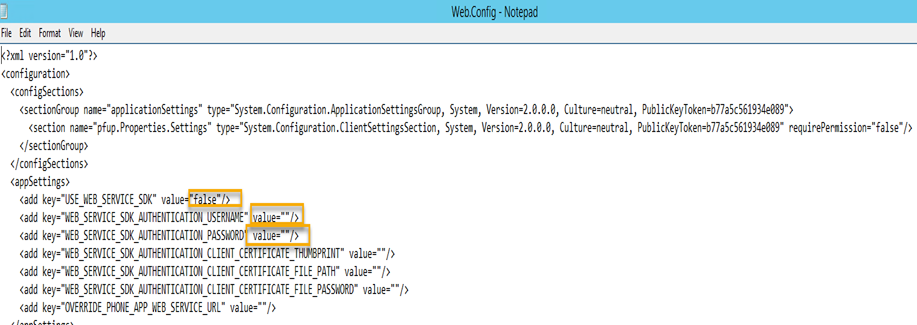
In the appSettings section, make two changes:
-
In the line containing the WEB_SERVICE_SDK_AUTHENTICATION_USERNAME, change value=””/> to include the domain name and username for the service account that runs the application pool of the Web Service SDK. I changed it to value=”DOMAIN\SAAzureMFA”/>.
-
In the line below that, add a password value, in the same way, you added the username, for WEB_SERVICE_SDK_AUTHENTICATION_PASSWORD.
-
-
In the pfpaws.Properties.Settings section update the URL from
<value>https://www.contoso.com/MultiFactorAuthWebServiceSdk/PfWsSdk.asmx</value>
to
<value>https://EXTERNALFQDN/MultiFactorAuthWebServiceSDK/PfWsSdk.asmx</value>. (Change EXTERNALFQDN to the externally resolvable DNS domain name for the MFA Server for which the SSL/TLS certificate was issued.)
-
Save and close the file.
-
Now, open Internet Explorer and navigate to https://ExternalDomain/MultiFactorAuthMobileAppWebService.
-
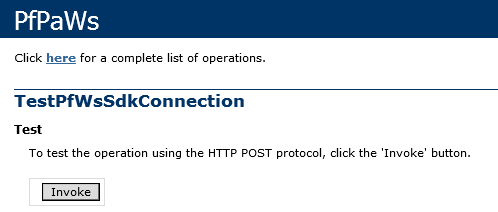
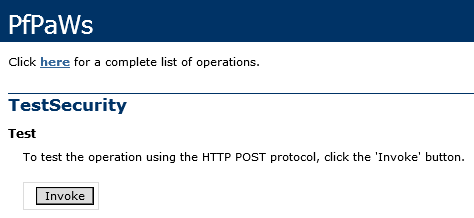
Follow the TestPfWsSdkConnection and TestSecurity links to ensure the connection to the Multi-Factor Authentication Web Service SDK is successful and the Mobile App Web Portal is secure. Click on invoke
-
Now we should see the success for TestPfWsSdkConnection and secure screen for TestSecurity


Configuring the User Portal
Next, we’ll configure the Multi-Factor Authentication User Portal to successfully authenticate to the Multi-Factor Authentication Web Service SDK:
-
Open Notepad as an administrator.
-
By default, Notepad opens with a new document. From the File menu, select Open….
-
Browse to the folder in which you have installed the MFA User Portal. By default, it is located in C:\Inetpub\wwwroot\MultiFactorAuth.
-
In the right bottom corner, change the file type from Text documents (*.txt) to All Files.
-
Scroll down the list of files and then select and open Web.Config.
-
In the appSettings section, make three changes:
-Because the Multi-Factor Authentication User Portal can use both RPC (directly) and a connection to the Web Service SDK to communicate with the MultiFactorAuth service, we’ll change value=”false”/> to value=”true”/> for USE_WEB_SERVICE_SDK.
-In the line below the previous line, change value=””/> to include the domain name and username for the service account that runs the application pool of the Web Service SDK. I changed it to value=”DOMAIN\SAAzureMFA”/>.
-In the line below that, add the password in the same way you added the username.
-
In the <pfup.Properties.Settings> section update the URL from
<value>https://www.contoso.com/MultiFactorAuthWebServiceSdk/PfWsSdk.asmx</value>
to
<value>https://EXTERNALFQDN/MultiFactorAuthWebServiceSDK/PfWsSdk.asmx</value>.
(Change EXTERNALFQDN to the externally resolvable DNS domain name for the MFA Server and for which the SSL/TLS certificate was issued.)

-
Save and Close the file.
-
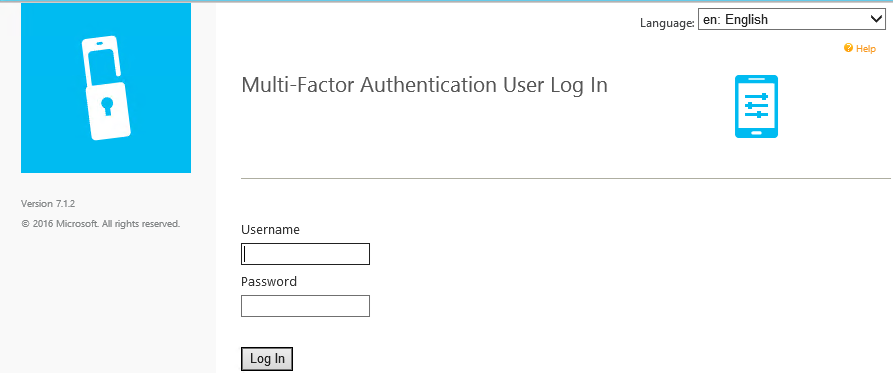
Now, open Internet Explorer and navigate to https://localhost/MultiFactorAuth. You should see this screen and now you can login and configure your PIN.
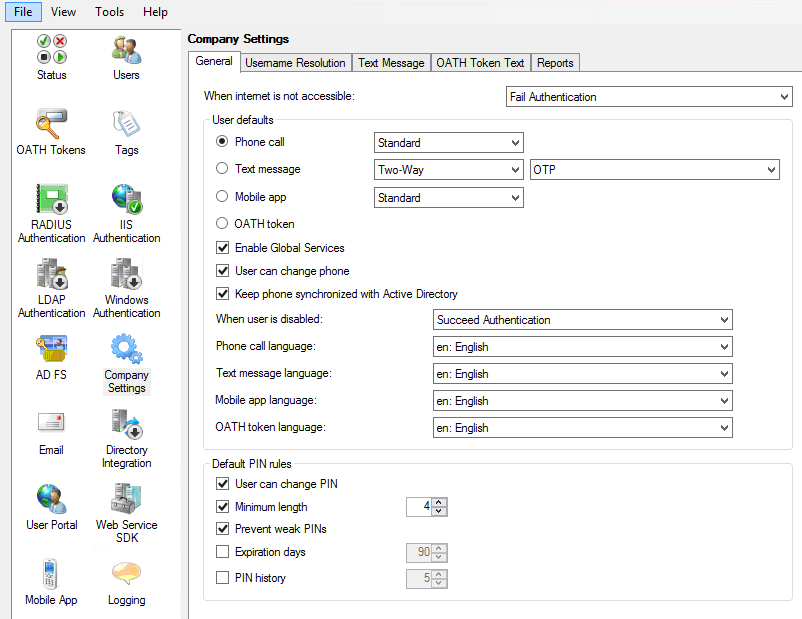
Company Settings
The Company Settings section allows MFA admins to define company-wide settings for authentication behavior, user defaults, username resolution, text message content, and user information to include in reports.
General tab
The General tab offers three distinct pieces of management functionality. Configure it as per company policy.
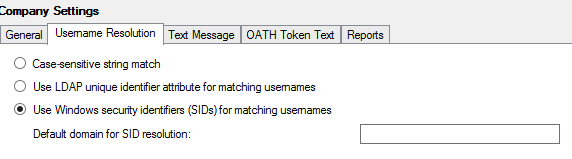
Username Resolution tab
The settings on the Username Resolution tab specify the method to use in resolving a username to MFA user object in the Users section.
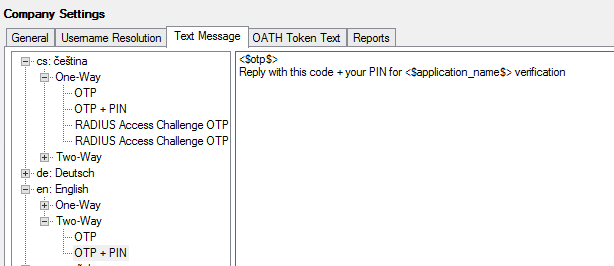
Text Message, and OATH Token Text tabs
The settings on the Text Message, and OATH Token Text tabs specify the text to send to colleagues per language.
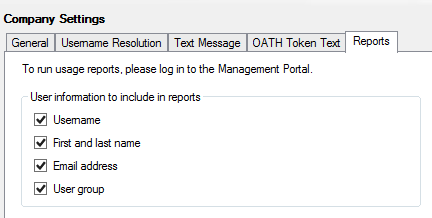
Reports tab
The report settings specify what information should be sent to the Azure Multi-Factor Authentication Service for reporting purposes. You can access these reports via the PhoneFactor portal (https://pfweb.phonefactor.net) with the administrator account credentials (email address and password) that you used to activate the Multi-Factor Authentication Server.
Email
The Email section is another section of MFA settings you might want to configure. This section is in the left pane of the Multi-Factor Authentication Server management console. Several options are available to configure Multi-Factor Authentication to send emails.
Settings tab
The Settings tab allows the administrator to send emails to new and updated Multi-Factor Authentication user objects and email notifications to MFA admins.
The first option, Send Emails to Users, is useful when you want to invite colleagues to enroll for MFA and notify them of changes to their accounts. Emails are only sent when this option is selected and the user’s email address is specified or the username is in email address format.
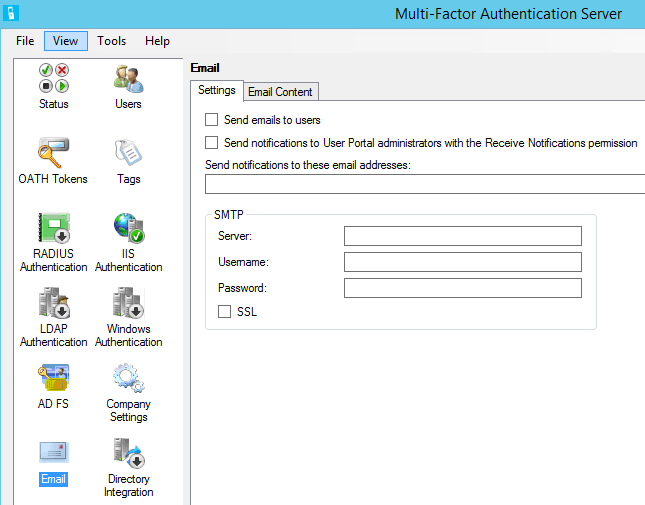
The second option (Send Notifications to User Portal Administrators with the Receive Notifications Permissions) and the setting below it define the settings for administrator email notifications. These notifications alert administrators to things that may require their attention, such as when approval is required when the directory synchronization disable/remove thresholds are exceeded.
Notifications are only sent to administrators when either Send Notifications to User Portal Administrators with the Receive Notification Permission is selected or Send Notifications to These Email Addresses is specified.
You can use the SMTP area to define settings for the server address, specify credentials, and indicate whether or not to use SSL for the connections.
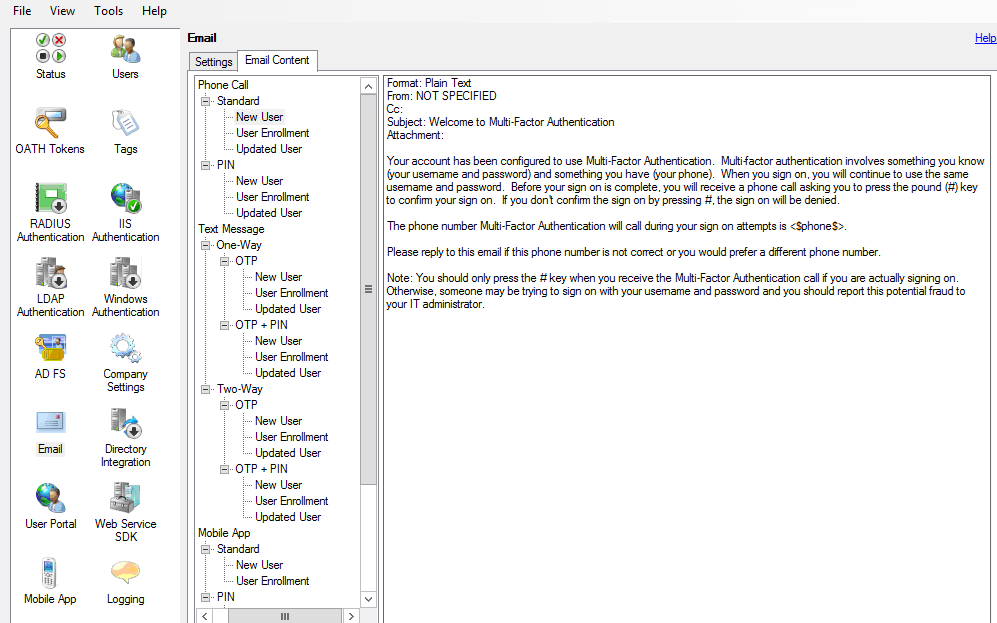
Email Content tab
You can use the Email Content tab to fully customize the content of the emails being sent. The content of the email sent may vary for new users, user enrollments, and updated users and whether the user is in Standard, PIN, or Voiceprint Phone Call modes; Two-Way OTP, Two-Way OTP + PIN, One-Way OTP, or One-Way OTP + PIN Text Message modes; Standard or PIN Mobile App modes; or OATH Token mode.
.
Logging
Logging for the on-premises Multi-Factor Authentication Server is enabled by default, but the Logging section enables you to customize the log file settings and other settings to take advantage of a SYSLOG server.
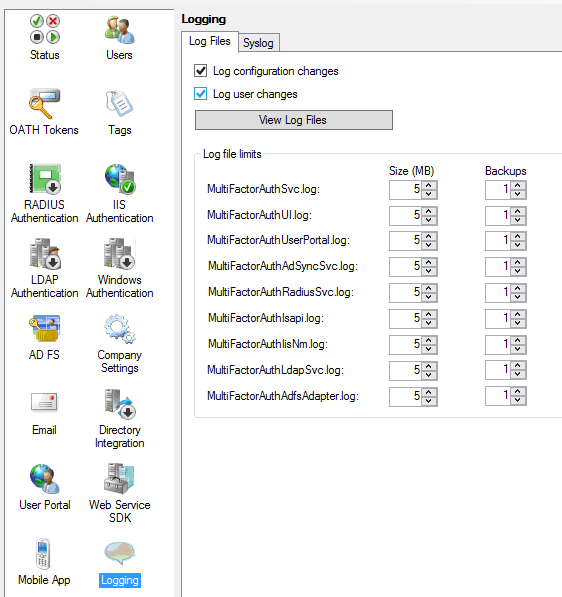
Log Files tab
Let’s start with the Log Files tab. You can specify whether to log configuration and user changes.
The View Log Files button takes you straight to the log files folder. By default, this is C:\Program Files\Multi-Factor Authentication Server\Logs.
Furthermore, you can expand the maximum sizes (in MB) for the various logs. Although you can set them pretty high (up to 1000 MB) to avoid log rotation, please bear in mind that the logs are located on the system drive by default.
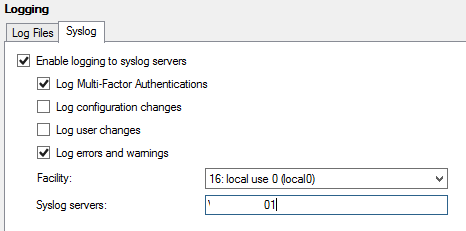
Syslog tab
The Syslog tab allows admins to configure the Multi-Factor Authentication Server installation to log to one or more SYSLOG servers.
This ends the Azure MFA Deployment Part 2.
CTO @ Golden Five
Team@MSExchangeGuru
")


January 28th, 2017 at 4:38 am
[…] « How to build a virtual machine on Azure – Exchange server Azure Multi-Factor Authentication Part 2 […]