Exchange Server 2016 Installation
Microsoft released Exchange 2016 preview On July 22, 2015, let’s configure the pre-requisites and see how to install Exchange 2016. The Public preview is available on public preview availability.
NOTE: Installing Exchange 2016 Preview in a production environment isn’t supported by Microsoft.
Before Installing Exchange 2016, we need to see the coexistence and pre-requisites:
Exchange 2016 supported Coexistence Scenarios:
- Coexistence with Exchange 2007 and earlier versions doesn’t support
- Supports coexistence with Exchange 2013 CU8 and higher version including Edge Transport servers
- Supports coexistence with Exchange 2010 SP3 RU9 CU8 and higher version including Edge Transport servers
- supports hybrid deployments with Office 365 tenants that have been upgraded to the latest version of Office 365
Pre-Requisites:
Active Directory and Network:
- Domain controllers in the forest must be running with Windows server 2012/windows server 2012R2 standard/datacenter
- Domain controllers with 2008 R2 Standard/Enterprise/Datacenter RTM or later
- Active Directory forest level must be windows Server 2008 or later
- Supports Contiguous, Noncontiguous Single Label Domains and Disjoint Namespaces.
- IPV6 supports only when IPV4 is installed and enabled.
Hardware:
- Processor: x64 architecture-based computer with Intel processor that supports Intel 64 architecture, AMD processor that supports the AMD64 platform and Intel Itanium IA64 processors not supported
- Memory: Minimum 8Gb for Mailbox servers and 4 GB for Edge transport server
- Disk Space: Minimum 30 GB on the exchange installation drive+500MB for each Unified Messaging language pack that we install. 200MB for System Drive and at least 500MB to store the message Queue Database.
Operating System:
- Mailbox and Edge Transport server roles: Windows Server 2008 Standard or Datacenter, Windows Server 2008 R2 Standard or Datacenter
- Management Tools: Windows Server 2008 Standard or Datacenter, Windows Server 2008 R2 Standard or Datacenter and 64 bit edition of Windows 8.1
Supported Clients:
- Outlook 2013
- Outlook 2010 with KB2965295
- Outlook for Mac for Office 365
- Outlook for Mac 2011
Software:
- .NET Framework 4.5.2 or later.
- Windows Management Framework 4.0 or later.
Installation of Exchange 2016:
Exchange 2016 has three possible installations with preview edition.
- Mailbox Server Role: It’s a only mandatory server role in exchange 2016
Management Tools: Requires for admin purpose on admin machine.
- Edge Transport Role: Optional role, this can’t be installed on the same server that has mailbox role installed.
NOTE: You must have Enterprise Admin, Schema Admin and Domain admin rights before you start the installation of Exchange 2016.
Active Directory Preparation:
Install Remote Tool Admin Pack using Windows PowerShell:
Install-WindowsFeature RSAT-ADDS

Installation of RSAT-ADDS allows Exchange to extend the Active Directory Schema and prepare Active Directory for Exchange installation.
Install Windows Server 2012 R2 prerequisites using Windows PowerShell:
Install the prerequisites that are required to install Exchange 2016 on a Windows Server 2012 R2 is depends on Exchange 2016 server role you we to install, in my case I am installing Mailbox role hence using the below command:
Install-WindowsFeature AS-HTTP-Activation, Desktop-Experience, NET-Framework-45-Features, RPC-over-HTTP-proxy, RSAT-Clustering, RSAT-Clustering-CmdInterface, RSAT-Clustering-Mgmt, RSAT-Clustering-PowerShell, Web-Mgmt-Console, WAS-Process-Model, Web-Asp-Net45, Web-Basic-Auth, Web-Client-Auth, Web-Digest-Auth, Web-Dir-Browsing, Web-Dyn-Compression, Web-Http-Errors, Web-Http-Logging, Web-Http-Redirect, Web-Http-Tracing, Web-ISAPI-Ext, Web-ISAPI-Filter, Web-Lgcy-Mgmt-Console, Web-Metabase, Web-Mgmt-Console, Web-Mgmt-Service, Web-Net-Ext45, Web-Request-Monitor, Web-Server, Web-Stat-Compression, Web-Static-Content, Web-Windows-Auth, Web-WMI, Windows-Identity-Foundation

This requires rebooting the machine.
For Edge Transport Role use the below command:
Install-WindowsFeature ADLDS
Once the server is rebooted, install the following software’s in the below order:
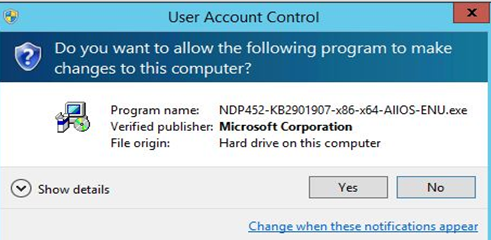
.Net Framework Installation:
Double Click on Installable File:
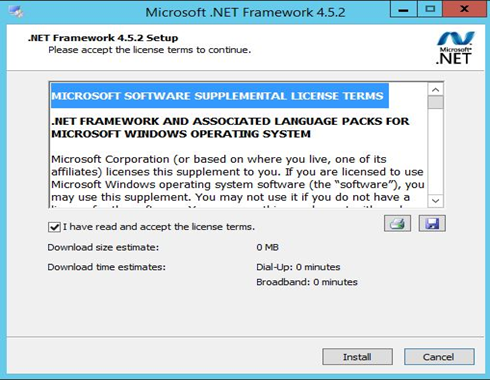
Accept the License and Click on Install:
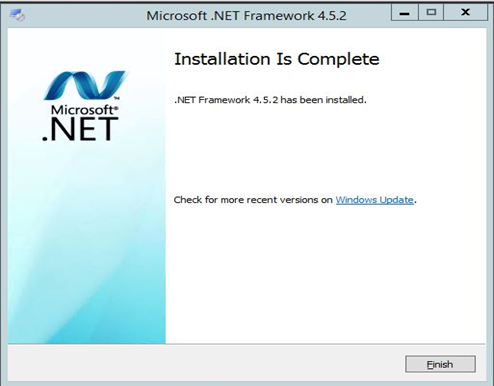
Once completed Click on Finish:
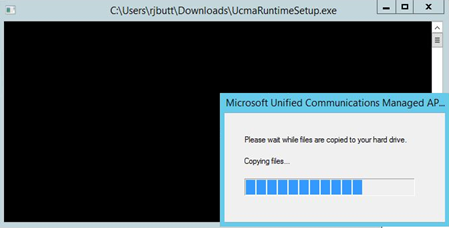
Microsoft Unified Communications Managed API 4.0:
Double click on the Installable file:
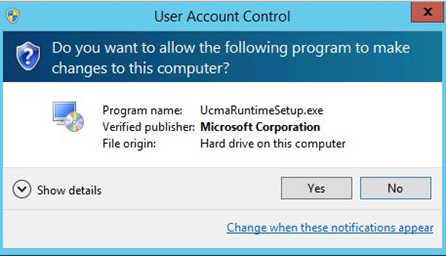
Click on Yes to proceed further:
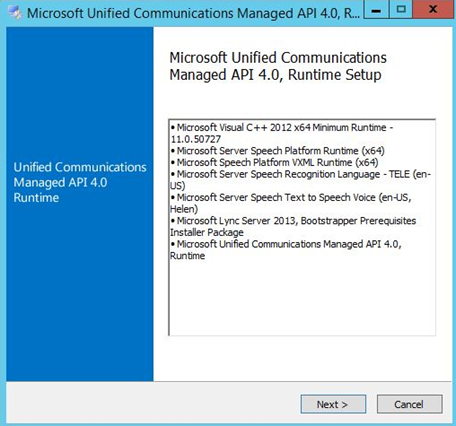
Click on Next:
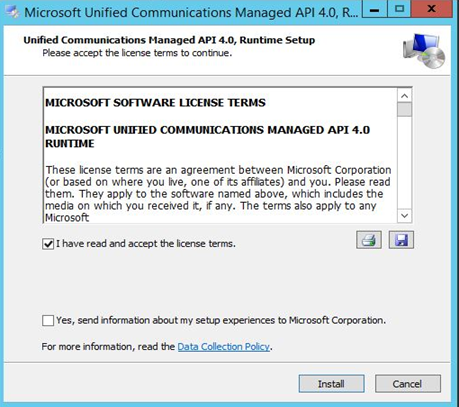
Accept the License and click on Install:
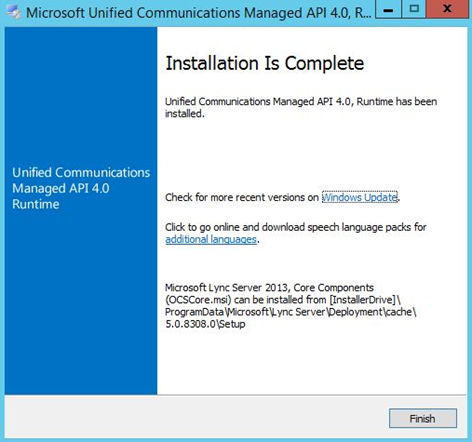
Click on Finish to complete the installation:
Exchange Server 2016 Installation:
Extract the installable file:
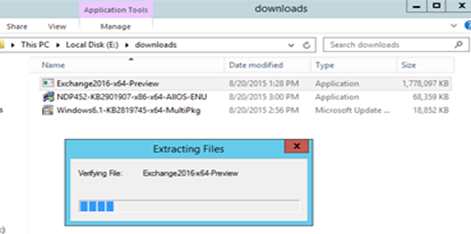
Double Click on the Exchange Installable file:
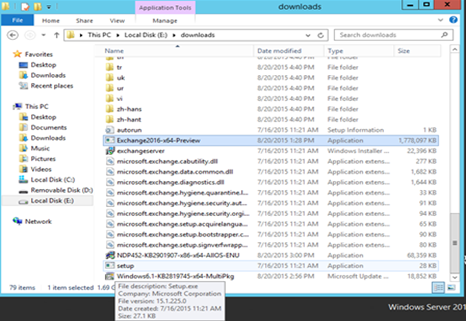
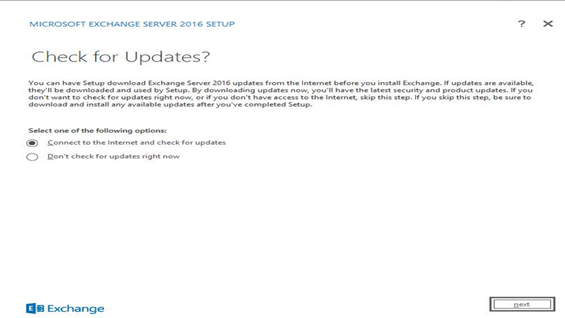
Microsoft recommends to always checking for updates before you start the installation and Click Next.
Once you check for updates and install the updates if required, Setup will start the process of copying Exchange setup files
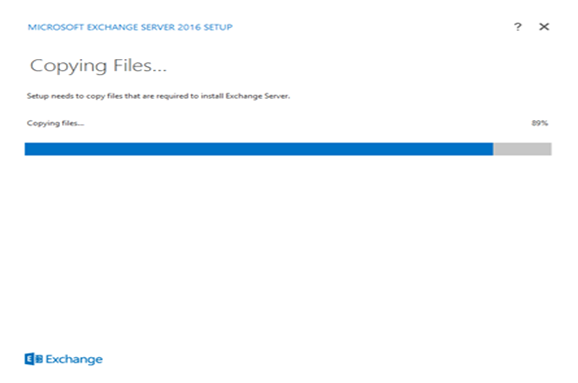
Once it copies the files, it starts with initializing the setup:
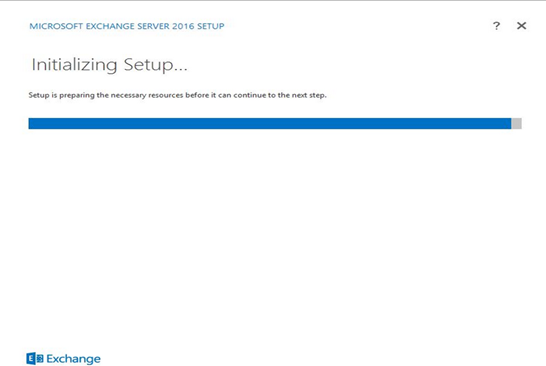
Click Next to Start the Installation Process:
Accept the License Agreement and Click on Next:
Select the recommended settings and click on Next:
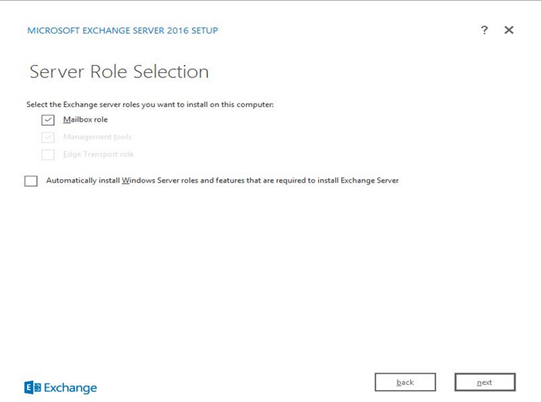
Select the Server Role that you want to install and Click on Next:
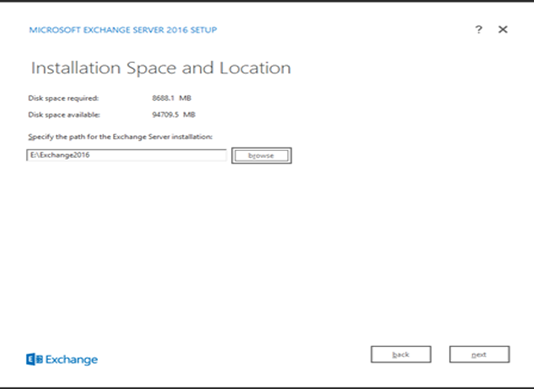
Specify the location and folder where you want to install the Exchange:
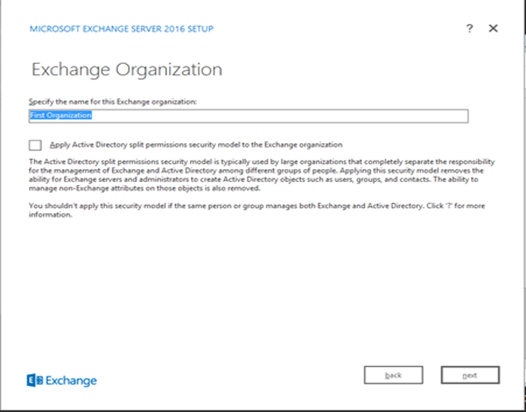
Specify the Exchange Organization name and Click on Next:
It is recommended not to disable malware scanning on your exchange server. We stick with the default option of No and click next.
Setup will check for the readiness checks to verify if the setup can continue
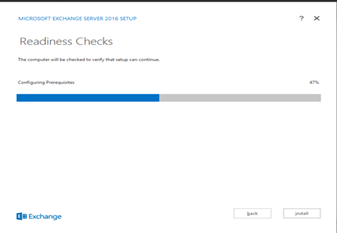
Once Readiness checks completes, read the warnings and make sure you don’t have any errors and click on Install to continue:
Once Installation starts, Exchange will perform 15 steps:
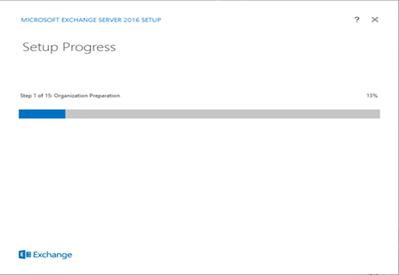
During the Installation process contains the below steps:
- Organization Preparation
- Stopping Services
- Copy Exchange Files
- Language Files
- Restoring Services
- Languages
- Management Tools
- Mailbox Role: Transport Service
- Mailbox Role: Client Access Service
- Mailbox Role: Unified Messaging Service
- Mailbox Role: Mailbox Service
- Mailbox Role: Front End Transport Service
- Mailbox Role: Client Access Front End Service
Finalizing Setup
After all 15 steps are completed; we’re done with the installation of the first Exchange 2016 in the organization.
Once the Installation completes, click on Finish.
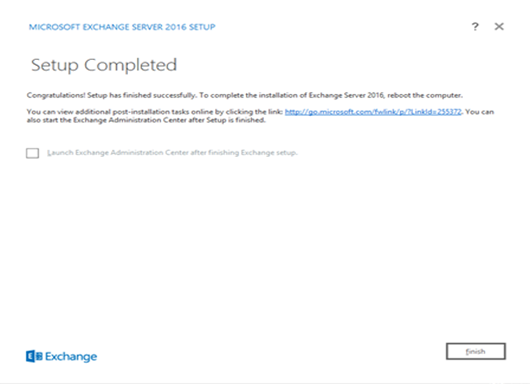
Reboot the exchange server before start the administration and configuration of the exchange server.
Once the server is up, Go to Exchange Management Shell and run the following command to verify the exchange version.

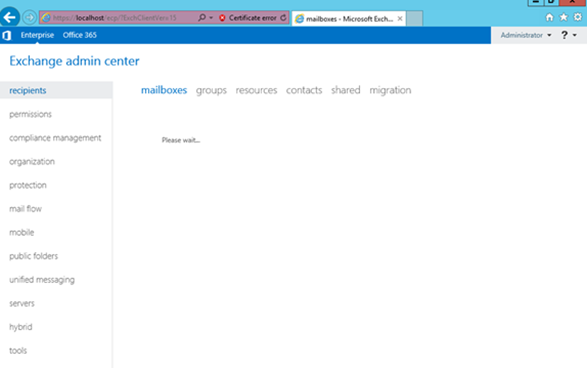
We can find the Exchange administration Centre as below:
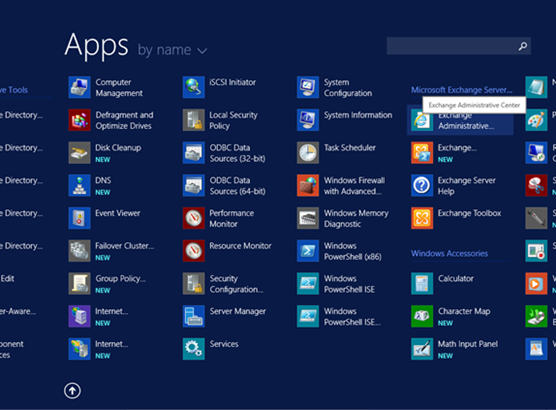
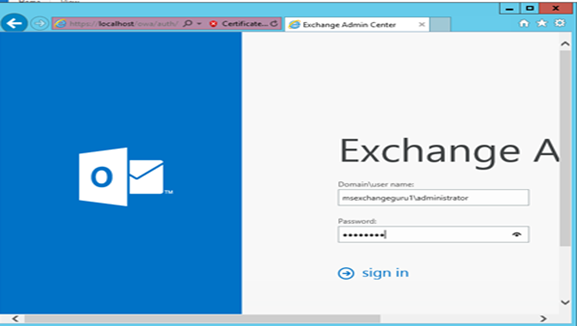
Provide the credentials to open the Exchange administration Centre:
Exchange administration Centre looks as below:
Ratish Nair
Microsoft MVP | Exchange Server
Team @MSExchangeGuru


August 25th, 2015 at 1:38 am
Very nice article 🙂
August 28th, 2015 at 5:16 pm
When I prepped my server with all of the prerequisites, Exchange 2016 would not install–issues with .NET Framework. I removed and reinstalled .NET Framework 4.5.2 several times but eventually installed .NET Framework 4.6 (not a prereq). Then, and only then, would Exchange 2016 begin and complete the install.
Have you experienced this issue?
August 31st, 2015 at 11:56 pm
[…] Exchange Server 2016 Installation […]
August 31st, 2015 at 11:57 pm
[…] Exchange Server 2016 Installation […]
October 2nd, 2015 at 6:03 am
Did you run windows update? It should not be any issue. Try the RTM now and tell us if there is an issue. We would like to file a bug if issue remains unresolved.
October 2nd, 2015 at 10:34 am
Prabhat, yes, I ran Windows Update. Now that RTM is available, I hope not to see the issue in production.
October 2nd, 2015 at 1:06 pm
Try the RTM and share if there is an issue.