OneLogin Active Directory Connector Setup
If you are using Onelogin to all users for single sign on then you would require to install OneLogin client on your domain controller. Let me walk through the steps of OneLogin installation steps.
These steps to be following on the domain controller which is dedicated for the OneLogin.
- Install .Net Framework 3.5 from Add and remove role.
- Download OneLogin client and the code from your OneLogin server.
- Create a service account with domain admins and administrators group membership.
- Open the domain controllers GPO and assign login as a service to this account and deny log in locally and remotely.
-
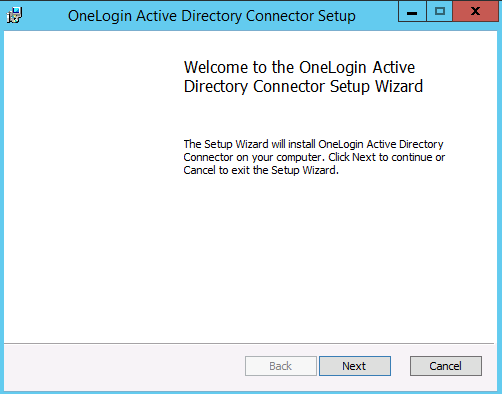
Right Click the OneLogin msi file and click install. Then click next here.
-
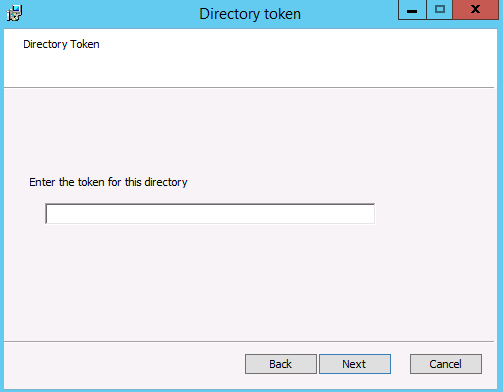
Enter the Token and click next
-
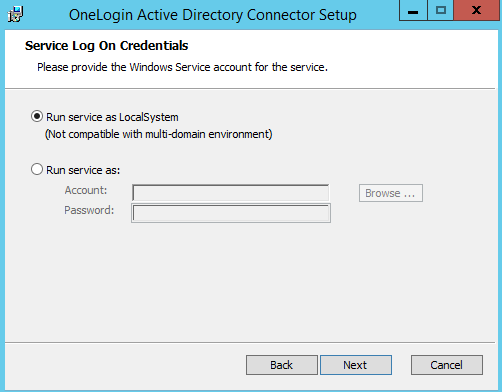
Give the credentials and click next. I have created a service account with domain admins and administrators group membership.
-
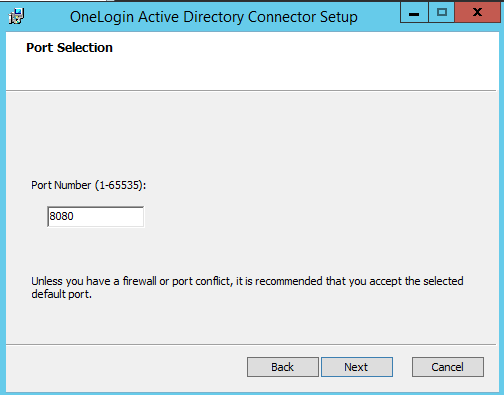
Give the port number and click next. I have chosen default.
-
Now click Install on the installation window. Then click yes on the security pop up window.

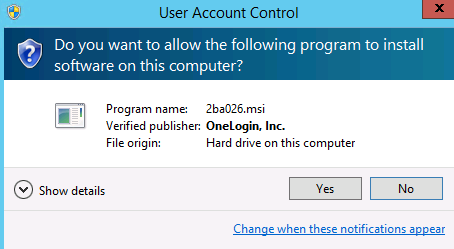
- You might get a popup to assign full access permission to the folder “C:\Program Files (x86)\OneLogin, Inc”. Please assign full permissions at this level.
-
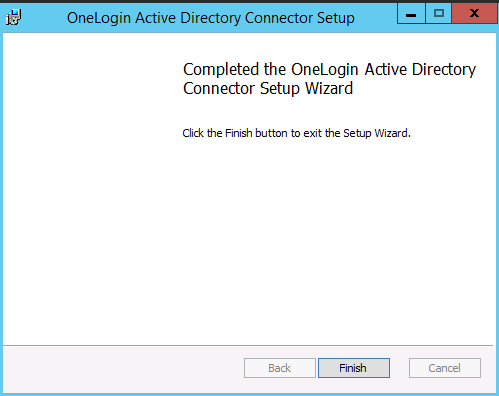
Click finish
-
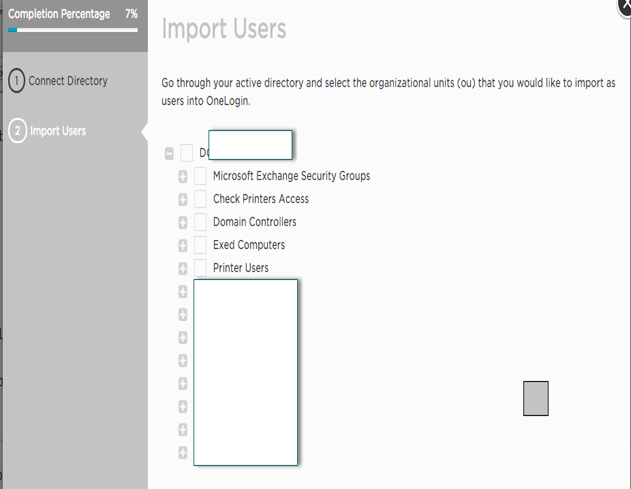
Now go to the OneLogin server and try to connect. You should be able to see the below screen.
Microsoft MVP | Exchange Server
Team@MSExchangeGuru


