Exchange 2010 Database backup and restore using DPM
This article deals with the steps of configuring and restoring exchange server backup using DPM.
Step 1: Taking the Backup
Login to DPM Server and Launch DPM 2010 Administrator Console
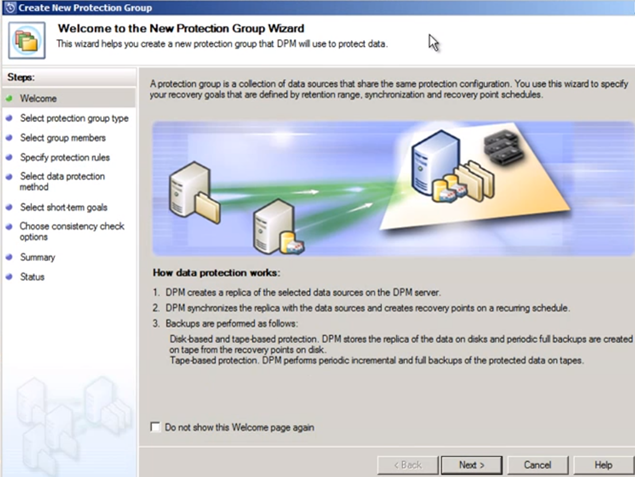
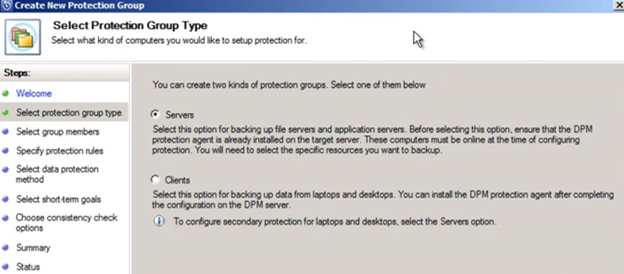
Click Action and select “Create a protection group”
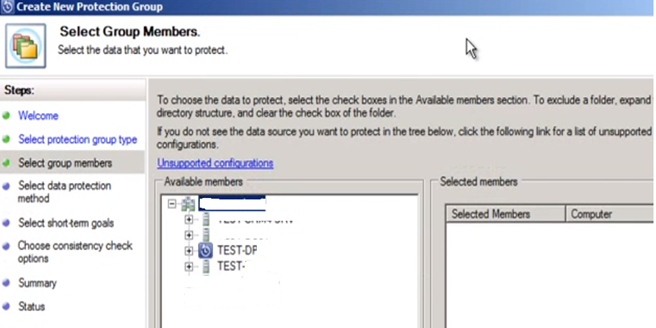
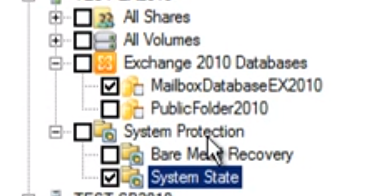
Select Group members and exchange backup on this screen then click next
Give a name to the Group and select the protection method Disk or Tape
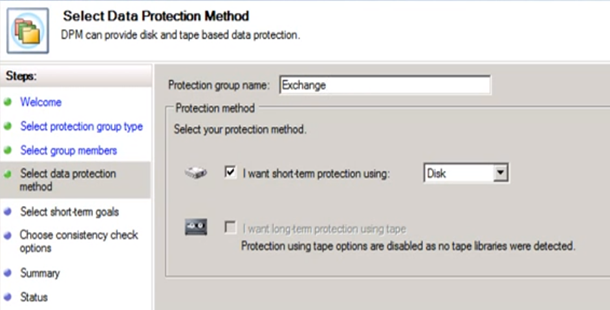
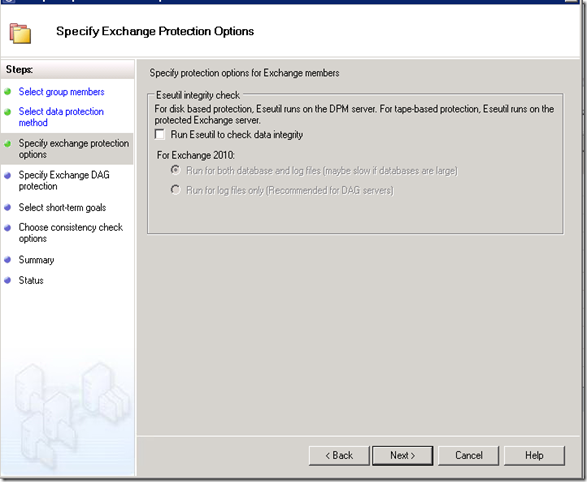
Run the integrity check for the tape based protection by checking the checkbox. If it is disk based protection then uncheck the checkbox.
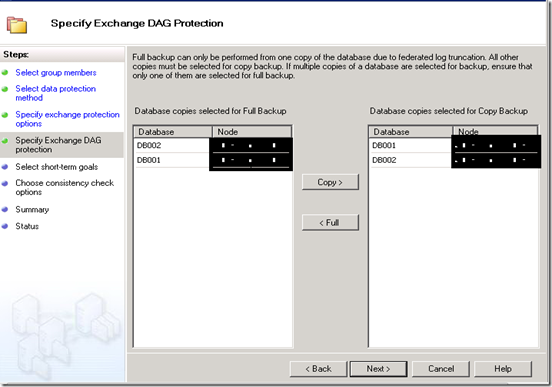
Choose the database you want to do a full back up or Copy Backup
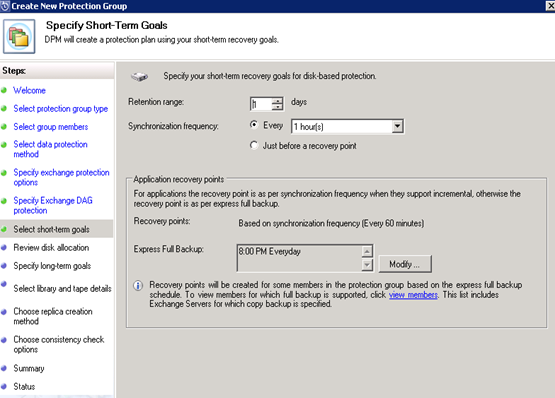
Choose the retention range – Default Value is 14 days
a. Choose Recovery point (synchronization frequency) timings if required
b. Choose express full backup timings
c. Choose Retention Range
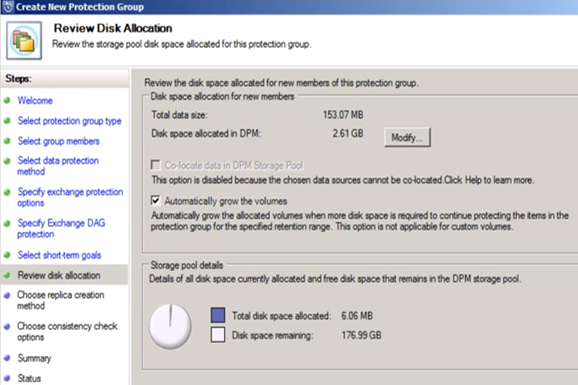
Select the Replica method then click next
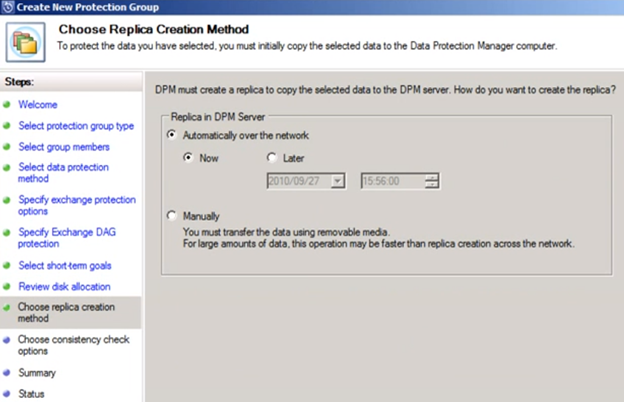
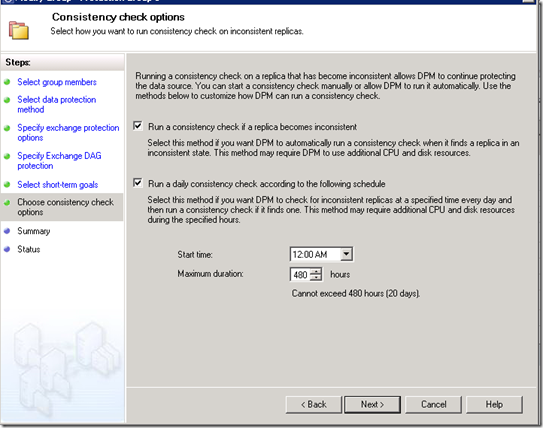
If you plan to run a consistency check, by default it shows as 480 hours.
We need to make sure it does not run in production hours because it consumes a high CPU and disk resources.
Now review the summary and create the group
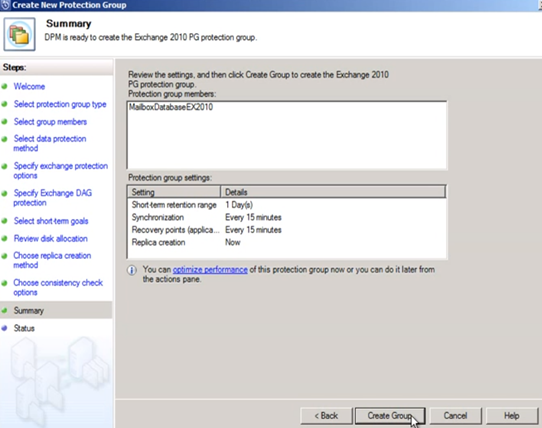
Once you see the task creation has successfully done then click close.

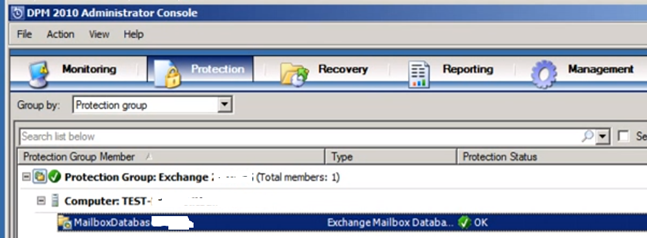
Now on the main screen you will see replica creation is running. Once it completes you will see ok. This is means you backup job has created and your Data Protection Manager is ready to backup your Exchange servers Every day.
Step 2: Restoring Exchange 2010 server Backup using DPM
-
Login to DPM server
-
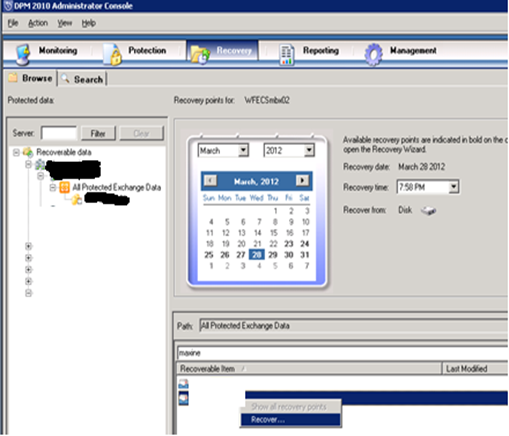
Open DPM Consoleà Select Recovery tab on Top à Expand Recoverable DataàDomain Fqdnà Server Nameà All Protected Exchange Dataà Select database
-
Then Select the Date à search the user and right click à Select Recover
-
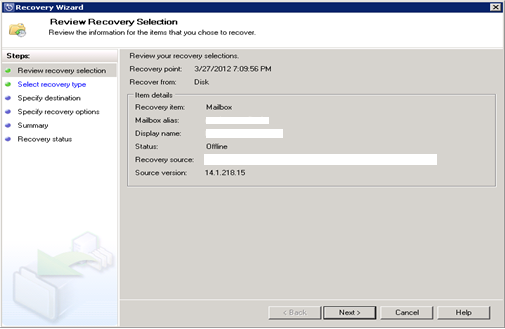
Now at confirmation page. Review the Recovery point & source is correct then Click Next
DPM always restore’s full database so it does not matter if you select one user or database.
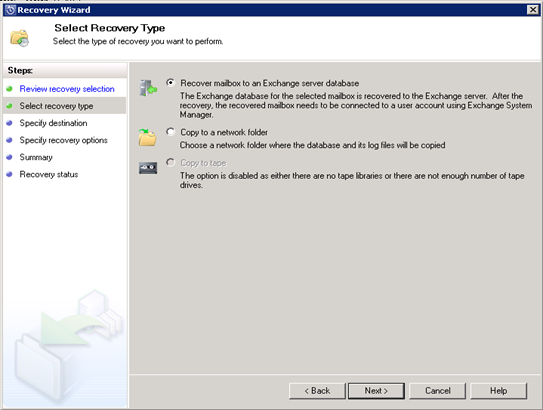
5. Select “Recover mailbox to an Exchange server database” then click next
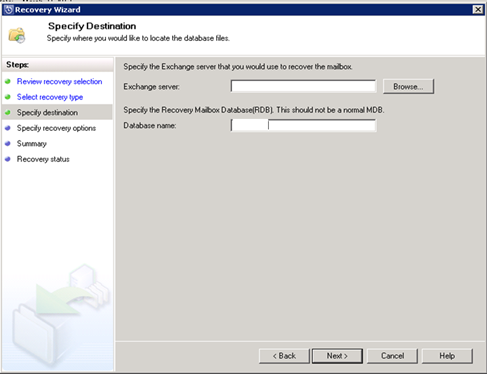
6. In Exchange Server Browse and select recovery server and in Database Name Type the RDB (recovery database name) then click next.
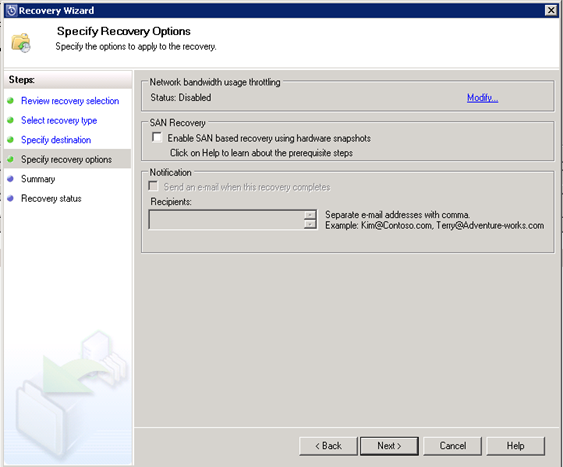
7. Click next.
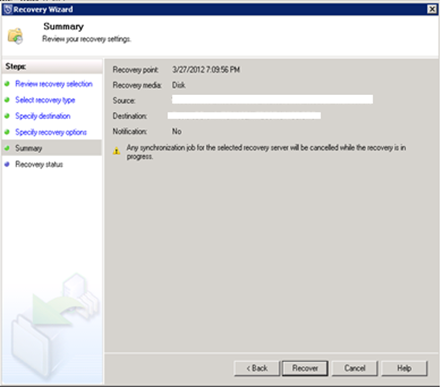
8. Source should be the Database which was backed up and Destination should be Recovery Database. Verify Source and Destination then click Recover. Then Close the wizard and wait for restore to complete.
9. Point to be noted here is the time of the restore which varies for every database because of the different database size and network speed.
10. Now keep a watch on the DPM monitoring activity of this restore. Once restore completes you can do the recovery operations as per the requirements.
Prabhat Nigam (Wizkid)
Microsoft MVP | Exchange Server
Team @MSExchangeGuru


April 6th, 2013 at 8:50 am
[…] Exchange 2010 Database backup and restore using DPM – […]
April 8th, 2013 at 11:38 am
[…] Exchange 2010 Database backup and restore using DPM […]
April 15th, 2013 at 12:53 pm
[…] https://msexchangeguru.com/2013/04/02/exchange-2010-dpm/ […]